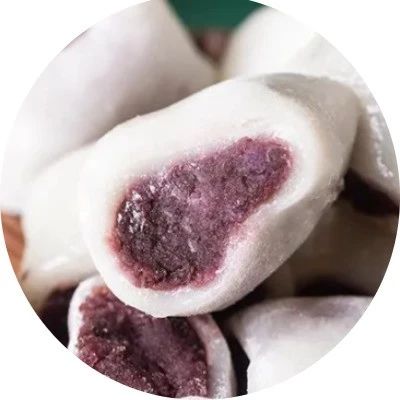

还记得初代网红肉松小贝吗,就是那款沾满肉松海苔的小蛋糕,想必大家应该都吃过。到了夏天,稍稍改良,将粘裹的肉松海苔换成更应景的冰乳酪和奶粉,吃起来更有风味!这款冰乳酪小贝其实就是之前流行的日式冰乳酪戚风的MINI版,做成小份的,一口一个更过瘾!
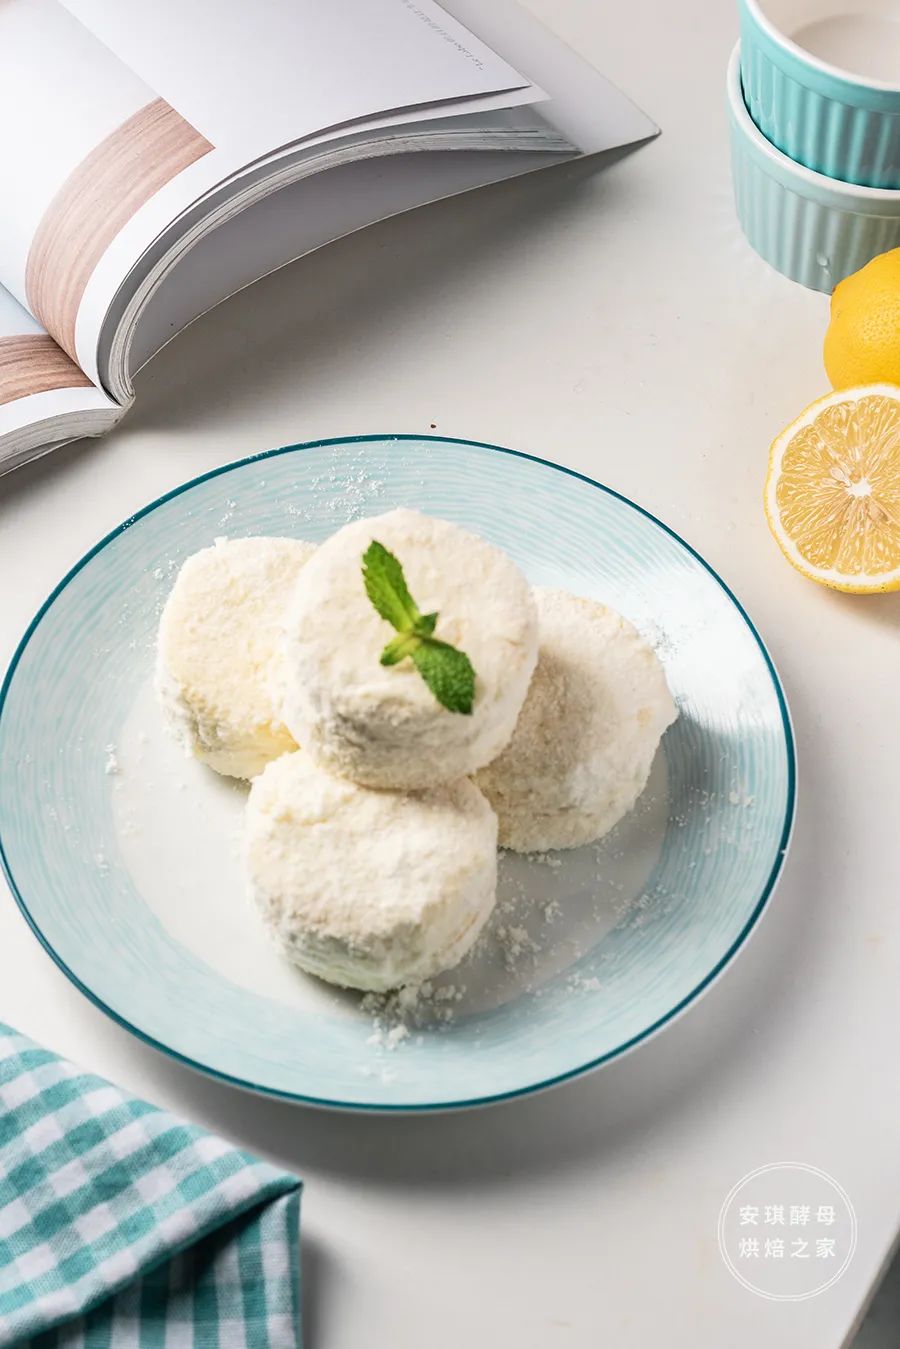
冰乳酪小贝做起来也很简单,烤一份戚风蛋糕坯,粘上乳酪酱,再裹上奶粉就可以了,新手也能轻松搞定。做好的冰乳酪小贝奶味十足,绵软的蛋糕体,搭配冰爽丝滑的奶酪酱,一口下去满是享受!这款小贝还可以加入可可粉或是抹茶粉等,变幻出不同的口味。外形也可以借助模具,做出更多萌趣造型!
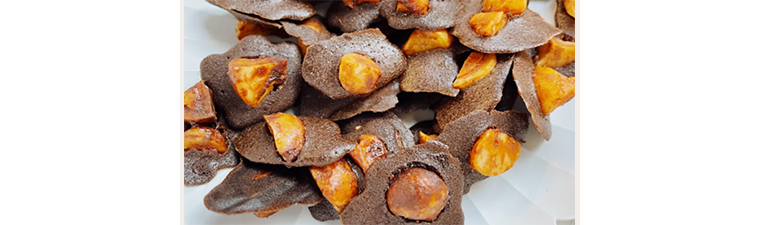
冰乳酪小贝

原味蛋糕胚低筋面粉75g牛奶55g玉米油60g细砂糖30g鸡蛋5个乳酪馅淡奶油150g奶油奶酪50g细砂糖15g奶粉适量

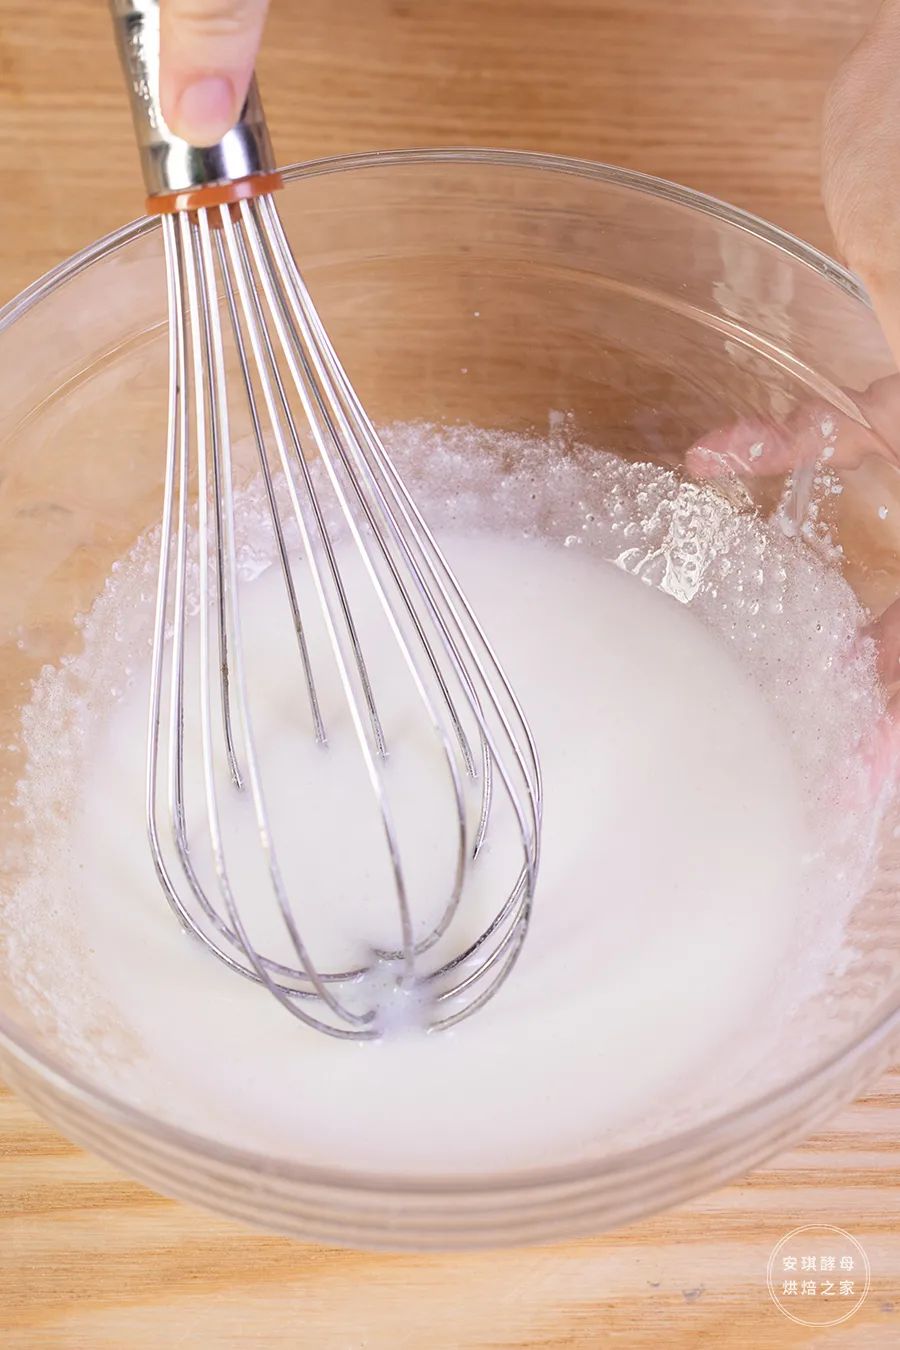
①牛奶和玉米油混合,拌匀。
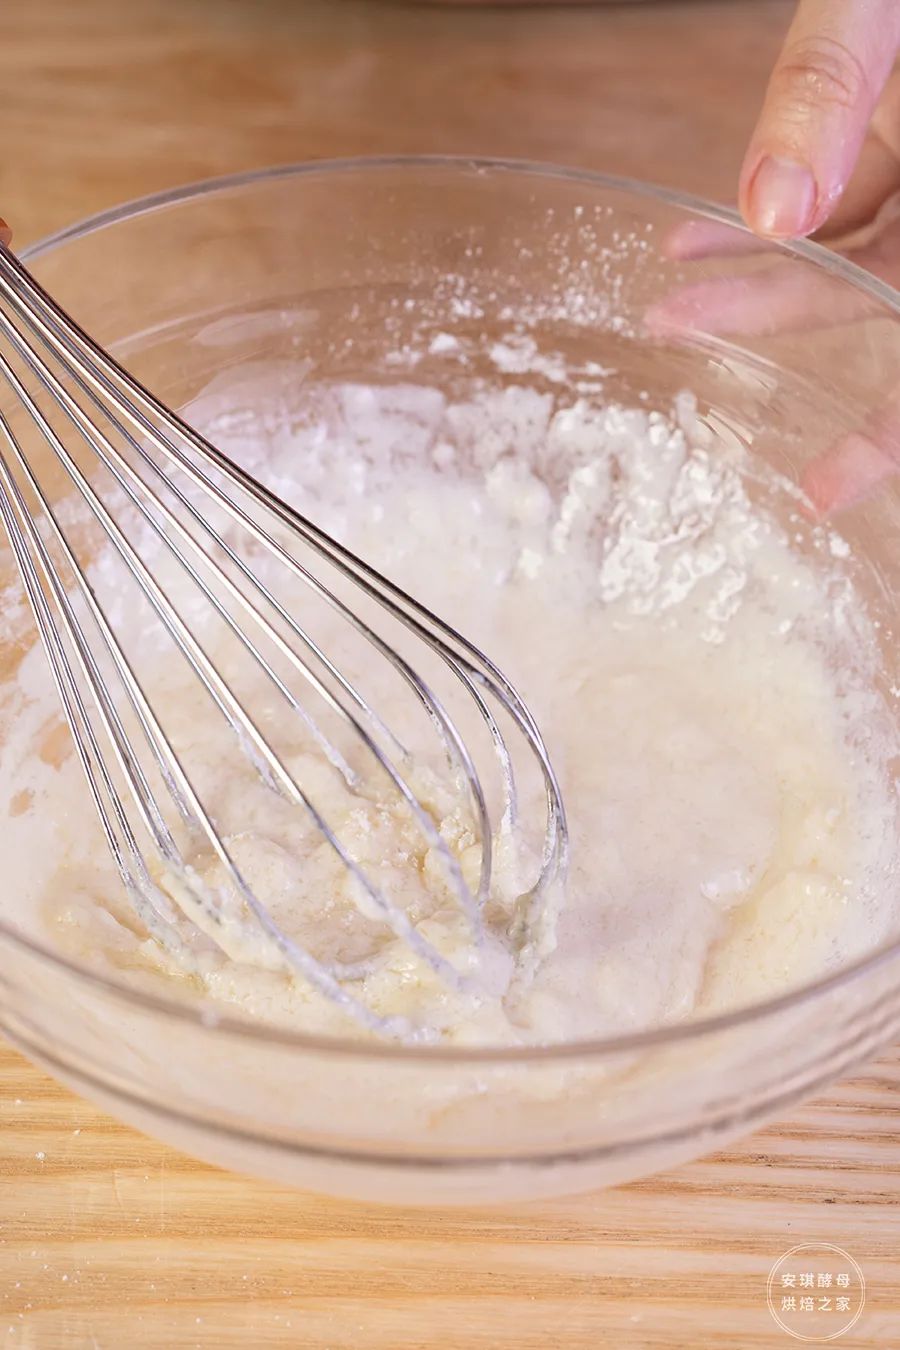
②筛入低筋面粉,拌匀至无干粉。
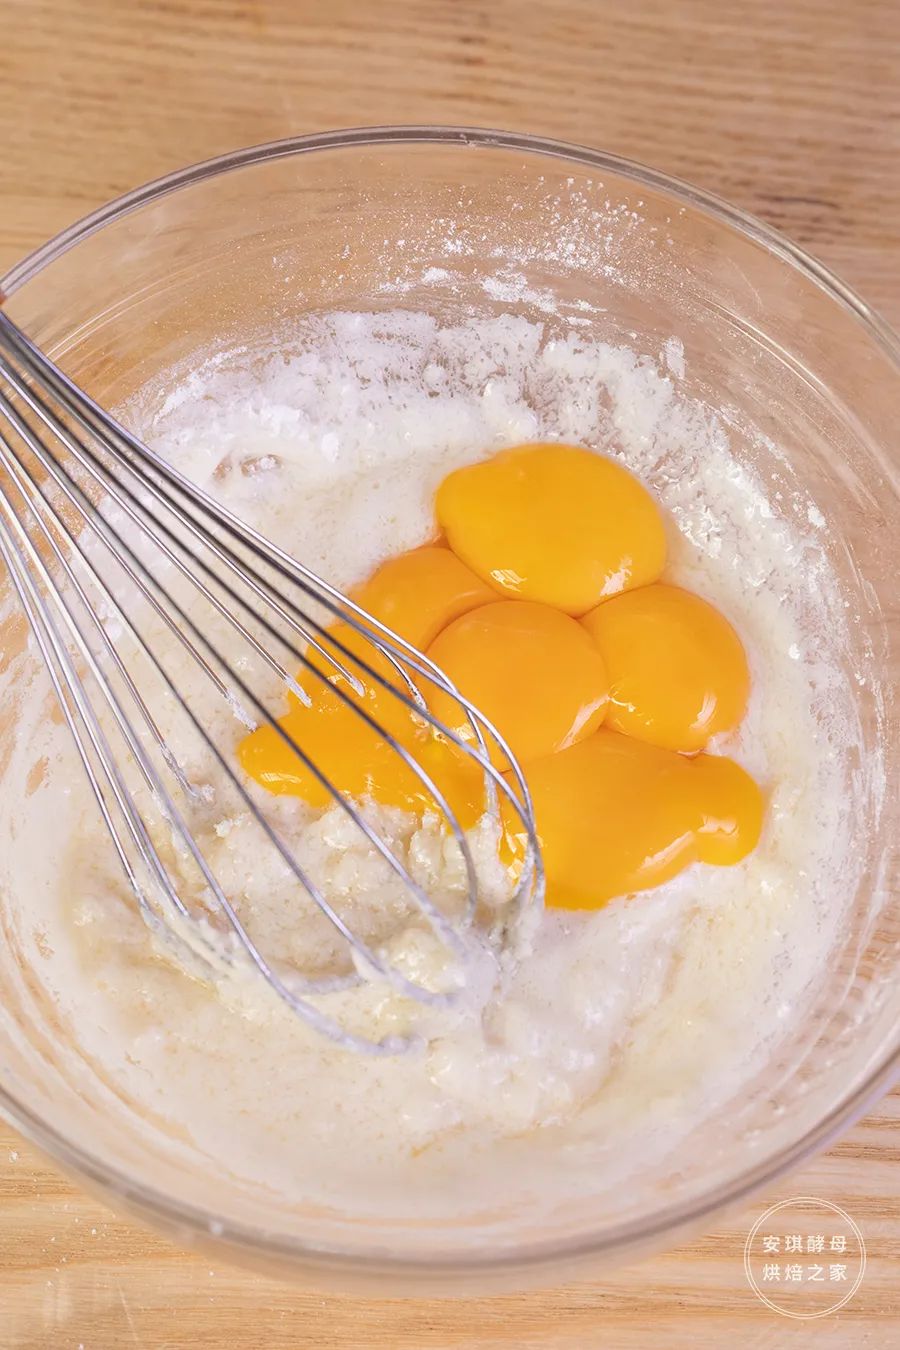
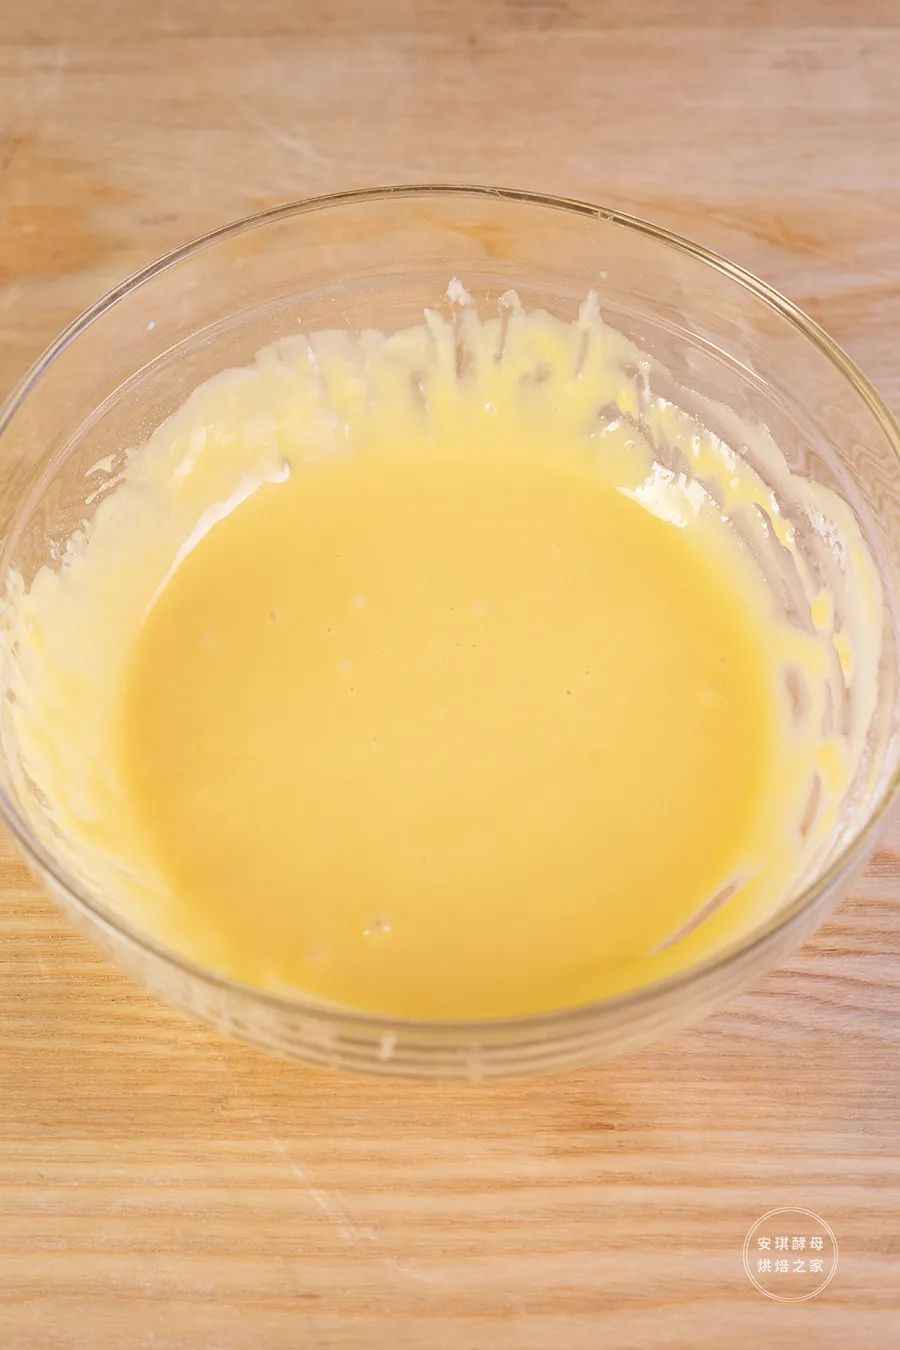
③加入蛋黄,搅拌均匀。
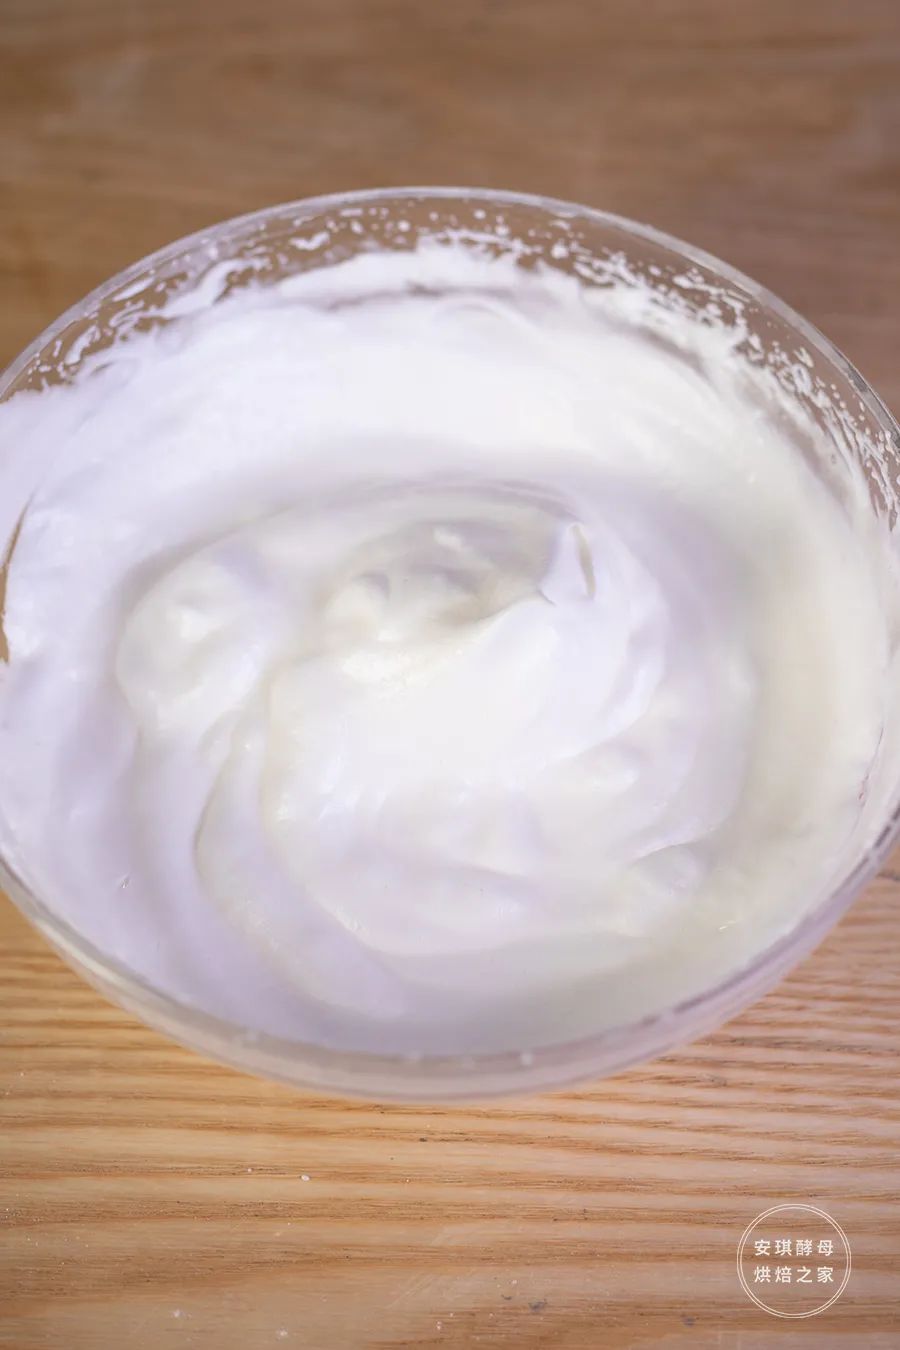
④细砂糖分三次加入蛋白,打发至大弯勾状。
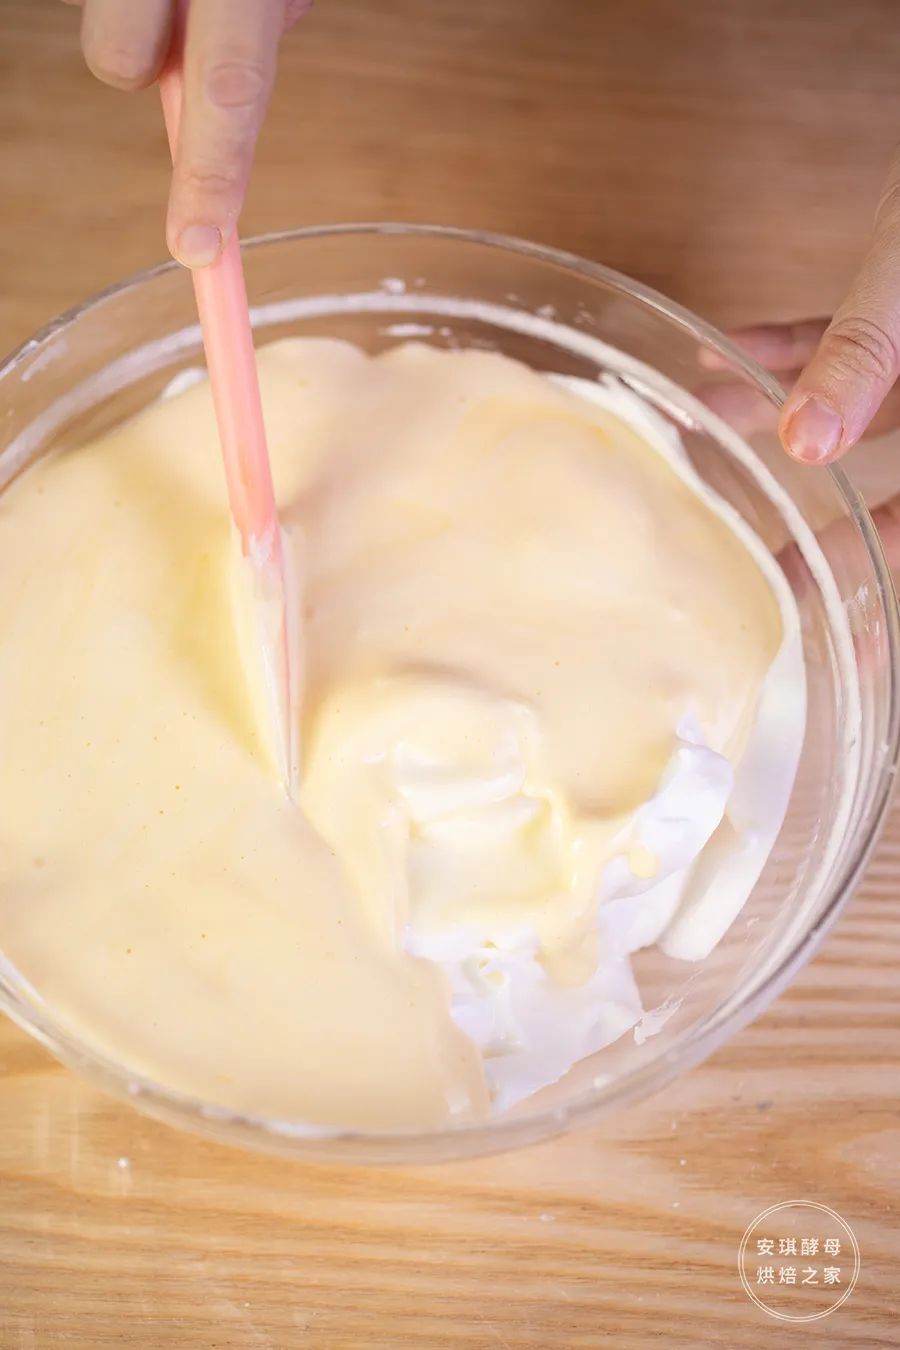
⑤取1/3蛋白霜加入蛋黄糊,翻拌均匀。再全部倒回到蛋白霜中,翻拌均匀。

⑥面糊倒入铺好油纸的烤盘中,抹平,轻震出气泡。
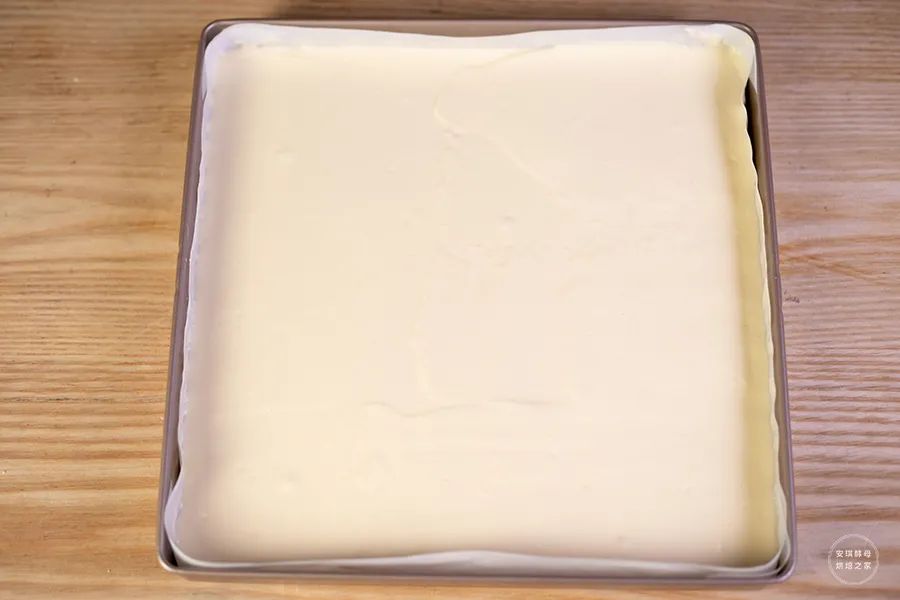
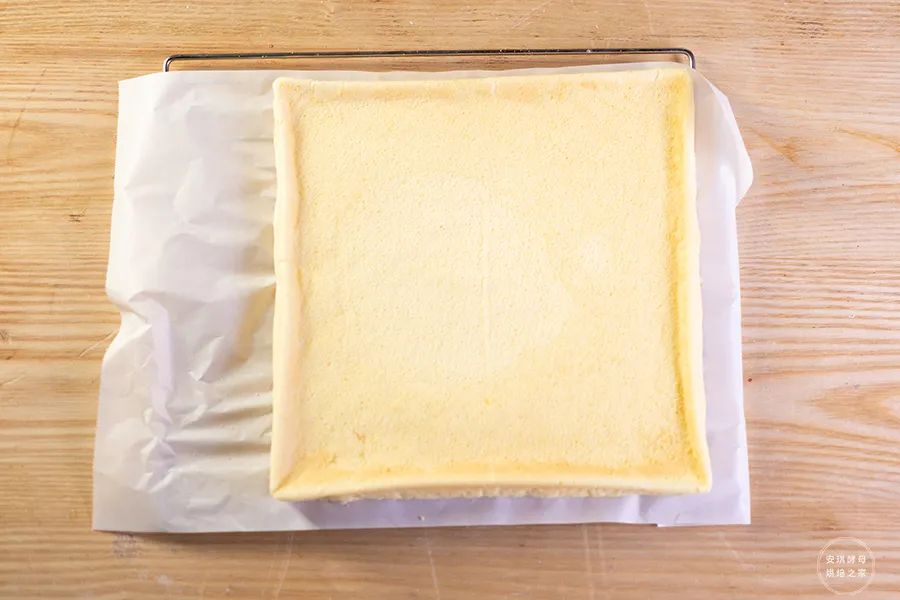
⑦放入预热好的烤箱,上下火175度烘烤25分钟。
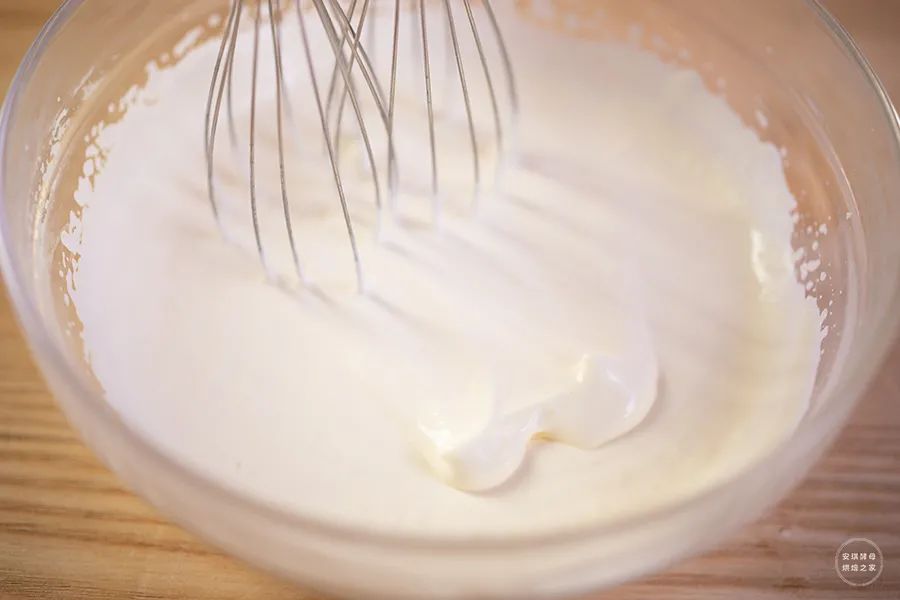
⑧淡奶油加糖打发至出现纹路。
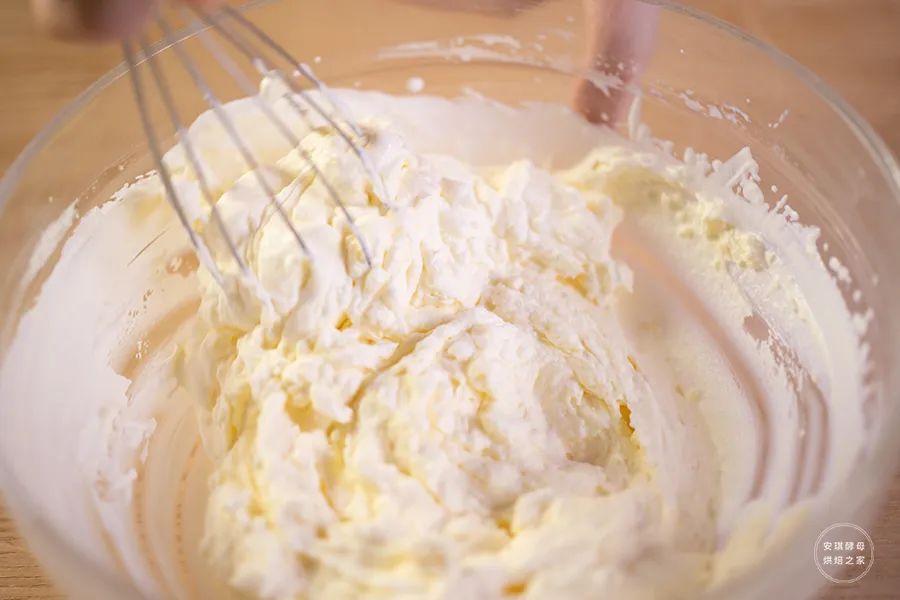
⑨加入软化好的奶油奶酪,搅拌均匀,装入裱花袋放入冰箱冷藏备用。
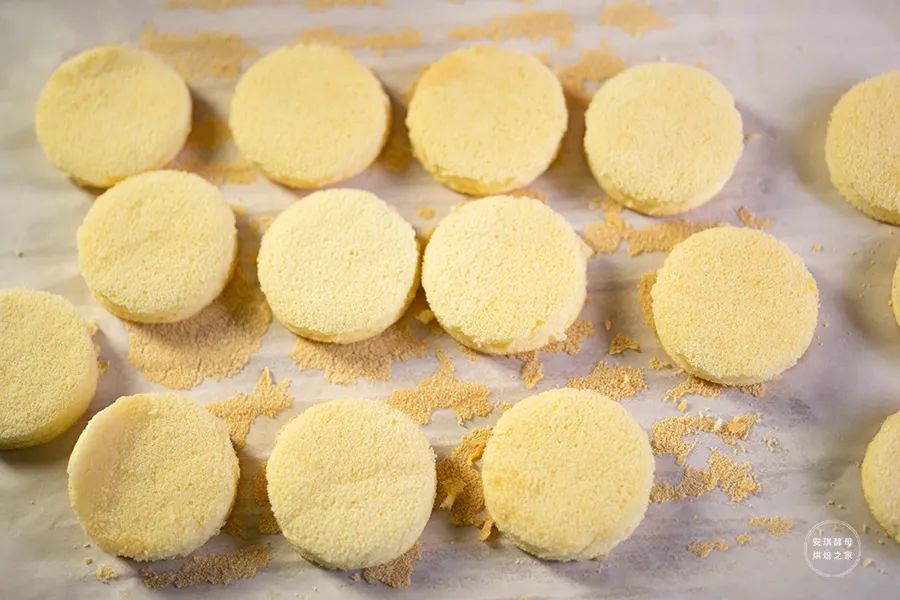
⑩用模具切出自己喜欢形状的蛋糕片,可以直接用杯口。
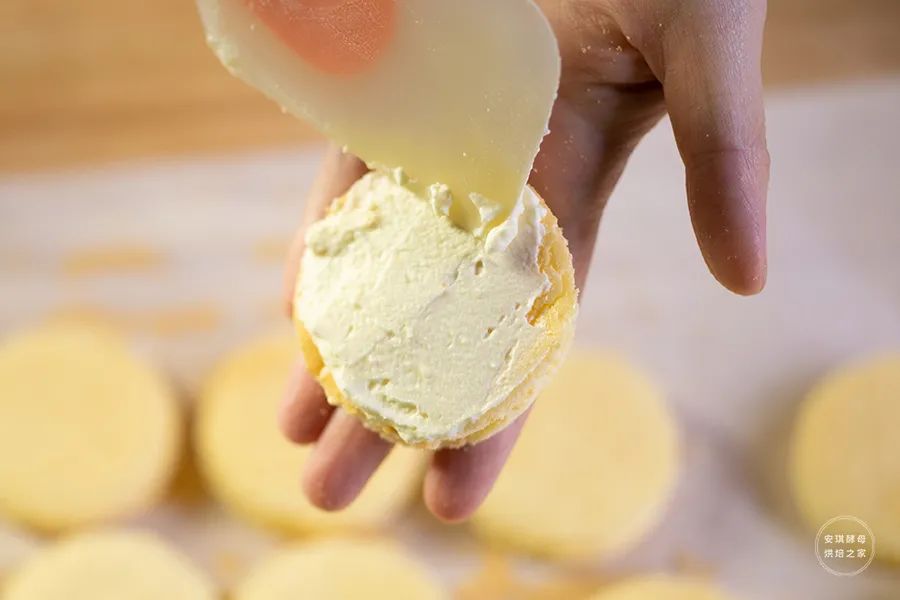
⑪取2份小蛋糕片,中间抹上冰乳酪酱,粘合在一起。
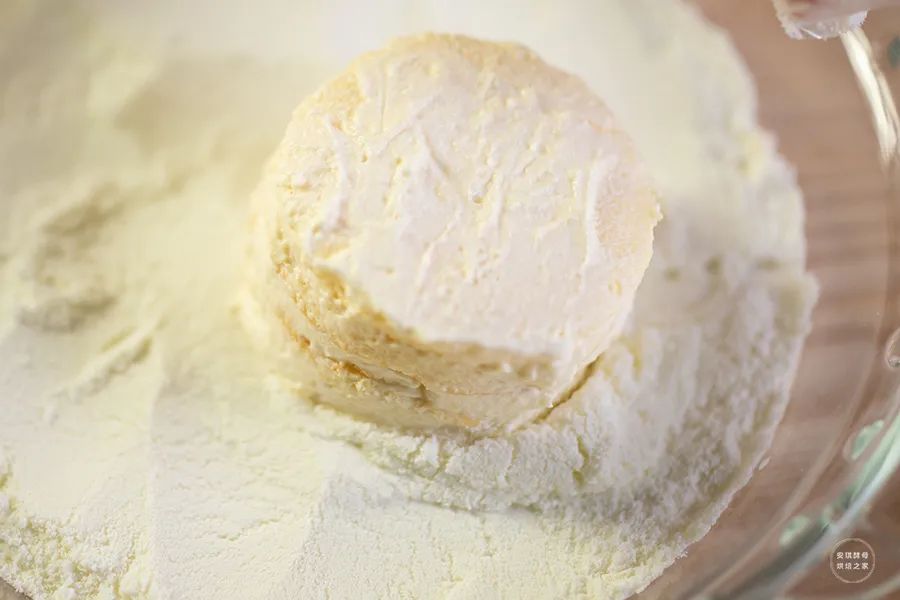
⑫四周抹上 冰乳酪,再丢进奶粉里滚上一圈,粘上一层奶粉即可。
如果有其他疑问请在下方留言给我们看到后一定尽力回复大家♪(^∇^*)


免油炸,巨拉丝
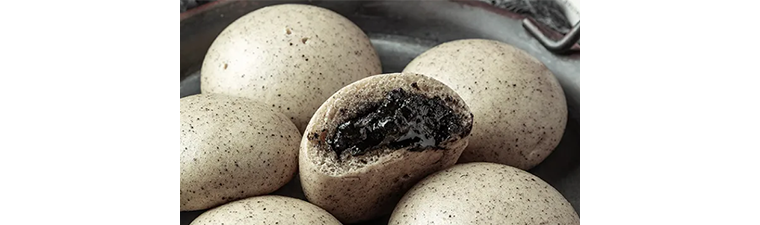
细腻顺滑,个个流沙
搅一搅、拌一拌,嘎嘣脆

不炒馅,不开酥,几块钱


喜欢这个食谱,就点个“在看”和“赞”吧~

预览时标签不可点