焦急等待了一周,在脑海中做了1000次舒芙蕾后,舒芙蕾模具终于到了!!!
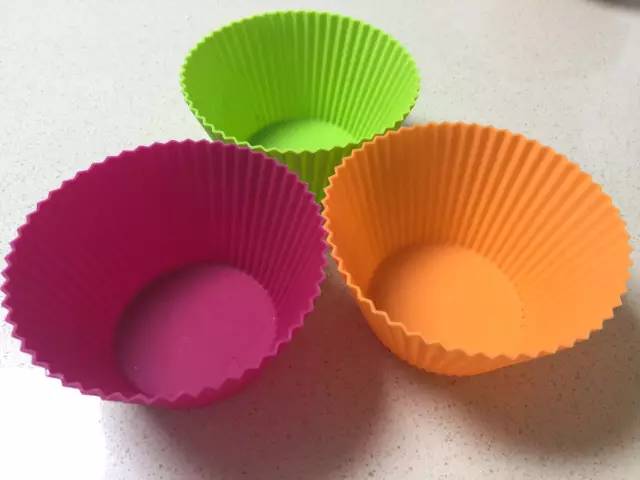
蒜苗君:这不是马芬模具嘛?还是大号的。。。CONY:忘记买了,凑合着用吧。记住,烘焙用的是——心。蒜苗君:没问题,大人,我会做好的!(๑•̀ㅂ•́)و✧心情如图:


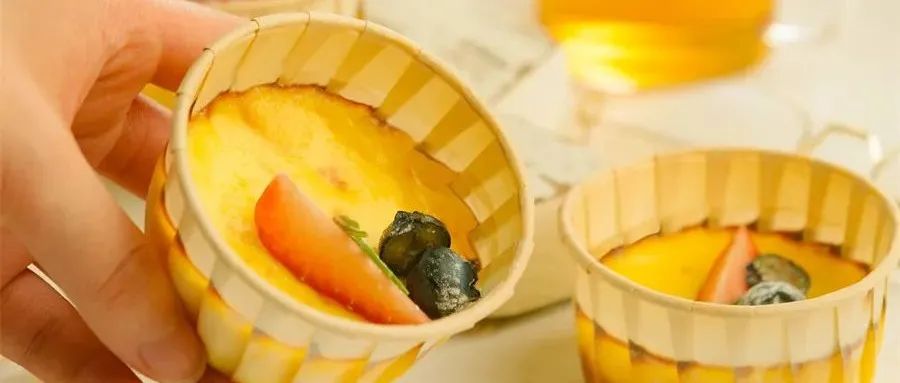
舒芙蕾

参考量:普通舒芙蕾模具可做6个左右鸡蛋2个细砂糖(牛奶)15g细砂糖(蛋白)20g牛奶105g黄油20g低筋面粉20g香草精2滴黄油(抹模具用)适量细砂糖(抹模具用)适量可可粉4g柠檬汁几滴
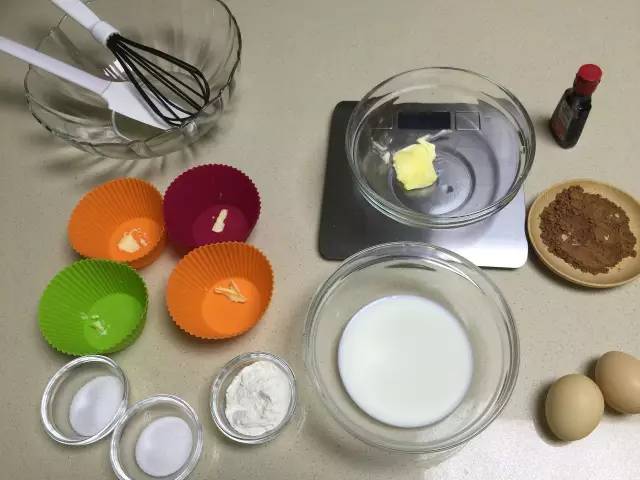

①大家肯定注意到了模具里面的小块儿黄油,这是做什么用的呢?这是用来抹模具的,可以防粘并且在上面粘上细砂糖哦~
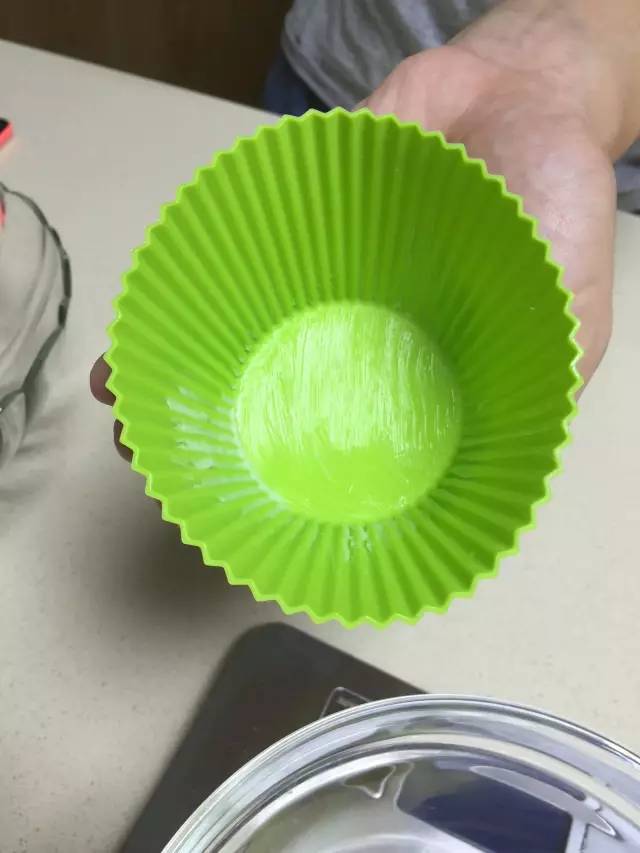
看,涂抹上黄油了。
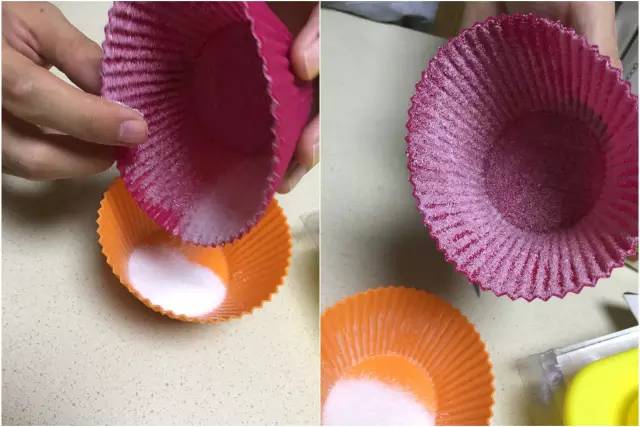
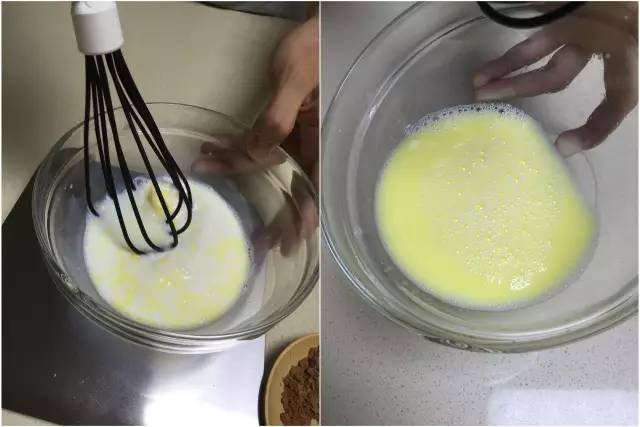
如图就在内壁粘上细砂糖了~②将牛奶用微波炉加热40秒然后倒入细砂糖和切块儿的黄油,搅拌至完全融化,然后放在一边。
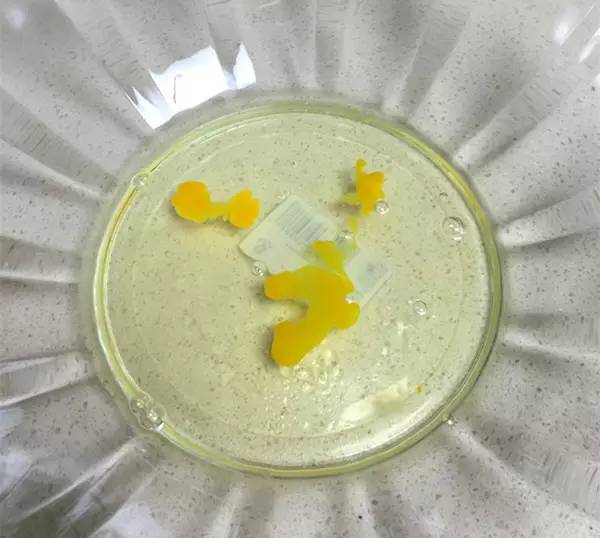
③将低筋面粉和可可粉过筛后加入晾凉的牛奶黄油溶液中,再加入香草精搅匀,微波炉加热40秒至稍微粘稠。(面粉有小颗粒也没多大关系)
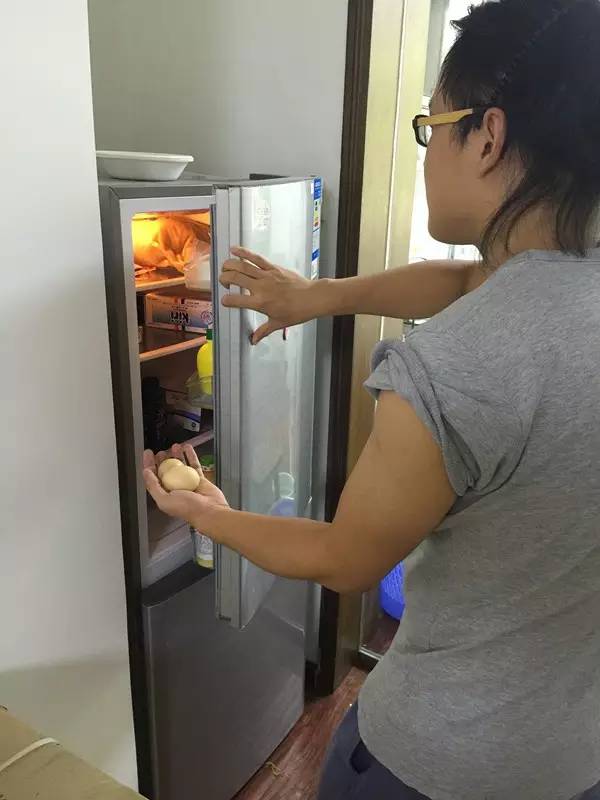
④分蛋,将蛋白放入冰箱冷藏备用。分蛋的时候,蒜苗君失误了!!!
接下来蒜苗君试图把蛋清中的蛋黄捞出来!!!
虽然最后里面只残留了一点蛋黄,但是打发蛋白怎么都打不起来,打蛋器在里面没有感觉到阻力,打出来的效果好像水泥一样无力。。。
于是蒜苗君背着CONY偷偷又拿了俩鸡蛋~
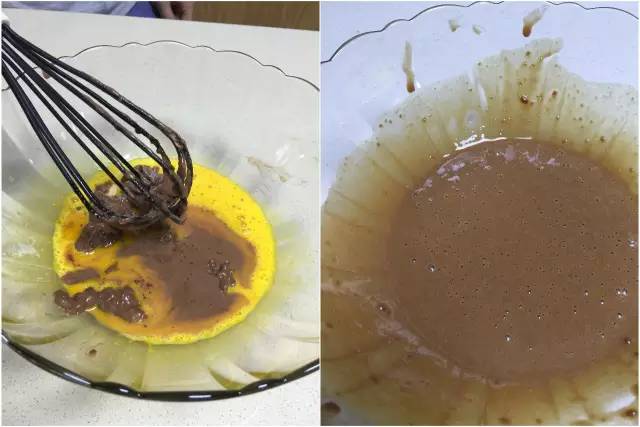
⑤先用蛋抽把蛋黄打散,打出小泡泡就行了。然后将之前的可可面糊倒进蛋黄里面,搅拌均匀就行。
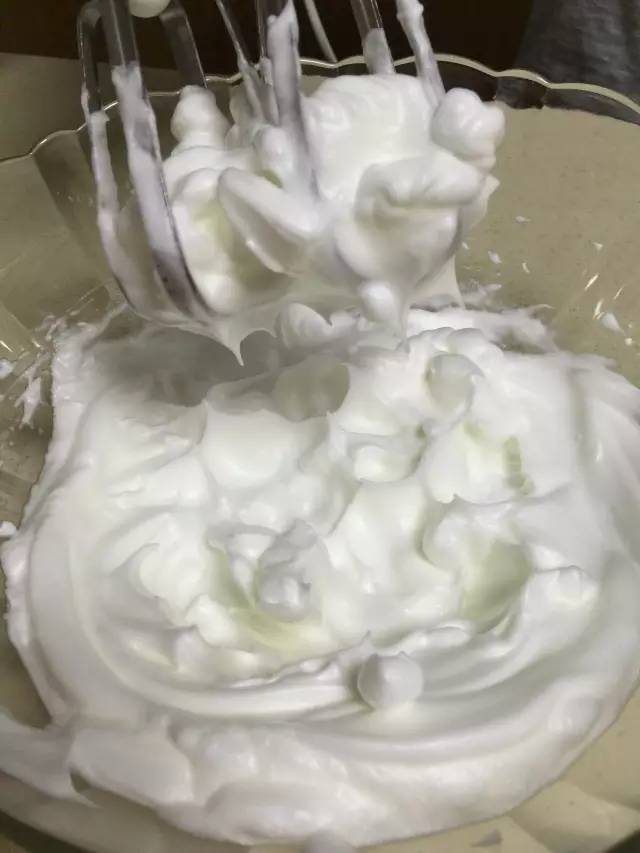
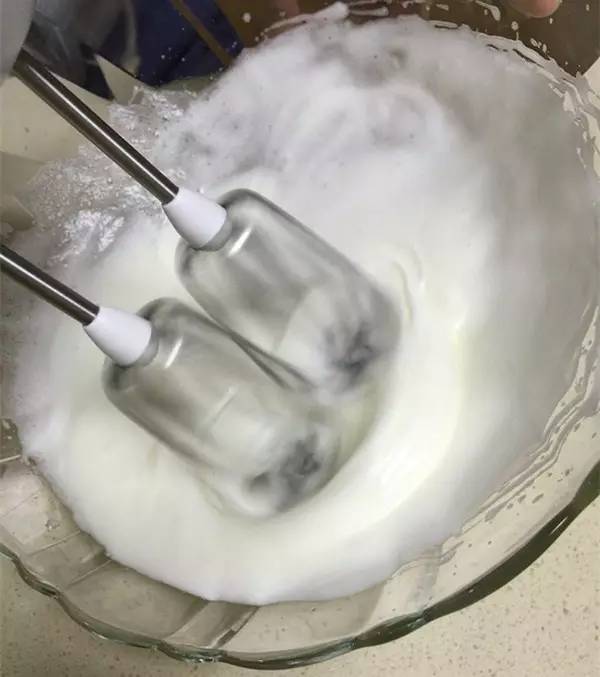
⑥然后打发蛋白,先加几滴柠檬汁,然后分三次加糖打至发泡。(蒜苗打到了干性发泡,但是舒芙蕾即使是湿性发泡也没问题,所以真是打发手残党的福音呢~mua~)
⑦现在可以预热烤箱啦,180度5分钟哦~然后将1/3的蛋白挖到蛋黄面糊中,翻拌匀;然后再把蛋黄糊整个倒进剩下的蛋白霜中,翻拌匀~就可以倒入模具进烤箱啦~中烤架上下火烘烤16分钟左右哦~
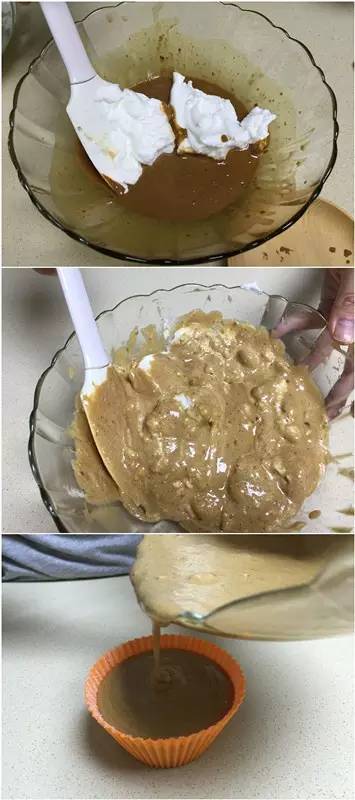
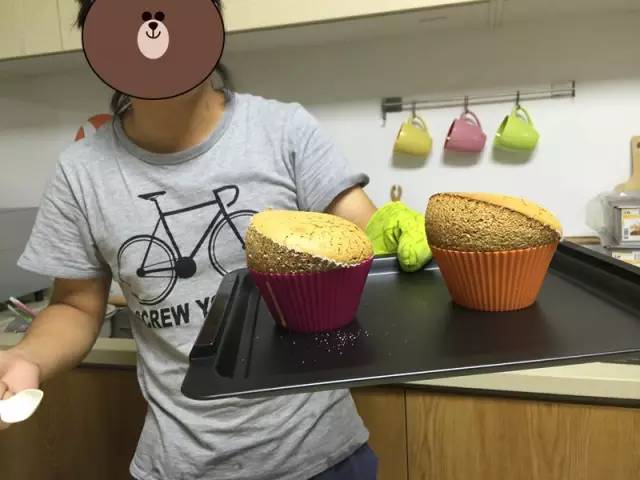
不要装太满哦,不然涨起来碰到烤管怎么办!!!⑧慢慢就涨起来了!!!
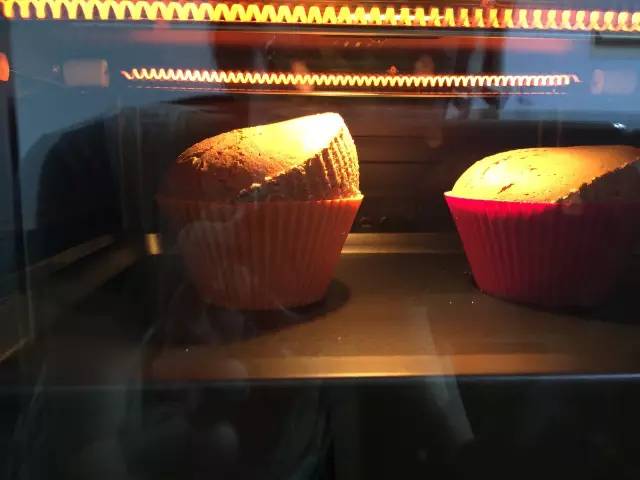
烘烤时间短,所以真的是眼睁睁看着它涨起来的!!!涨发程度很理想,但是都朝同一个方向偏,说明烤箱温度分布不均哦~可以在上面撒点糖粉享用,一定要趁热吃!!!我的舒芙蕾是不是很壮很健康!!!
预览时标签不可点