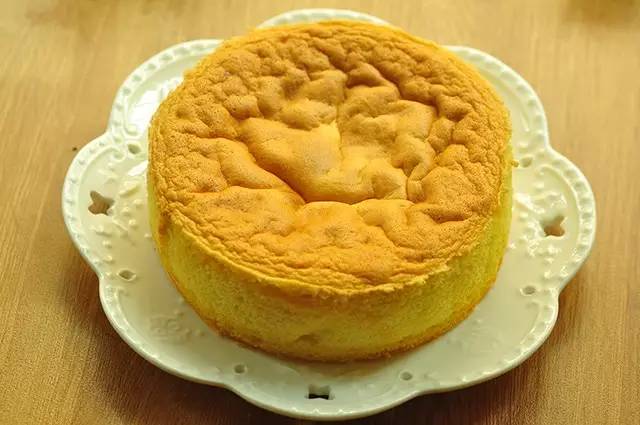
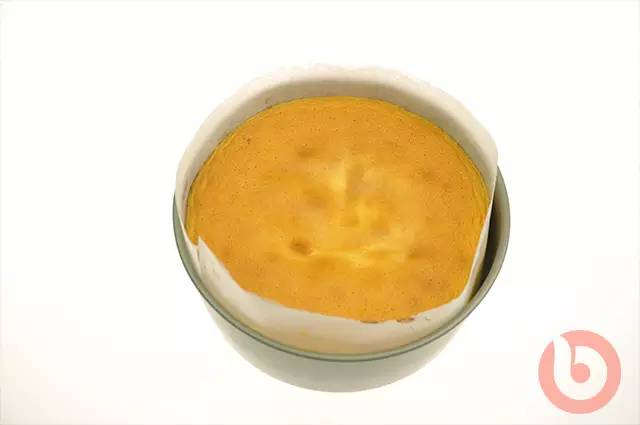
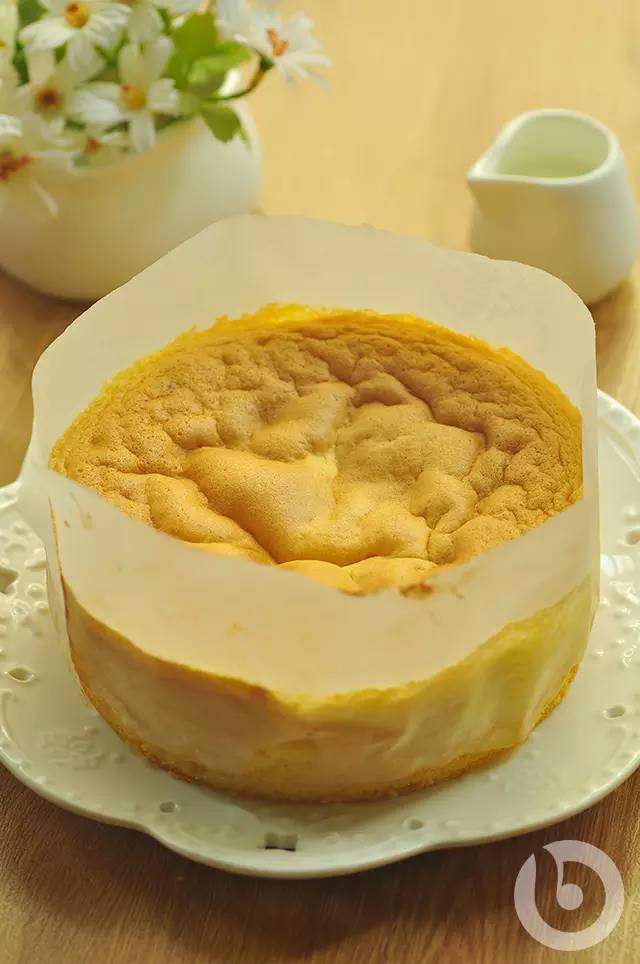
蜂蜜凹蛋糕风靡烘焙界,虽然颜值不咋地,但健康好吃!因为是半熟蛋糕,蛋糕本身会回凹,清香的蜂蜜味,加上柔软的蛋糕体,一切开会有尚未烤熟的蛋糕糊流出来。不喜欢吃生蛋糕的同学,也可以把它烤成全熟蛋糕,味道一样是超好的哟!

蜂蜜凹蛋糕


模具:15cm蛋糕圆模鸡蛋2个蛋黄2个细砂糖60g蜂蜜15g低筋面粉60g动物性淡奶油25g

①剪一张圆形油纸铺垫在蛋糕模底。
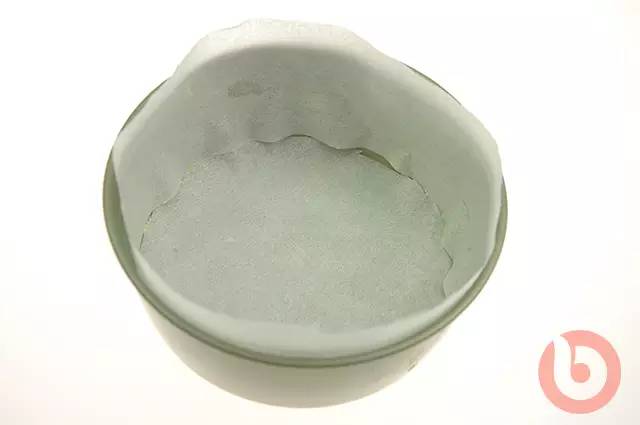
②再切一圈围边油纸,围在蛋糕模的四周。(可在模具上先抹点黄油,帮助纸粘住模具)
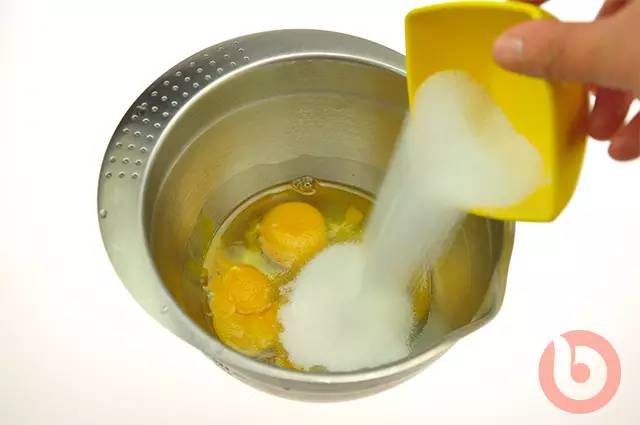
③全蛋+蛋黄+细砂糖+蜂蜜倒入盆内。
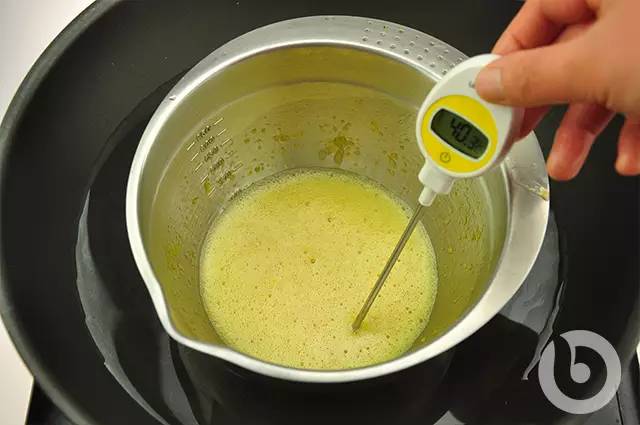
④锅上坐一锅子,凉水上锅,坐上打蛋盆,隔水加温,一边用手动打蛋器不停搅拌。
⑤直至蛋液加热到人的体温38-40度之间,立即端离打蛋盆。
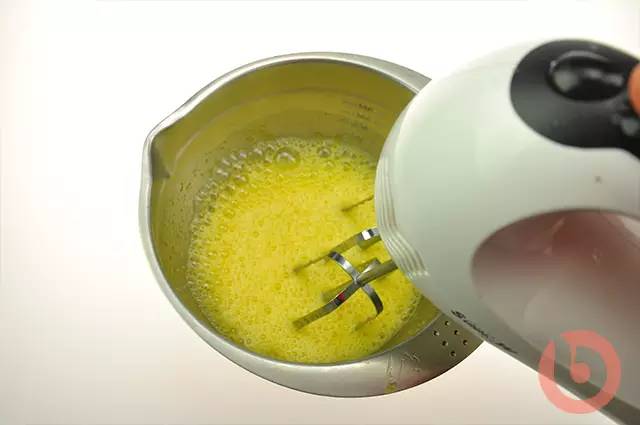
⑥用电动打蛋器,中速开始搅打。搅打的过程中蛋液会慢慢由黄变白,体积膨大。
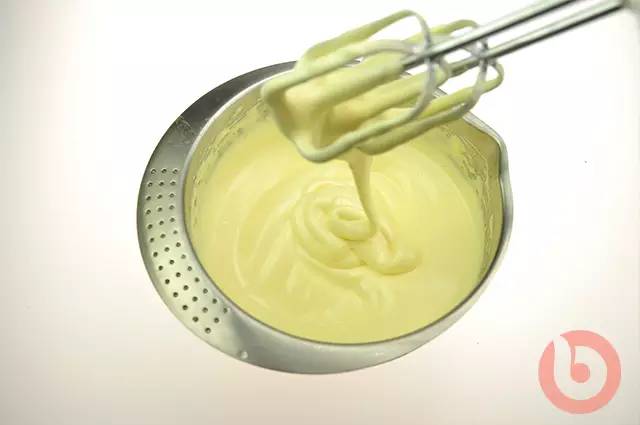
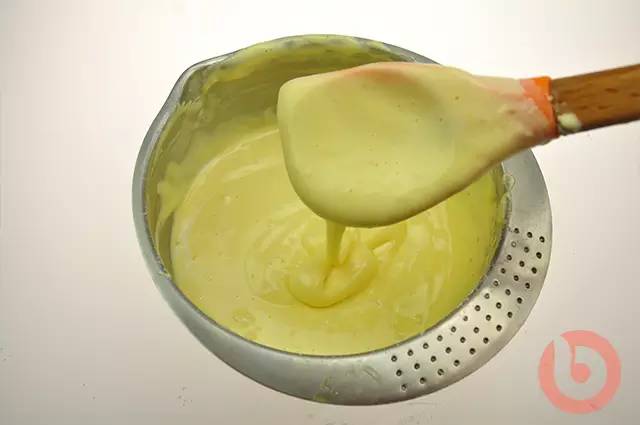
⑦一直搅到到蛋液由黄色转为浅白色,提起打蛋头,蛋液如缎带般流下,并在短短几秒中后才消失。
⑧将低筋面粉筛入盆内。
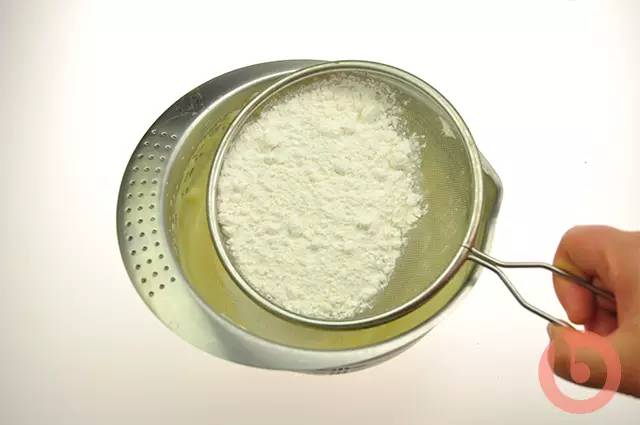
⑨面粉会沉到底下,所以要用橡皮刮刀,由底向上轻轻的翻拌。
⑩一直翻拌到看不到面粉,面糊变得光滑细腻。
⑪将动物淡奶油小心的淋在面糊上。
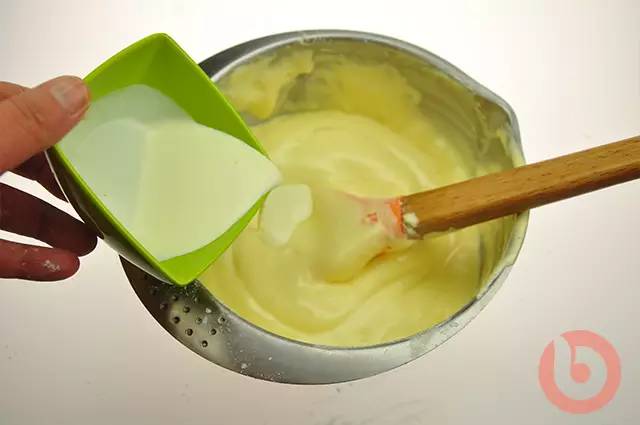
⑫用橡皮刮刀从底部向上翻拌,直到拌匀看不到液体。
⑬将做好的蛋糕糊倒入模具内。
⑭烤箱以170度预热好,170度上下火底层,烤盘上再放一烤网。烤15分钟(半熟)(20分钟全熟)
⑮烤好的蛋糕不要倒扣,直接提起油纸,连蛋糕一同取出,再撕去油纸。
小贴士:◆这款蛋糕因为烤的只是半熟,蛋糕体很软,所以一定要在模具上垫上油纸才能烘烤。垫油纸的时侯可以在模具上抹一点固态黄油,这样纸就能很牢固的粘在模具上了。◆全蛋中的蛋黄含有油脂,不易打发。所以要把全蛋液先隔水加热一下,能帮助快速打发。加热时,锅内的水要从凉水开始,慢慢升温,但温度不能超过50度,(也就是手摸着像冬天洗澡水的温度)否则会烫熟了盆内的蛋液。全蛋液加热到人体温度就可了,可以不使用温度计,直接用手触摸,切记蛋液的温度不能加热过度。◆打发全蛋液时,全蛋液会由刚开始的金黄色逐步变成浅黄色,体积会越来越大,由开始的大汽泡,变成后面细腻的汽泡。◆加入面粉和动物淡奶油后,拌面糊只要轻轻的将所有材料拌匀就好,不要过度搅拌,以免造成蛋液消泡。
预览时标签不可点