nceid="12611848061451911929" data-type="video" data-width="1072" data-height="1920">↑看视频更简单↑上周给帮友们带来了红丝绒旋风卷,大家表示对这种花式戚风很喜欢,有人问,如果没有红丝绒精华液,用红曲粉或者抹茶粉怎么做?我回复在面糊制作时加入就可以了,不过说起来还是有点抽象,于是我就拍摄了这款斑马纹戚风视频,希望可以起到举一反三,抛砖引玉的作用~
![]()
cription-url="http://www.yinpinjie.com/file/upload/202302/24/153751451.png" data-fileid="100107654" data-ratio="0.02" src="http://www.yinpinjie.com/file/upload/202302/24/153751451.png" data-type="png" data-w="650" width="556">
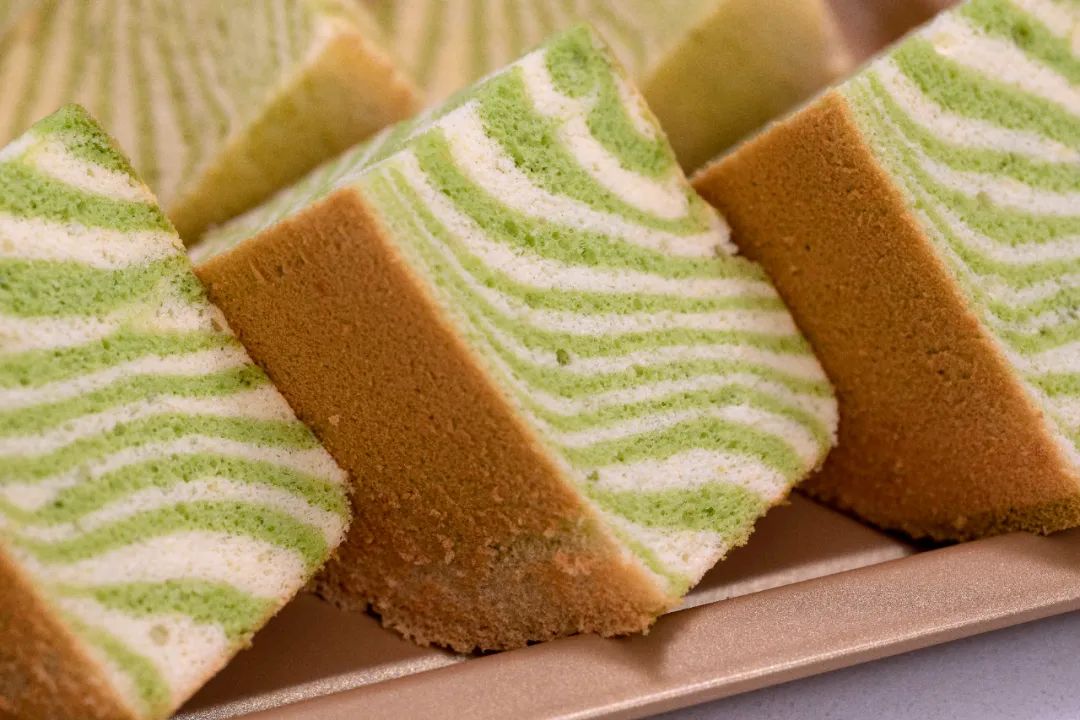
斑马戚风
材料鸡蛋3个/ 牛奶35g / 植物油30g低筋面粉 44g / 玉米淀粉 5g / 斑斓粉 5g盐 0.5g / 柠檬汁2g /细砂糖45g
做法▼步骤1
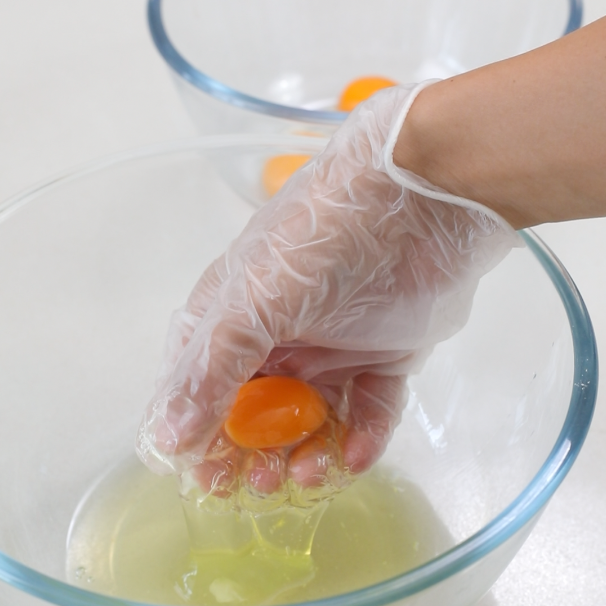
碗中打入三个冷藏鸡蛋,用我的左手捞出蛋黄,千万要温柔一点,一旦弄破蛋黄,蛋白就不能打发了。▼步骤2
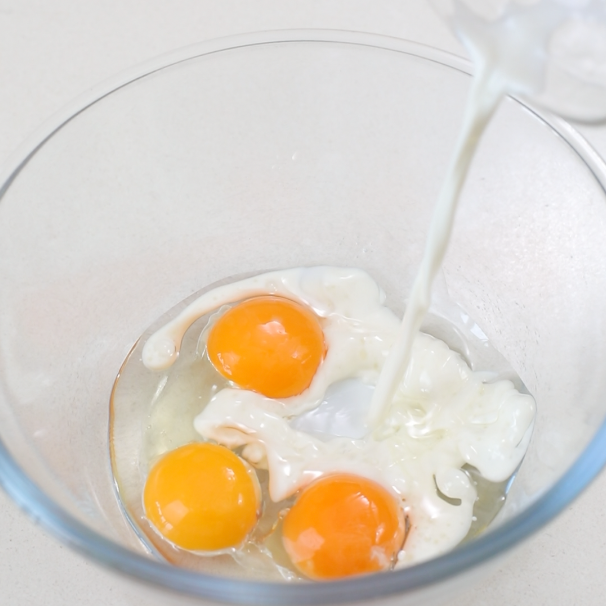
往蛋黄里加30g植物油和35g牛奶,植物油可以是玉米豆、大豆油、葵花籽油这类淡色淡味的植物油,但不建议用调和油、花生油、橄榄油等味道较重的植物油。▼步骤3

搅拌至乳化,就是看不到油星子的状态。▼步骤4
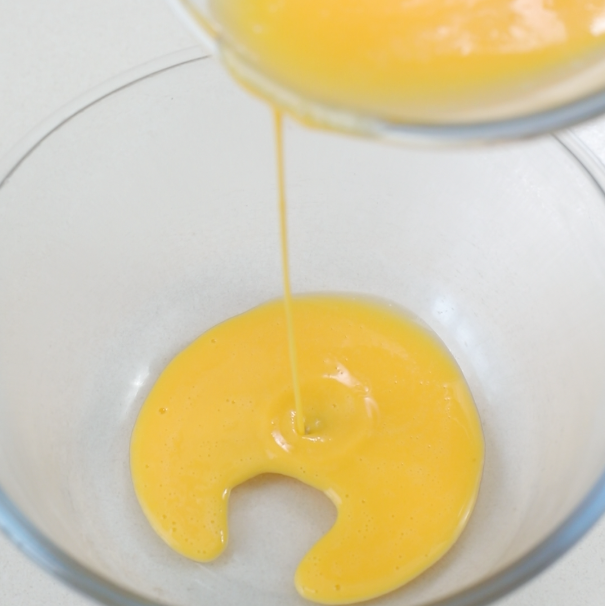
把乳化液一分为二。▼步骤5
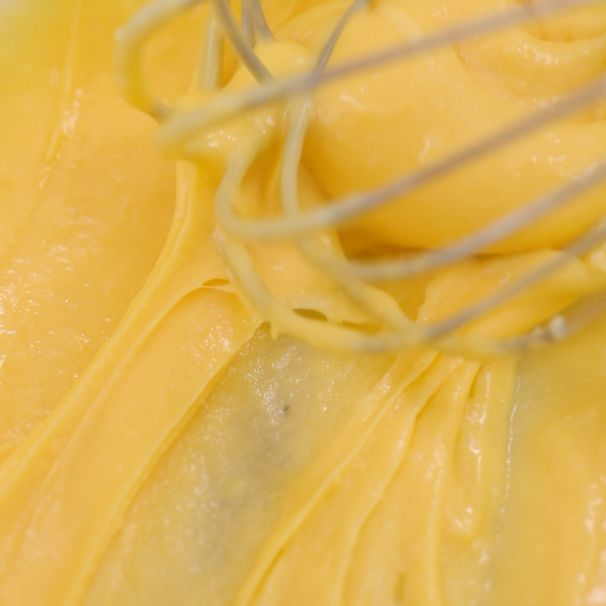
其中一份过筛加22g低筋面粉和5g玉米淀粉。▼步骤6
用横向抽拌的方式混合至看不到干粉的状态。▼步骤7
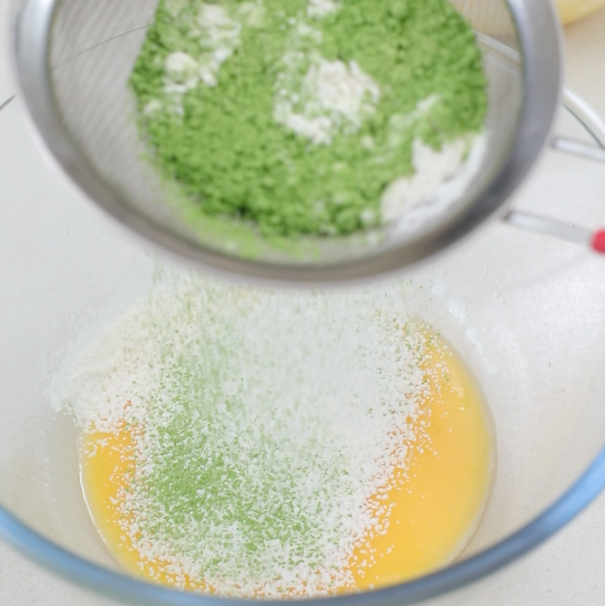
另一份过筛加22g低筋面粉和5g斑斓粉。▼步骤8

同样是横向抽拌至无颗粒状。▼步骤9
三个蛋白,加0.5g盐,再加2g柠檬汁,先高速搅打。▼步骤10
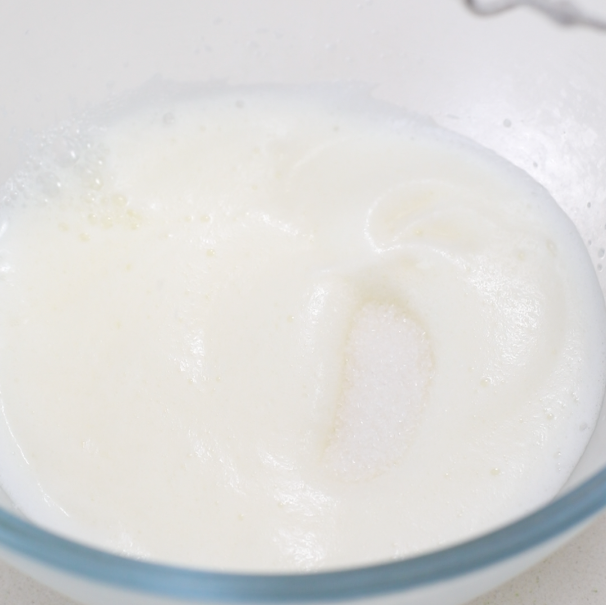
期间分三次加入45g细砂糖打发。▼步骤11

转中速搅打,注意观察状态,当可以拉出修长而柔软的尾巴,就适合做蛋糕卷。▼步骤12

不过我们还需要继续中低速搅打,直到拉出短而挺的小尖角,就适合做圆模戚风了。▼步骤13

两份面糊,各加30g蛋白霜,翻拌均匀。▼步骤14

再各加40g蛋白霜,翻拌均匀。▼步骤15

然后分别装入裱花袋。▼步骤16
在6寸圆模的中心,交替挤入两种面糊,如果面糊堆积起来,就适当震模,让面糊淌平,手不抖的小伙伴,可以每次少挤一些,这样花纹就更细密。▼步骤17

最后用牙签在表面拉出花纹。▼步骤18
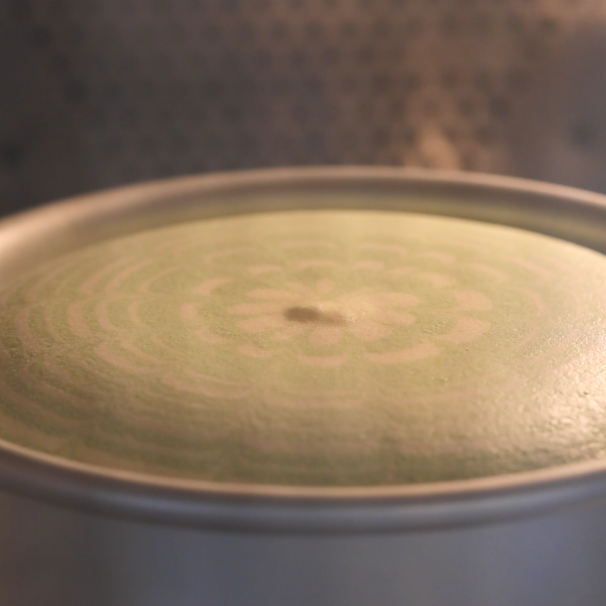
送入提前预热好的烤箱,上下火150度,放最下层,烤40分钟。由于每个人烤箱脾气不同,温度时间仅供参考,大家要灵活调整。▼步骤19
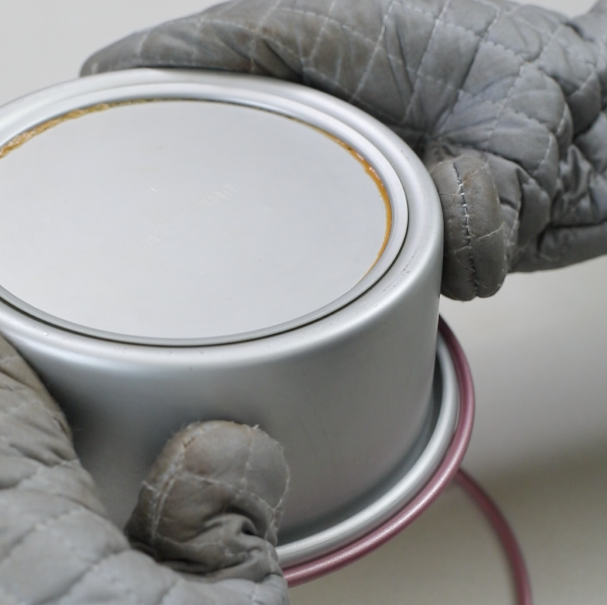
出炉后立刻震模排气,倒扣晾凉才能脱模。▼成品
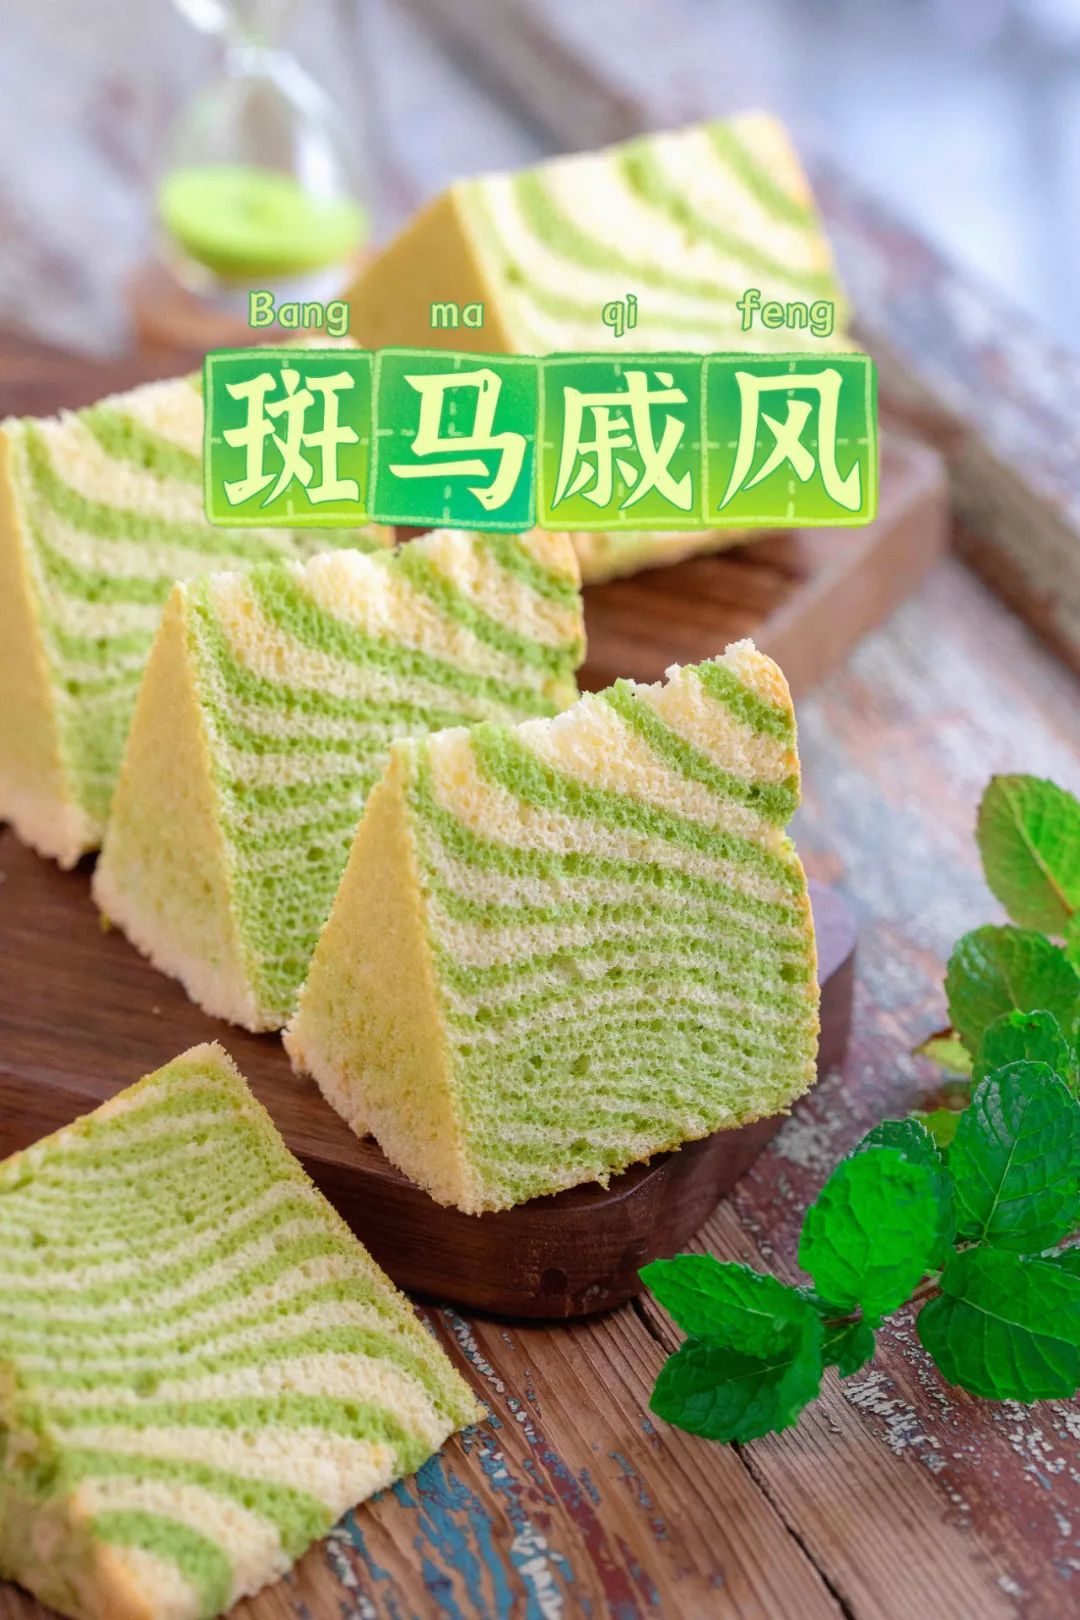
好看的斑马纹戚风就做好了!
小贴士Q:除了斑斓粉,可以用抹茶粉,可可粉吗?A:可以的,等量替换即可。


把我设为星标这样就能天天见啦~点击阅读原文查看更多原创食谱让烘焙更简单▼ ▼ ▼本文是烘焙帮第1553原创食谱「享、赞、看三连」▽▽▽ 预览时标签不可点