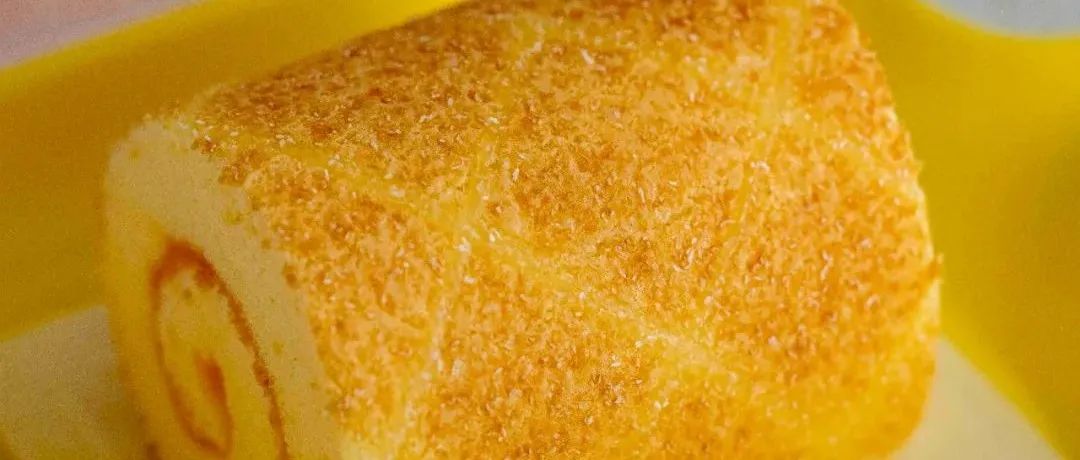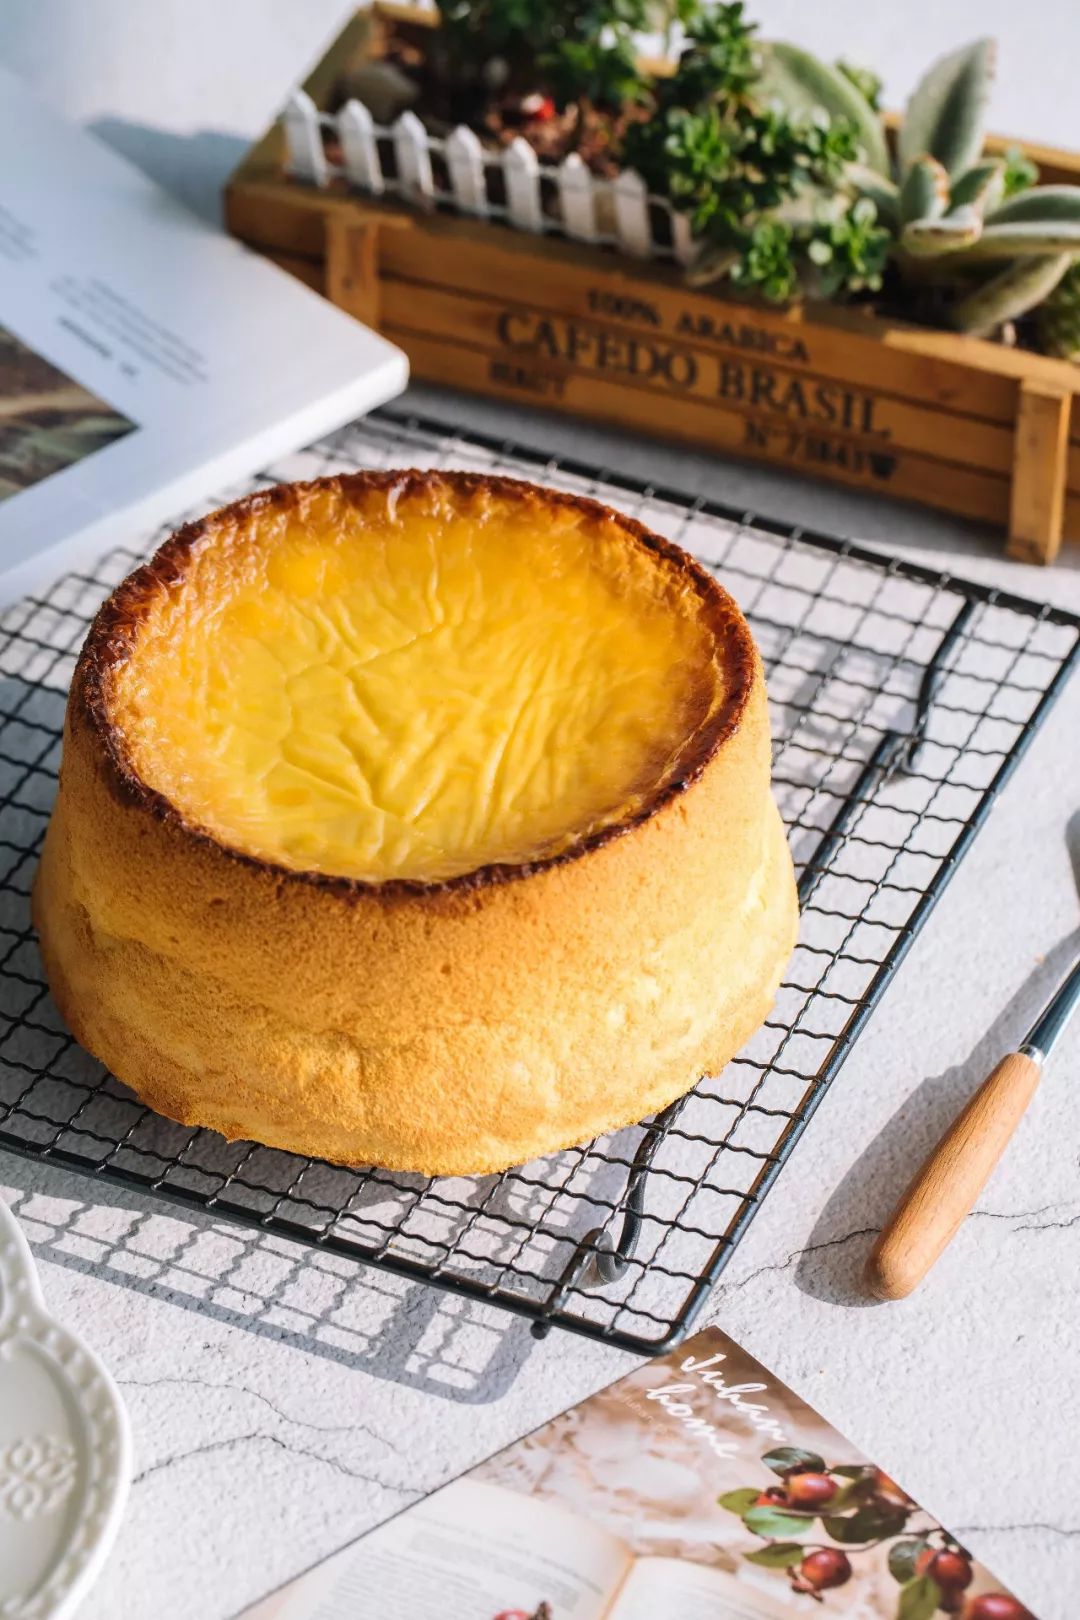
「岩烧起司蜂蜜蛋糕Rock burn cheese cake」By 帮主阿涛材料蛋糕体:鸡蛋 3个低筋面粉 45g细砂糖 45g牛奶 35g色拉油 25g淋酱:车打芝士片 2片淡奶油 60g蜂蜜 13g过程
1、首先将鸡蛋蛋清蛋黄分离。将牛奶与色拉油混合搅拌,让它们彻底乳化。乳化就是油分子和水分子结合后,看不到油末的乳膏状。
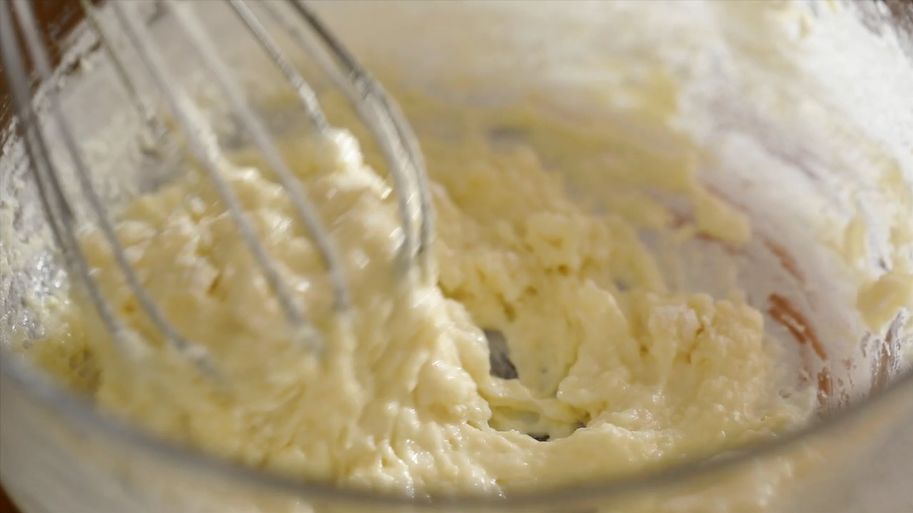
2、加入低筋面粉,这一步不用搅拌至顺滑,只要无干粉状态即可。
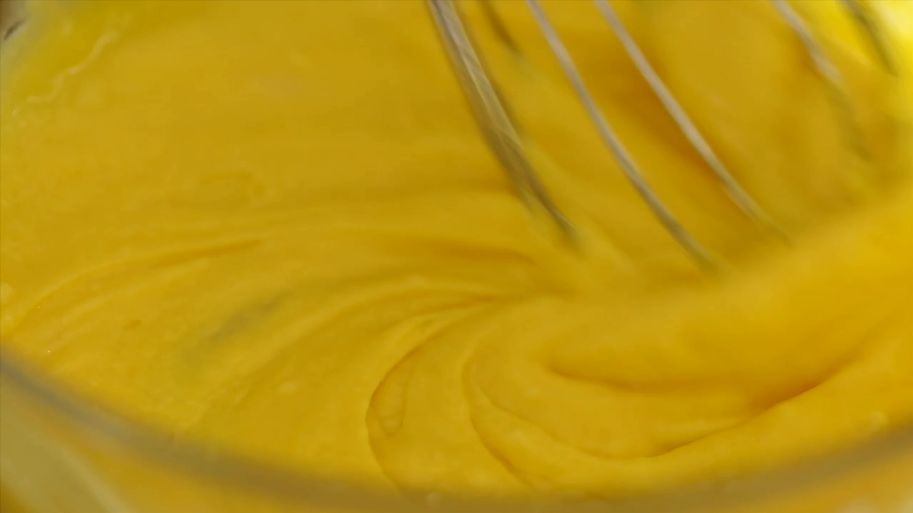
3、接着加入三个蛋黄,划Z字抽拌均匀。
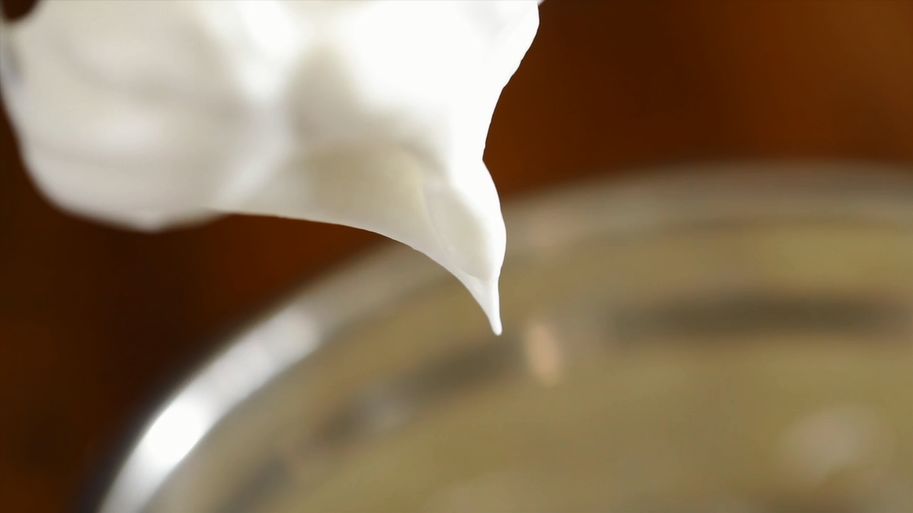
4、在蛋清里加入两滴柠檬汁。接着分三次加入细砂糖,打发至硬性发泡,提起打蛋头有个直立的小角尖即可。
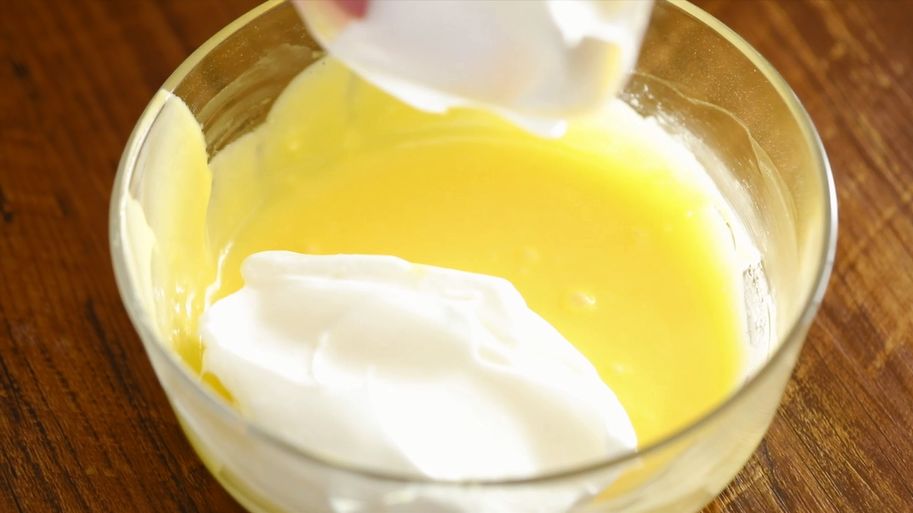
5、取三分之一蛋白霜加入到蛋黄糊里,稍微翻拌几下。
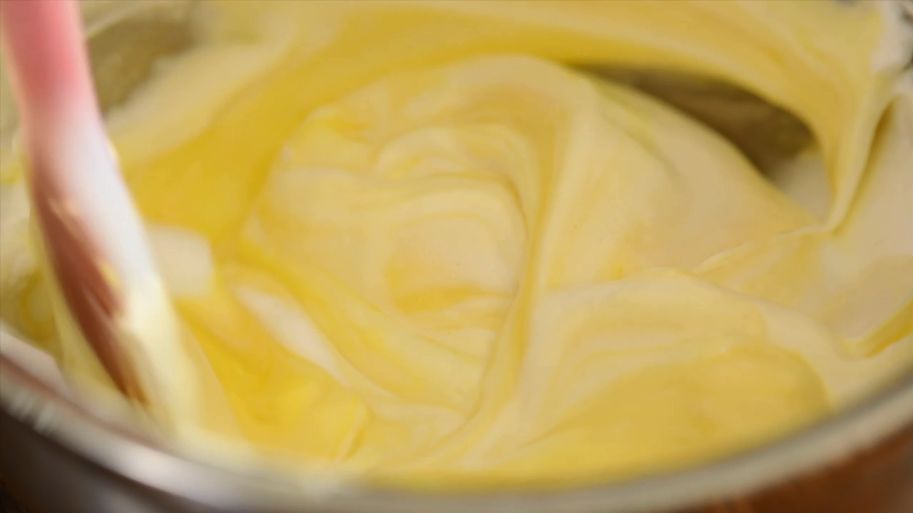
6、再倒回剩余的蛋白霜中,并完全翻拌均匀。
7、将翻拌好的面糊倒入6寸圆模中,然后轻轻震几下,震出面糊里的大气泡。

8、最后送进预热好的烤箱,中下层,上下火170℃,烤40分钟左右即可。
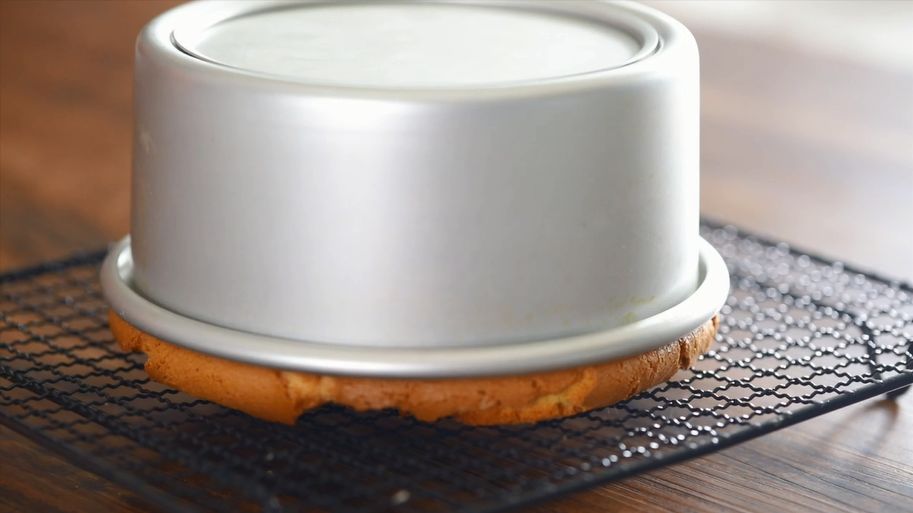
9、烤好的戚风倒扣至完全变凉脱模。

10、将蛋糕用保鲜袋封好,放进冰箱冷冻两小时,等表面冻硬。

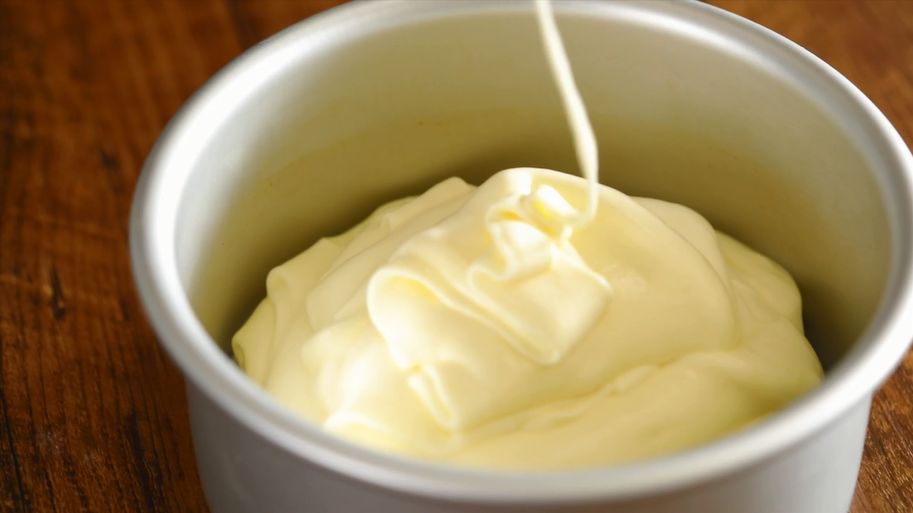
11、接着开始制作淋酱,将芝士片、淡奶油与蜂蜜倒入小锅中,隔热水加热至浓稠状态。
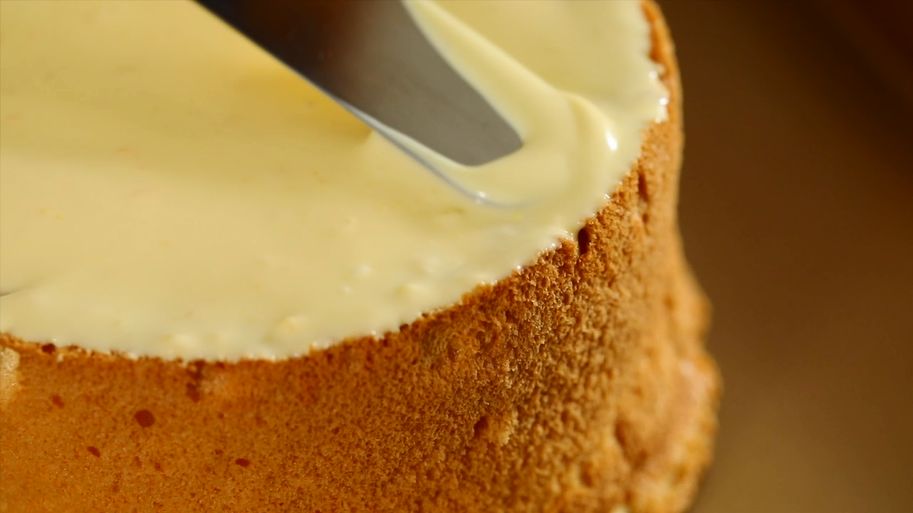
12、将加热好的淋酱倒在戚风表面,并用抹刀抹平。

13、最后将蛋糕放进预热好的烤箱,单独上火250℃,烤7分钟左右,表面上色即可。
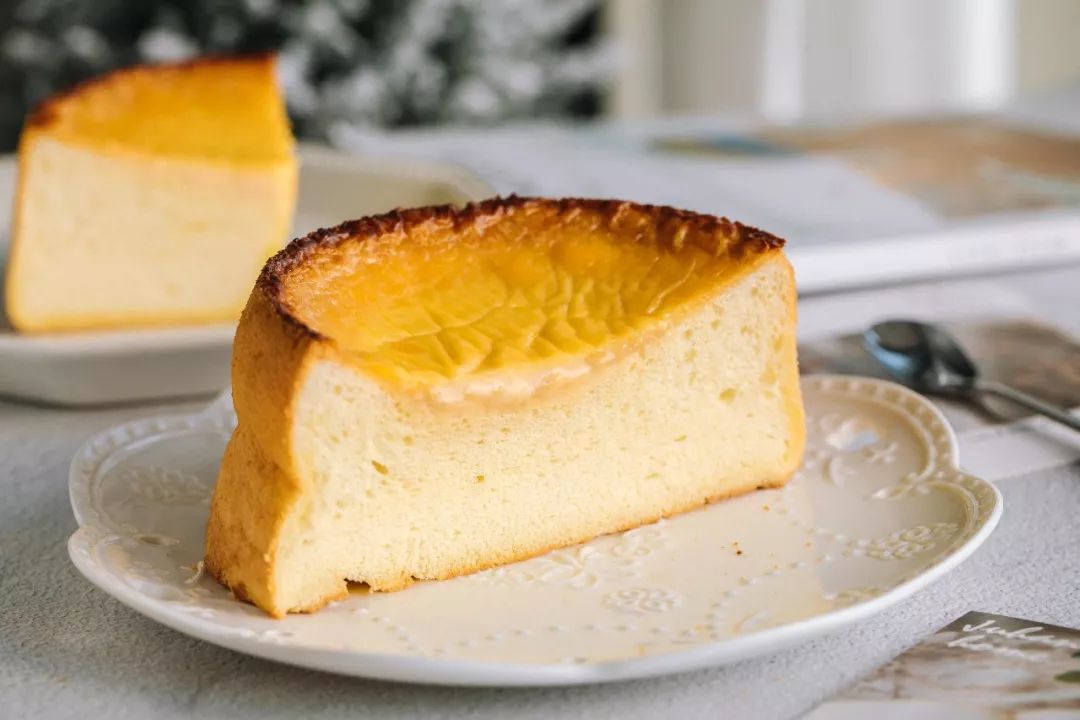
14、美味的岩烧芝士蛋糕就做好了!TIPS1、这款岩烧蛋糕中心凹陷正常吗?倒入淋酱后烘烤,蛋糕中间凹陷是正常的状态。2、蛋糕胚可以换成其他的吗?除了戚风胚之外,海绵胚和芝士胚也可以。3、为什么我的岩烧层焦的很厉害呢?每个人烤箱都不一样,温度时间仅供参考,需要根据自己烤箱脾气灵活调整哦!


把我设为星标这样就能天天见啦~点击阅读原文查看更多原创食谱让烘焙更简单▼ ▼ ▼本文是烘焙帮第1569原创食谱「享、赞、看三连」▽▽▽ 预览时标签不可点