中秋必备的蛋黄酥。上边是视频版,图文版往下看哈。说起来,制作蛋黄酥的过程真的是一个治愈的过程,擀酥皮,包馅儿,一点一点的,心情就好起来了。虽然视频版和超级详细的图文版都在,但蛋黄酥的制作还是有很多需要注意的地方,所以今天(9月5日)晚上7点半,我在君焙旗舰店的直播间和大家一起做一次蛋黄酥,把整个制作过程完整的展示给大家。怎么看看直播?天猫搜索店铺“君焙旗舰店”,或复制淘口令:8.0 xixi:/£noJTXovGwH4✔ 打开手机淘宝进入店铺即可。
 以下为图文版食谱
![]() cription-url="https://mmbiz.qlogo.cn/mmbiz_jpg/ClibbPIzyNXh35u3JFic7ic1TZeuICib0nH0Q25EoS3ydSU5He6MvBPnyyRfduib8ek3icjInsQTGUD9Fg9SgoSCHN1A/0?wx_fmt.jpeg" data-ratio="0.4255555555555556" data-s="300,640" src="http://www.yinpinjie.com/file/upload/202211/24/141729681.jpeg" data-type="jpeg" data-w="900" >【蛋黄酥】(6个)
cription-url="https://mmbiz.qlogo.cn/mmbiz_jpg/ClibbPIzyNXh35u3JFic7ic1TZeuICib0nH0Q25EoS3ydSU5He6MvBPnyyRfduib8ek3icjInsQTGUD9Fg9SgoSCHN1A/0?wx_fmt.jpeg" data-ratio="0.4255555555555556" data-s="300,640" src="http://www.yinpinjie.com/file/upload/202211/24/141729681.jpeg" data-type="jpeg" data-w="900" >【蛋黄酥】(6个)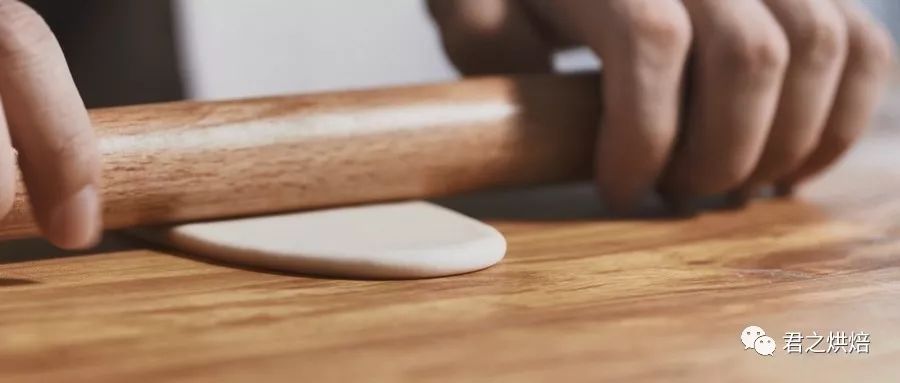 配料:水油皮:低筋面粉70克,猪油30克,细砂糖5克,水25克油酥:低筋面粉60克,猪油30克
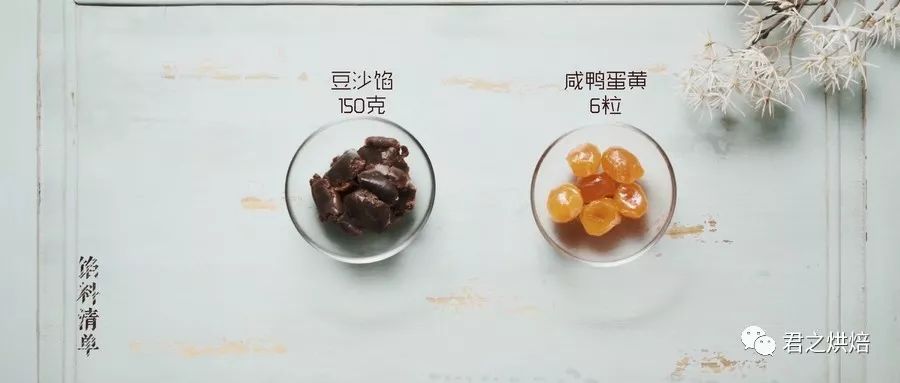 馅料:豆沙馅150克,咸鸭蛋黄(生)6粒表面装饰配料:蛋黄适量,白芝麻适量(生熟均可)制作过程
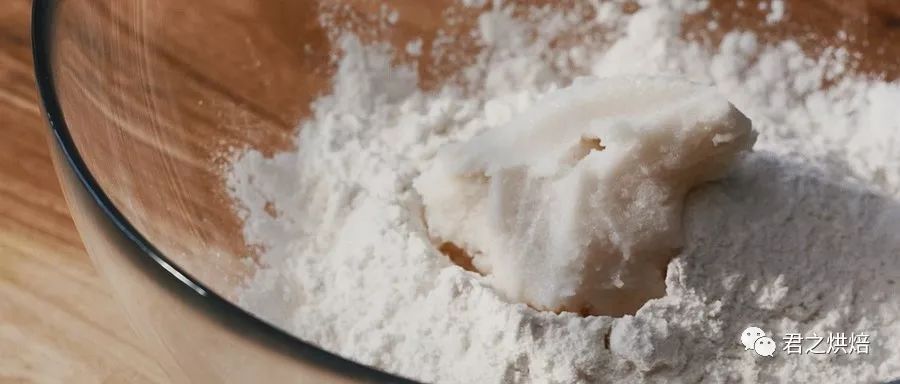 首先制作水油皮面团。将水油皮面团的所有材料混合在一起,充分揉匀,成为面团。
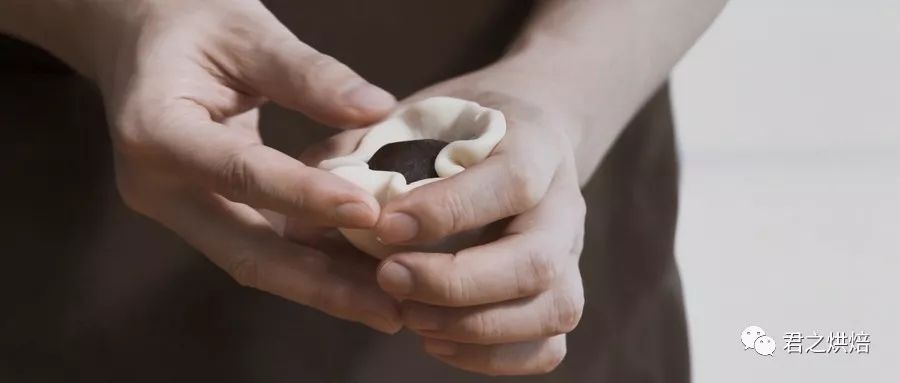 用力揉面,使面团成型。然后将面团移到台面上,继续用力揉10分钟左右。
 揉好的面团捏成长条,均匀切成6份。
![]() cription-url="https://mmbiz.qlogo.cn/mmbiz_gif/ClibbPIzyNXh35u3JFic7ic1TZeuICib0nH0v4DAvuPj4N5R1R4icHGd3AOIsq4QiarWPUneEjpCR5e1FvsOoROKP1nQ/0?wx_fmt.gif" data-ratio="0.42083333333333334" data-s="300,640" src="http://www.yinpinjie.com/file/upload/202211/24/141729671.gif" data-type="gif" data-w="480" />将切好的面团整形成圆形(从两头不断往底部收,直到表面成为光滑的圆形)。
cription-url="https://mmbiz.qlogo.cn/mmbiz_gif/ClibbPIzyNXh35u3JFic7ic1TZeuICib0nH0v4DAvuPj4N5R1R4icHGd3AOIsq4QiarWPUneEjpCR5e1FvsOoROKP1nQ/0?wx_fmt.gif" data-ratio="0.42083333333333334" data-s="300,640" src="http://www.yinpinjie.com/file/upload/202211/24/141729671.gif" data-type="gif" data-w="480" />将切好的面团整形成圆形(从两头不断往底部收,直到表面成为光滑的圆形)。 整形好以后,盖上保鲜膜或者湿布,松弛15分钟。
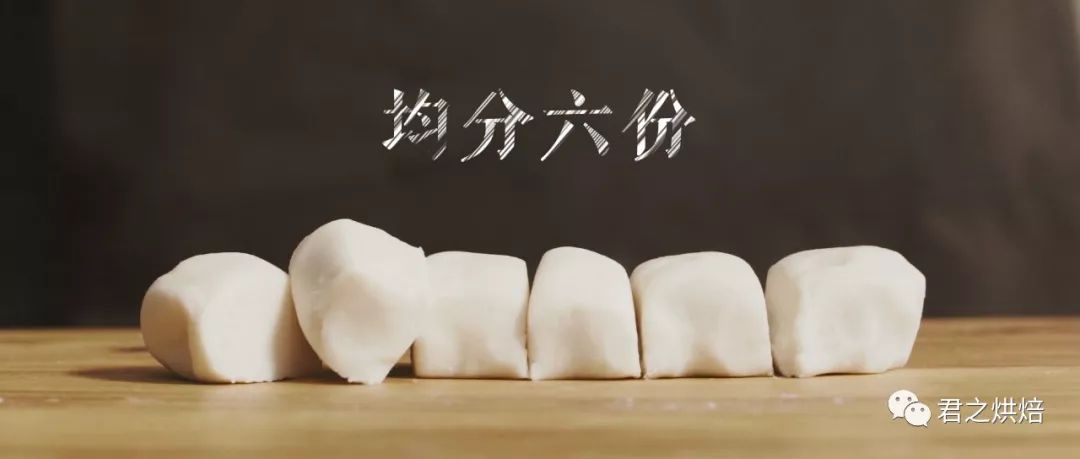 松弛面团的时候可以来制作油酥面团。将油酥面团的材料(低筋面粉、猪油)充分混合并搓匀,成为面团。然后将面团同样捏成长条,分成6份。
 用手心将油酥面团搓成圆球。
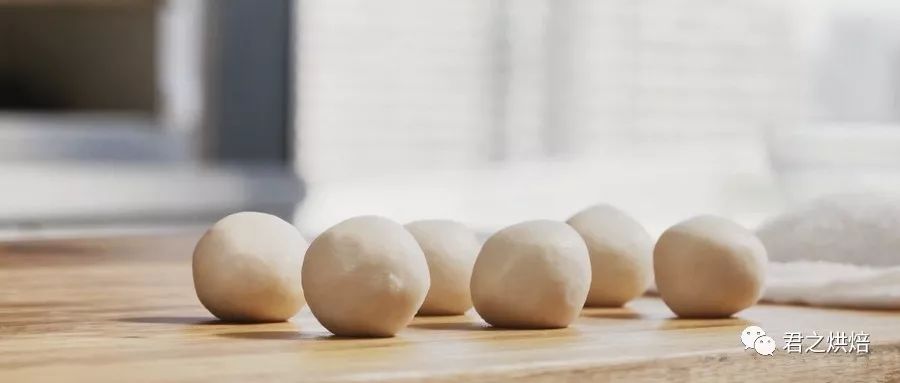 油酥面团做好以后,不需要松弛,可以直接使用。
 取一个水油皮面团,压扁,放上一块油酥面团,包起来。包好以后,收口朝下放置。将包好的面团压扁,然后用擀面杖擀开成为长椭圆形。
![]() cription-url="https://mmbiz.qlogo.cn/mmbiz_gif/ClibbPIzyNXh35u3JFic7ic1TZeuICib0nH0Iw0R7uBfYnmlSyKORbFlxo5tP1xcGF9eEic0NCNQeLZib613GNZN0tAw/0?wx_fmt.gif" data-ratio="0.43573667711598746" data-s="300,640" src="http://www.yinpinjie.com/file/upload/202211/24/141729661.gif" data-type="gif" data-w="638" />从一头向另一头卷起来。注意卷紧。
cription-url="https://mmbiz.qlogo.cn/mmbiz_gif/ClibbPIzyNXh35u3JFic7ic1TZeuICib0nH0Iw0R7uBfYnmlSyKORbFlxo5tP1xcGF9eEic0NCNQeLZib613GNZN0tAw/0?wx_fmt.gif" data-ratio="0.43573667711598746" data-s="300,640" src="http://www.yinpinjie.com/file/upload/202211/24/141729661.gif" data-type="gif" data-w="638" />从一头向另一头卷起来。注意卷紧。 卷好的小面团,收口朝上,用手掌压扁。
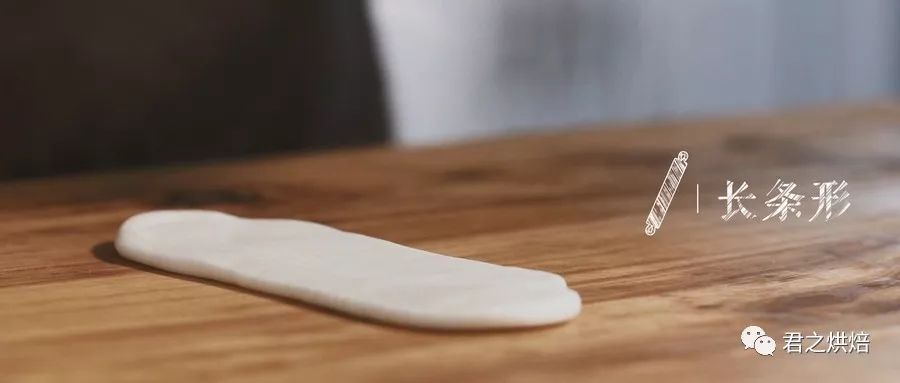 再一次用擀面杖擀开。这一次擀开后的形状会是图中所示的长条形。
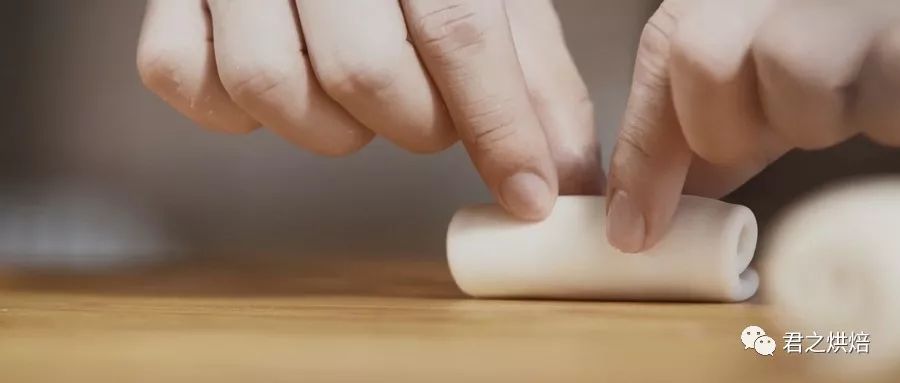 再一次卷起来。
 所有面团都卷好以后,继续盖上保鲜膜或湿布,松弛15分钟以上。
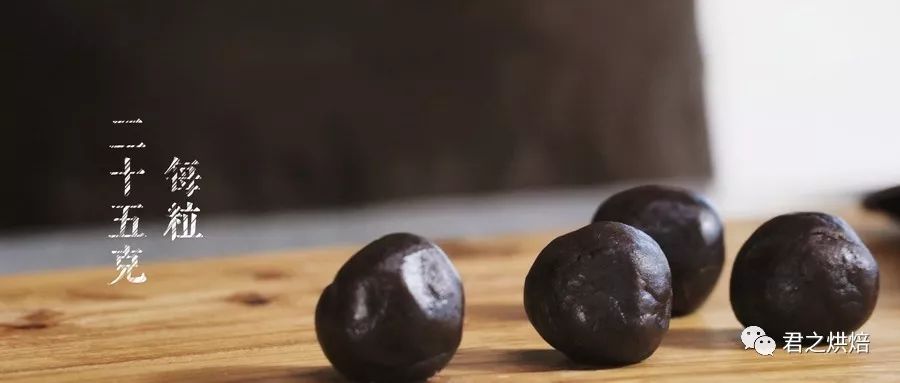 准备馅料。将豆沙馅分成25克/份。
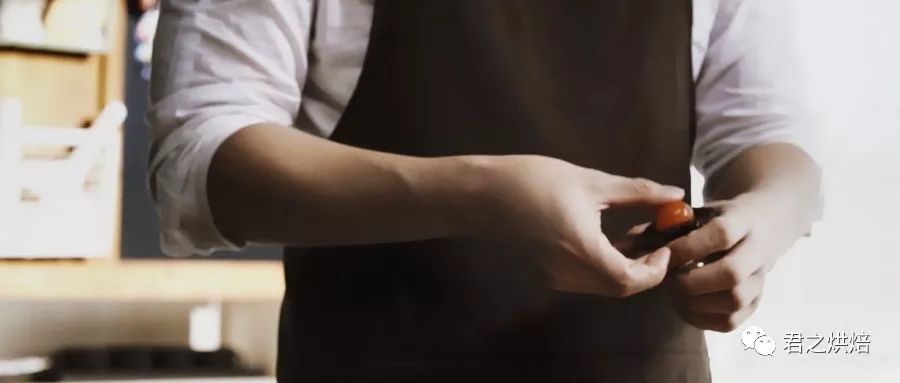 将豆沙馅压扁,包入一粒咸蛋黄。直接用生咸鸭蛋黄即可,不需要提前将咸蛋黄烤熟。提前将咸蛋黄烤熟再包馅可以减少最后的成品烘烤时间,但是会损失蛋黄的油脂和香味。
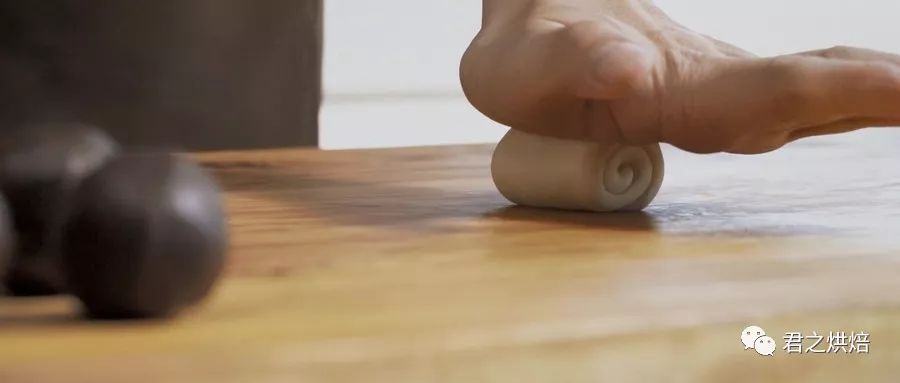 接下来就开始包馅了。将之前松弛好的面团,压扁。
 擀开成为圆饼状面皮。将面皮光滑的一面朝手心放置,将馅料放在面皮中心,包起来。
 面皮包裹住馅料以后,慢慢往上推,直到完全将馅料包住,并捏紧收口。
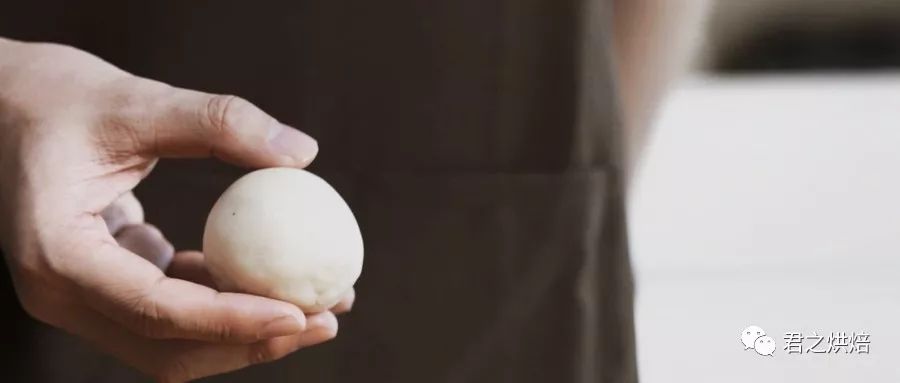 收口朝下放置。这样蛋黄酥就包好了。将所有蛋黄酥都包好。
 烤盘里铺一张油纸。将包好的蛋黄酥面团放入烤盘。表面刷一层蛋黄液。直接取一个生鸡蛋黄搅散,用毛刷蘸蛋黄液刷在面团表面即可。
 擀面杖一端沾水,在芝麻里轻轻蘸一下,使芝麻粘在擀面杖上。然后用擀面杖在面团顶部压一下,使面团顶部粘上芝麻。也可以直接将芝麻撒在面团顶部,但那样看上去会比较乱。用擀面杖粘上去会更好看。
 再松弛15分钟,就可以放入烤箱了。将烤箱预热至上下火180℃,将蛋黄酥放入烤箱中间偏下的位置。烘烤35分钟左右,直到酥皮的层次完全舒展开,表面呈现金黄色即可出炉。请根据实际情况调整烤箱的温度。如果你的蛋黄酥上色过快,可以适当调低烤箱温度,要保证烘烤时间至少30分钟以上,才能使酥皮层次完全舒展,内部的生咸鸭蛋黄熟透且没有腥味。
 出炉了。冷却后即可食用。新鲜出炉的蛋黄酥非常香酥可口。
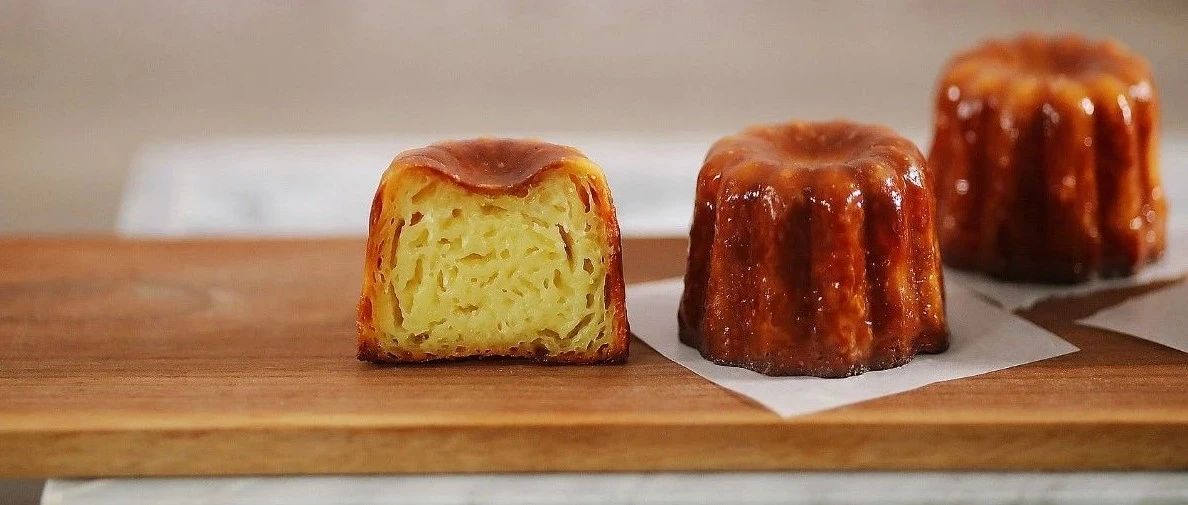
 切开看看!层层香酥,喜欢吗? 预览时标签不可点
以下为图文版食谱配料:水油皮:低筋面粉70克,猪油30克,细砂糖5克,水25克油酥:低筋面粉60克,猪油30克馅料:豆沙馅150克,咸鸭蛋黄(生)6粒表面装饰配料:蛋黄适量,白芝麻适量(生熟均可)制作过程首先制作水油皮面团。将水油皮面团的所有材料混合在一起,充分揉匀,成为面团。用力揉面,使面团成型。然后将面团移到台面上,继续用力揉10分钟左右。请根据实际情况来调整水的用量。揉成一个非常非常柔软的面团。面团一定不能硬,配方中水的用量仅供参考,可能需要酌情增加。我有时候会用到32克左右的水。
揉好的面团捏成长条,均匀切成6份。整形好以后,盖上保鲜膜或者湿布,松弛15分钟。松弛面团的时候可以来制作油酥面团。将油酥面团的材料(低筋面粉、猪油)充分混合并搓匀,成为面团。然后将面团同样捏成长条,分成6份。用手心将油酥面团搓成圆球。油酥面团做好以后,不需要松弛,可以直接使用。取一个水油皮面团,压扁,放上一块油酥面团,包起来。包好以后,收口朝下放置。将包好的面团压扁,然后用擀面杖擀开成为长椭圆形。卷好的小面团,收口朝上,用手掌压扁。再一次用擀面杖擀开。这一次擀开后的形状会是图中所示的长条形。再一次卷起来。所有面团都卷好以后,继续盖上保鲜膜或湿布,松弛15分钟以上。准备馅料。将豆沙馅分成25克/份。这里使用的豆沙馅,是那种比较硬的油豆沙馅,也就是我们制作广式月饼所用的那种豆沙馅。不要用那种水分含量较高、很软的豆沙馅,不然烘烤时候容易爆馅。也可以将豆沙馅换成紫薯馅、莲蓉馅等其他馅料,尽量使用水分含量少的油性馅料(广式月饼馅料)。
将豆沙馅压扁,包入一粒咸蛋黄。直接用生咸鸭蛋黄即可,不需要提前将咸蛋黄烤熟。提前将咸蛋黄烤熟再包馅可以减少最后的成品烘烤时间,但是会损失蛋黄的油脂和香味。接下来就开始包馅了。将之前松弛好的面团,压扁。擀开成为圆饼状面皮。将面皮光滑的一面朝手心放置,将馅料放在面皮中心,包起来。面皮包裹住馅料以后,慢慢往上推,直到完全将馅料包住,并捏紧收口。收口朝下放置。这样蛋黄酥就包好了。将所有蛋黄酥都包好。烤盘里铺一张油纸。将包好的蛋黄酥面团放入烤盘。表面刷一层蛋黄液。直接取一个生鸡蛋黄搅散,用毛刷蘸蛋黄液刷在面团表面即可。也可以刷全蛋液,但蛋黄液烘烤后的色泽会更深更漂亮。
擀面杖一端沾水,在芝麻里轻轻蘸一下,使芝麻粘在擀面杖上。然后用擀面杖在面团顶部压一下,使面团顶部粘上芝麻。也可以直接将芝麻撒在面团顶部,但那样看上去会比较乱。用擀面杖粘上去会更好看。再松弛15分钟,就可以放入烤箱了。将烤箱预热至上下火180℃,将蛋黄酥放入烤箱中间偏下的位置。烘烤35分钟左右,直到酥皮的层次完全舒展开,表面呈现金黄色即可出炉。请根据实际情况调整烤箱的温度。如果你的蛋黄酥上色过快,可以适当调低烤箱温度,要保证烘烤时间至少30分钟以上,才能使酥皮层次完全舒展,内部的生咸鸭蛋黄熟透且没有腥味。出炉了。冷却后即可食用。新鲜出炉的蛋黄酥非常香酥可口。切开看看!层层香酥,喜欢吗? 预览时标签不可点