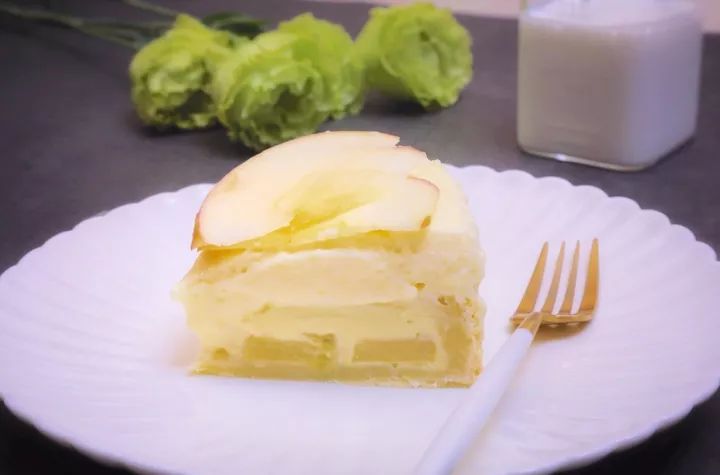
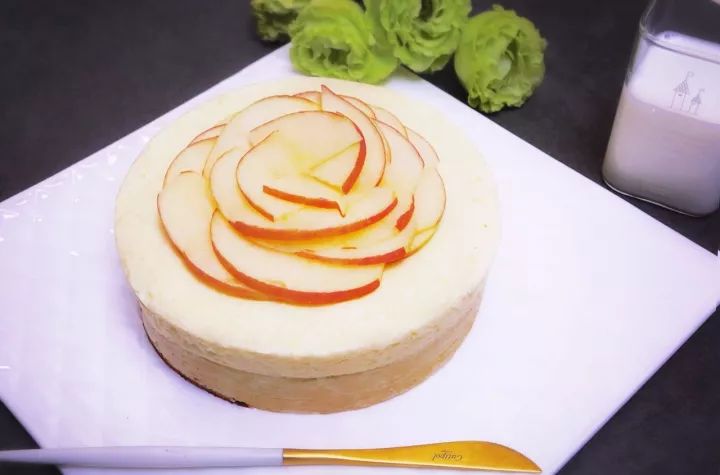
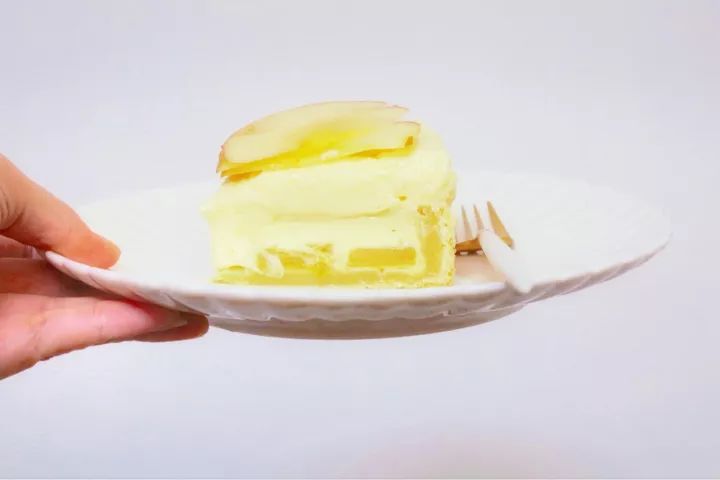
两种迥然不同的事物碰撞在一起,常常能得到有趣的结果。日式双层布丁挞,烤布丁挞搭配上冷藏制作的chiboust卡仕达布丁,蛋奶的香味爆棚,“烤”与“冻”所营造的两种质感混搭也非常有意思,让人忍不住尖叫打call~绝对可以跟近两年超火的北海道双层芝士蛋糕PK一下!到底哪个更好吃,做做看才知道~

日式双层苹果布丁
苹果烤布丁挞部分:烤布丁里加入了黄油炒过的苹果,蛋奶味之余还有苹果的香甜,口感也更有层次。如果想偷懒的话,不做上层的chiboust布丁,单独做苹果烤布丁挞,也足够好吃。

模具:6寸圆形活底不沾模挞皮部分:低筋面粉150g黄油75g盐一小撮水40-45g吉利丁片1片半(7.5g)苹果馅:苹果1个黄油20g糖40g烤布丁:淡奶油120g细砂糖20g鸡蛋2个

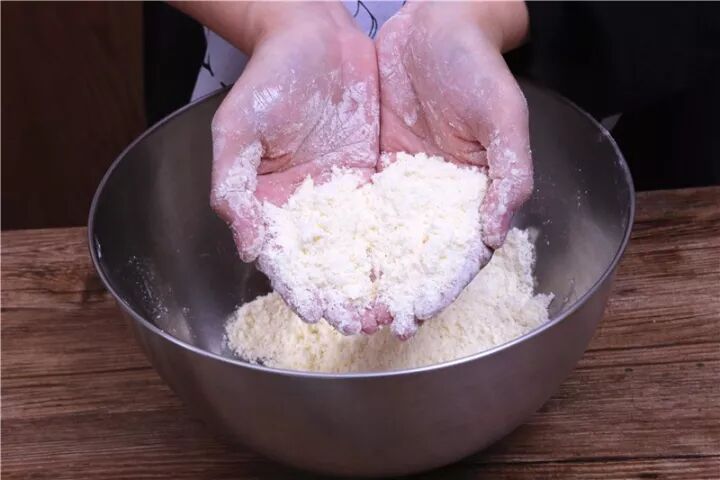
制作挞皮:①黄油(冷藏)切成小块,放入搅拌盆中,加入低筋面粉和盐,用手搓成砂砾状。
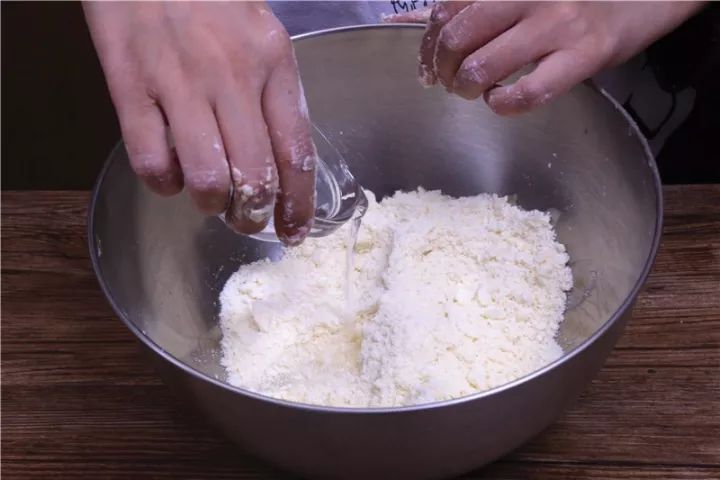
②慢慢加水,不要一次全部加入。边加水边揉面,面团柔软但不粘手为准,大约在40-45g水之间(取决于面粉的吸水性)。
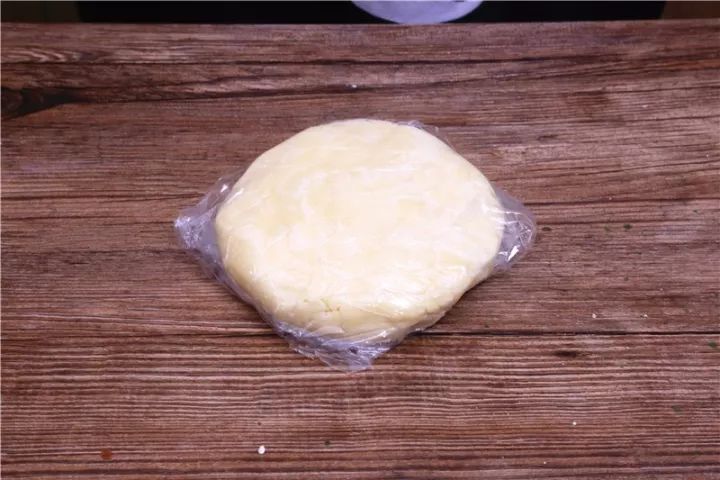
③将面团压成2cm左右的厚度,用保鲜膜包好,放冰箱冷藏2-3小时。
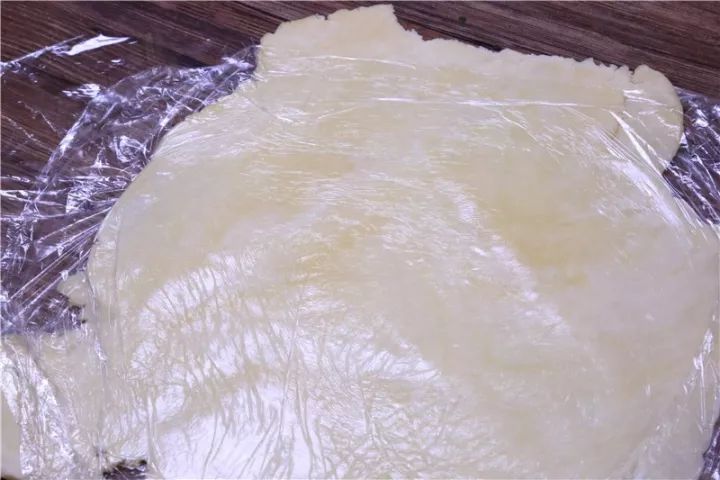
④2-3小时后取出面团,稍稍回温几分钟,用擀面杖擀成3mm的厚度。
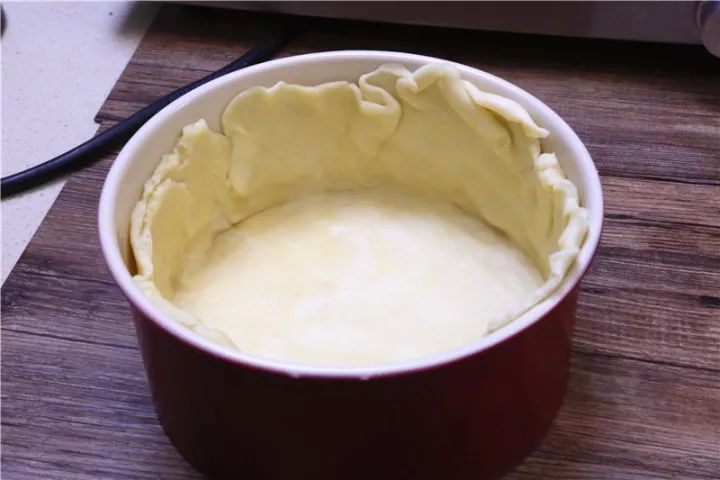
⑤等待面团回温期间,预热烤箱至180度。⑥将擀好的面皮铺在6寸活底不沾模具的底部,多余的部分不要着急去掉,尽量保持四周厚度一致。
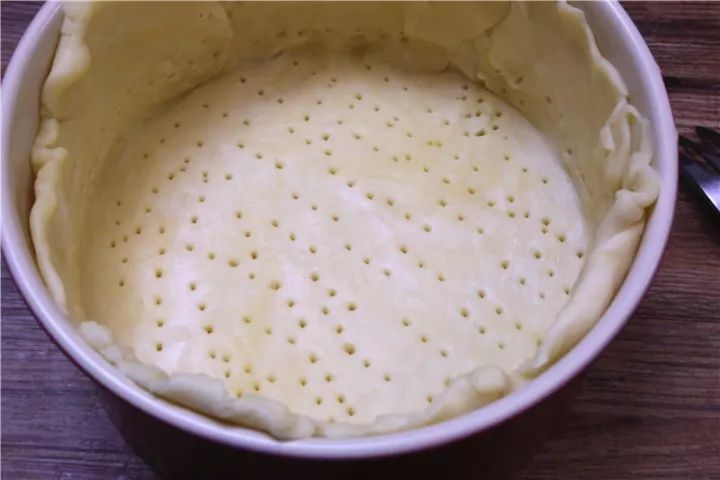
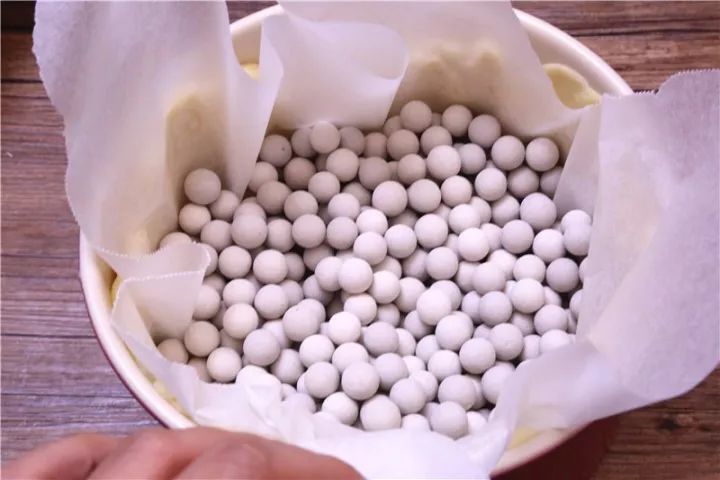
⑦用叉子在挞皮上叉出小洞,然后铺上油纸,压上烘烤重石(没有的话,可用生豆子等代替)。
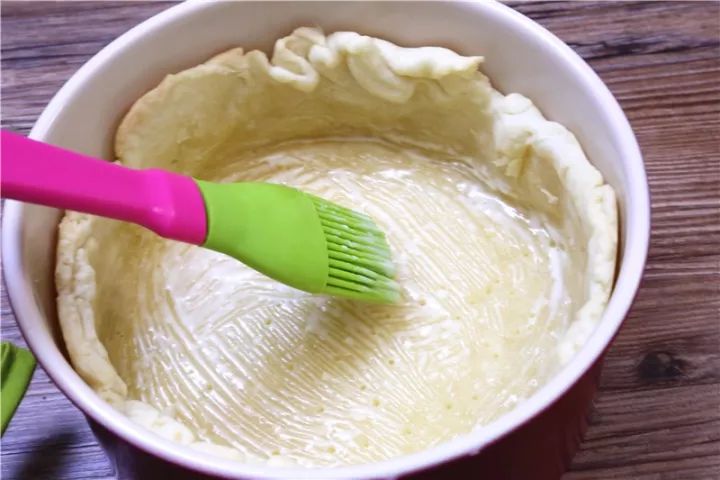
⑧烤箱中层180度烤20-22分钟左右取出,移除重石,用刷子在派皮里刷一层薄薄的淡奶油(配料表外),不用脱模。
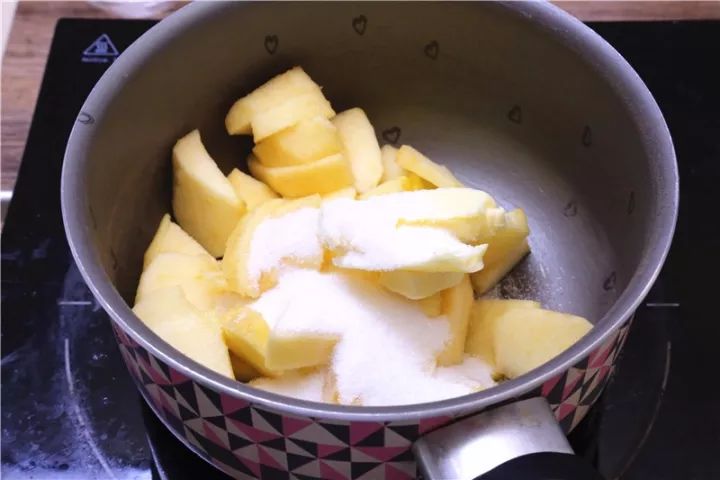
制作苹果馅儿:①苹果切小片,放入小奶锅中,加入黄油和糖,中火加热。
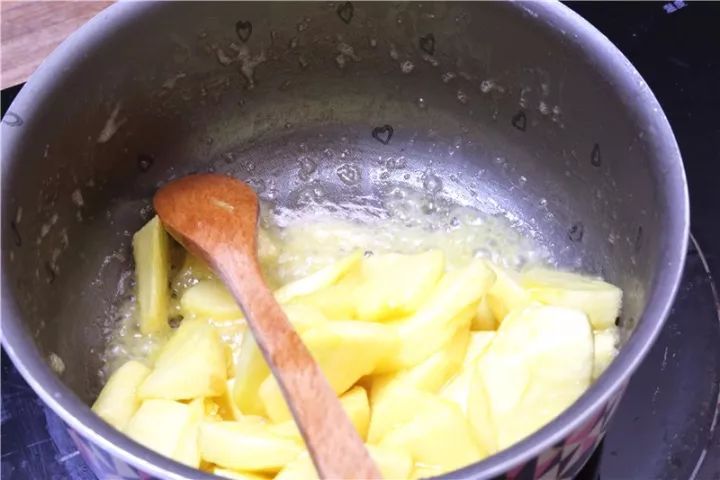
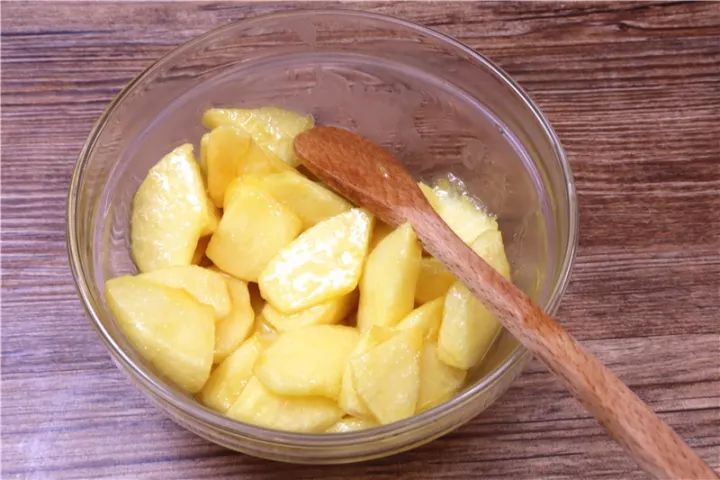
②黄油完全融化后继续加热,直到水分蒸发,锅底基本没有液体,倒出软烂的苹果片晾凉备用。
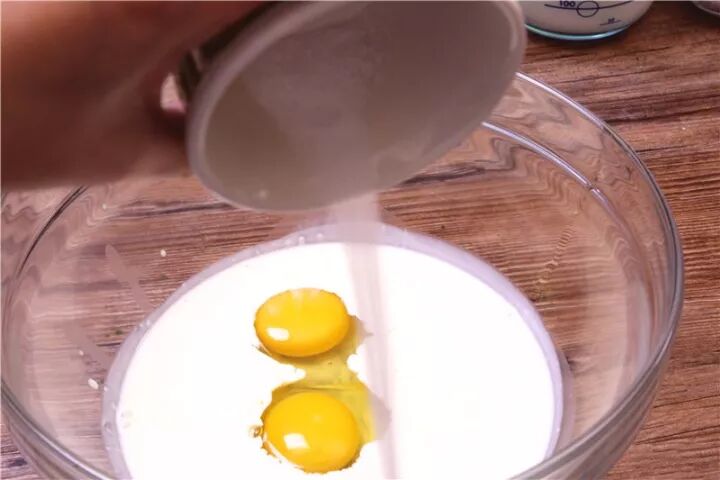
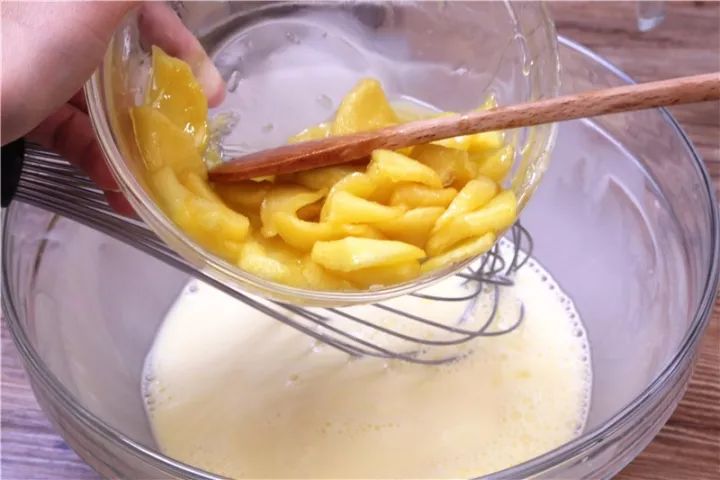
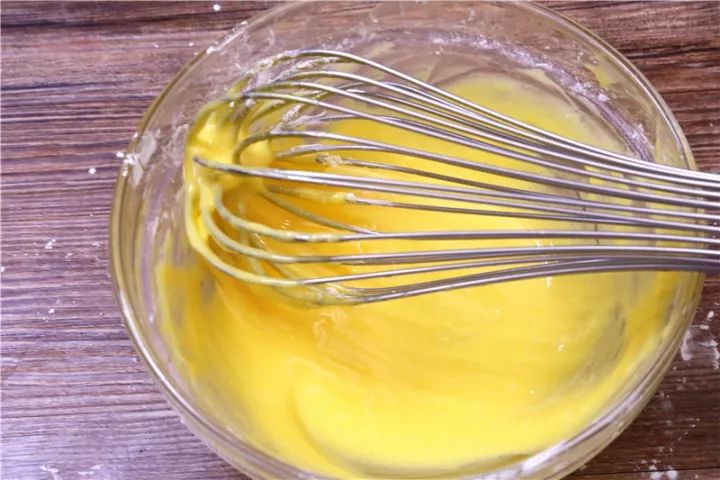
制作烤布丁:①预热烤箱至180度②向淡奶油中加入鸡蛋、细砂糖,用蛋抽搅匀
③然后倒入煮好的苹果片,拌匀
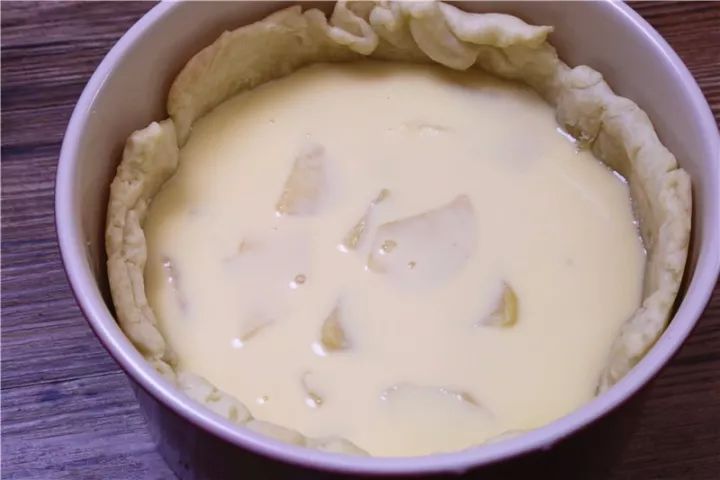
④把混合物倒入没有脱模的派皮中,这时布丁液刚好跟派皮最低点持平,没有溢出
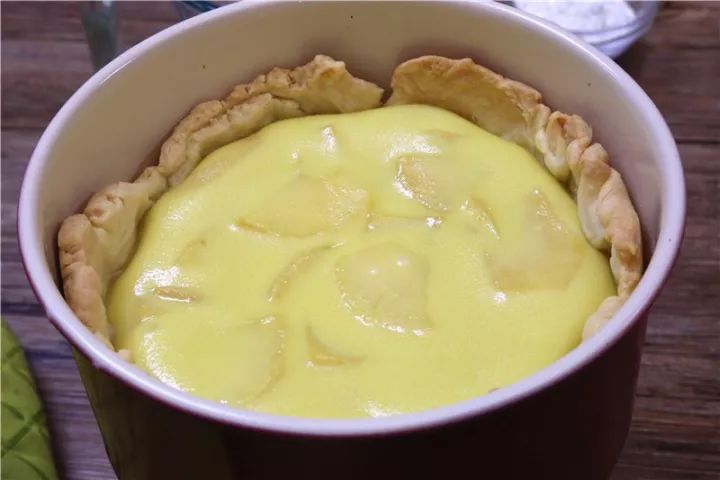
⑤烤箱中层180度烤25分钟左右,布丁液中心没有晃动即可,不用脱模
上层chiboust布丁部分:上层的Chiboust Cream是这个双层布丁挞最有意思的部分。(敲黑板报!开始划重点!)Chiboust Cream,中文名叫做外交官奶油。做法是在卡仕达酱的基础上,加入打发的淡奶油或意式蛋白霜,再视情况加入适量的吉利丁(可不加)做成的。口感比普通卡仕达酱要轻盈许多。可以当作千层酥等酥皮点心的夹馅,也可以填充舒芙蕾来制造creamy的口感,还可以替代普通的卡仕达酱来做挞馅~
卡仕达酱部分:牛奶200g蛋黄2g糖15g玉米淀粉20g吉利丁片1片半(7.5g)意式蛋白霜:蛋白2个糖60g水20g柠檬汁5g
制作卡仕达:①吉利丁片加冰水泡软备用。
②蛋黄加糖搅匀后,再倒入玉米淀粉完全搅匀至没有干粉。
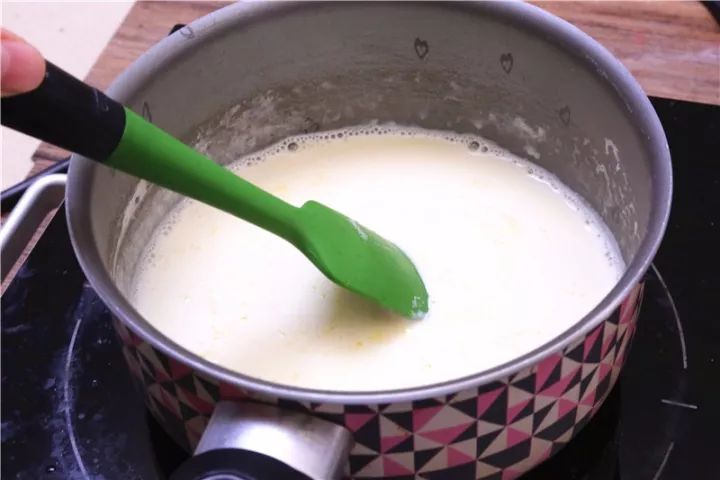
③牛奶加热到四周开始冒热气后关火。
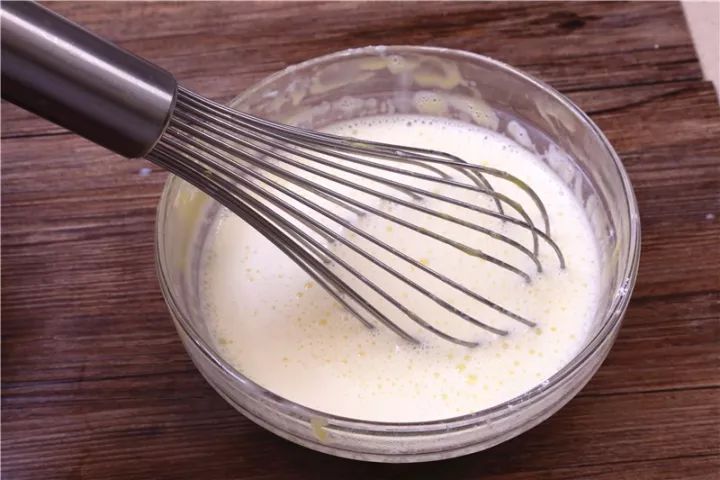
④一边用蛋抽搅打蛋黄面糊,一边缓缓倒入热牛奶,直至完全搅匀(一定要同时搅拌,否则蛋黄会凝固成蛋花)。
⑤倒回奶锅中,小火继续加热,边加热边用刮刀画圈搅拌,散发蒸汽,直到液体慢慢变粘稠,变成浓稠蛋黄酱的状态,离火。
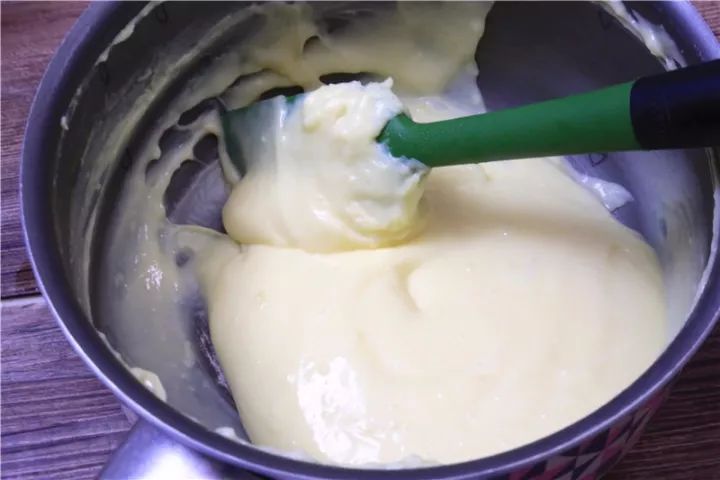
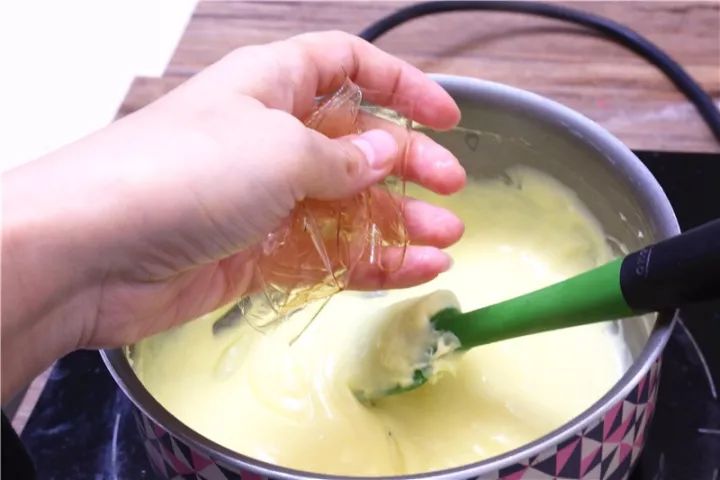
⑥趁热加入挤干水分的吉利丁片,蛋抽搅至吉利丁完全融化然后继续搅打一段时间散发热气。
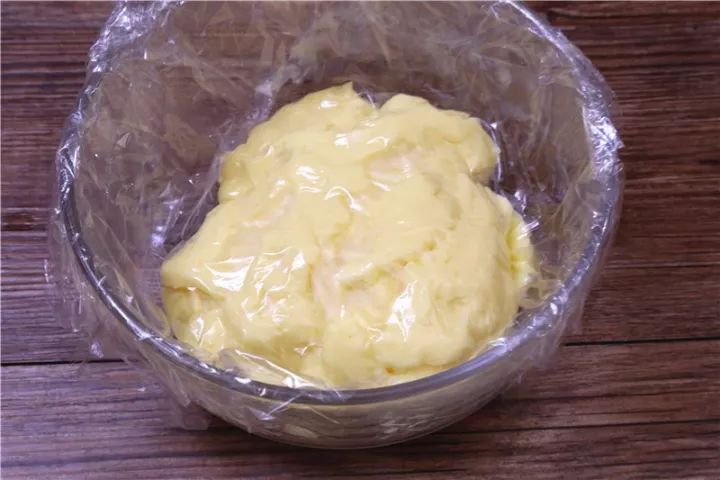
⑦最后用保鲜膜贴着卡仕达酱的表面盖住,放在一边(不用冷藏)。注:一定不能偷懒,裸露在空气里的卡仕达酱很容易滋生细菌。
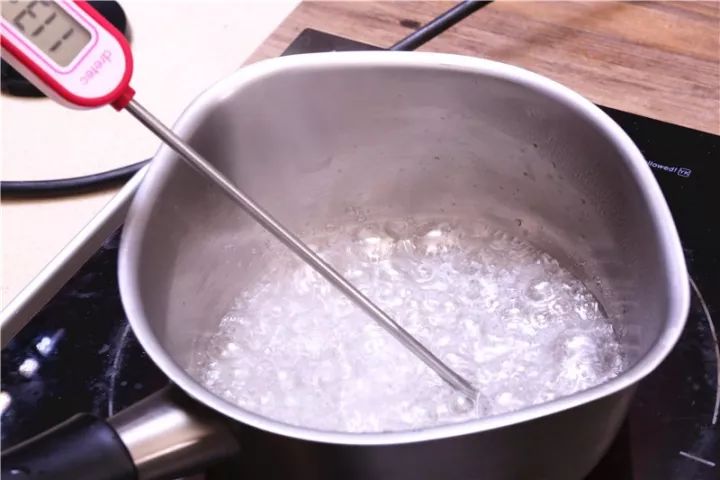
制作意式蛋白霜:①水和糖倒入小奶锅,不用搅动,直接中火加热至118度
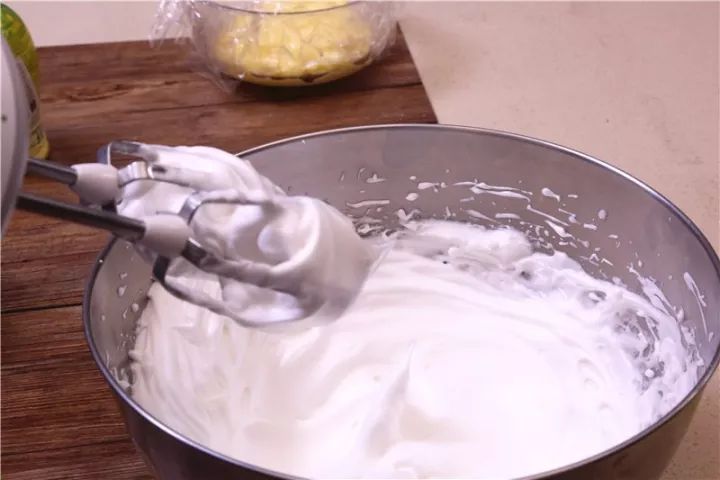
②在加热同时搅打蛋白液至湿性发泡,提起电动打蛋器的打蛋头,能拉出大弯钩
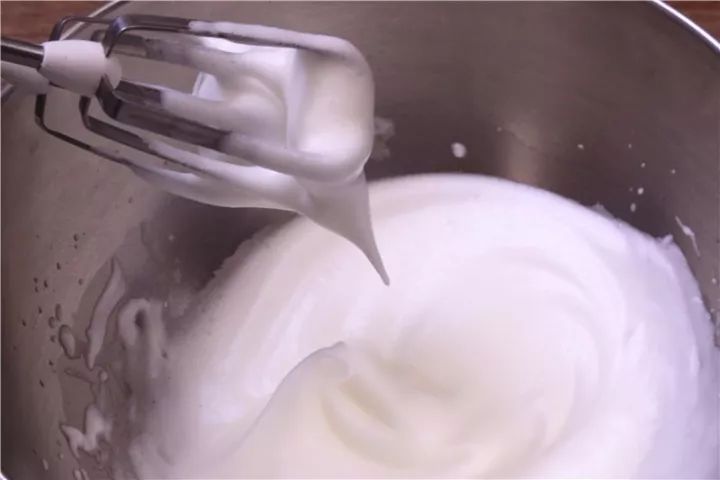
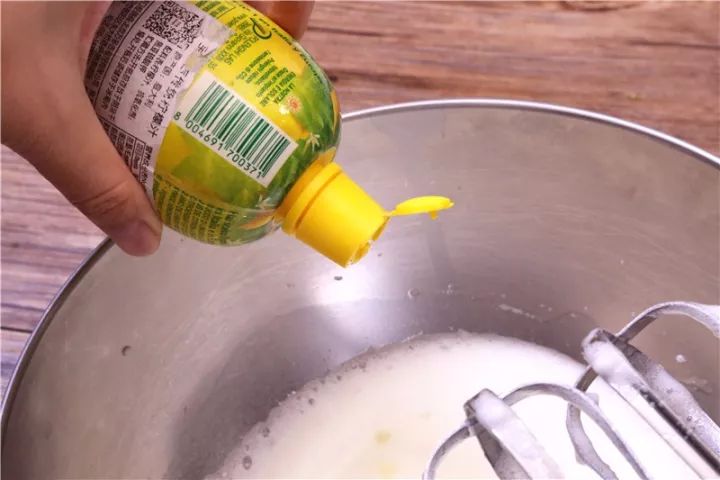
③将烧好的糖浆沿碗壁缓缓倒入蛋白中,边倒边继续用电动打蛋器搅打蛋白。倒完糖浆后,慢慢加入柠檬汁,继续搅打蛋白,直到蛋白完全硬挺并且盆底降温至手温(搅打蛋白的过程能够让搅拌盆降温)。
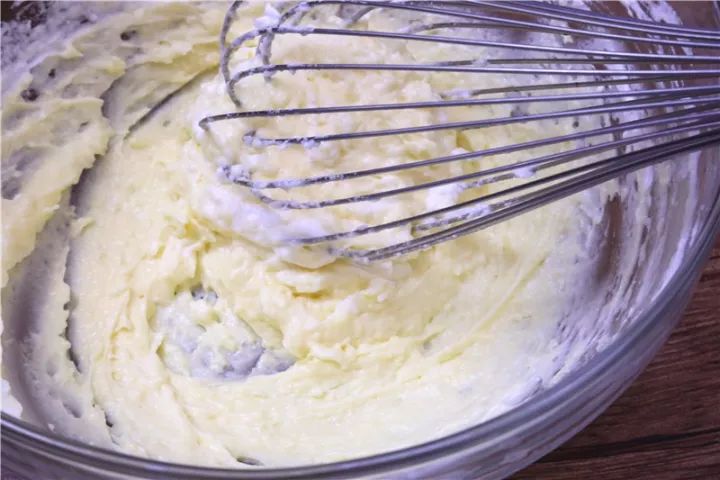
④混合卡仕达和意式蛋白霜:把1/3的蛋白霜倒入卡仕达酱中,用手动打蛋器搅匀,然后再倒回蛋白霜中,继续用手动打蛋器搅匀

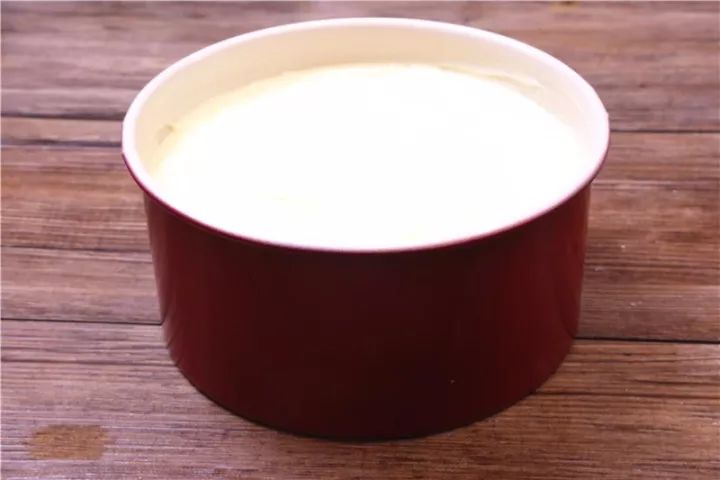
组装:①从活底模具中取出晾凉的烤苹果布丁,底部不用脱模,减掉四周高出的不规则派皮,然后放回6寸不沾活底模具。②把卡仕达蛋白霜倒入模具中,刚好填满,微微震动模具,抹平表面,冰箱冷藏3-5小时候取出。
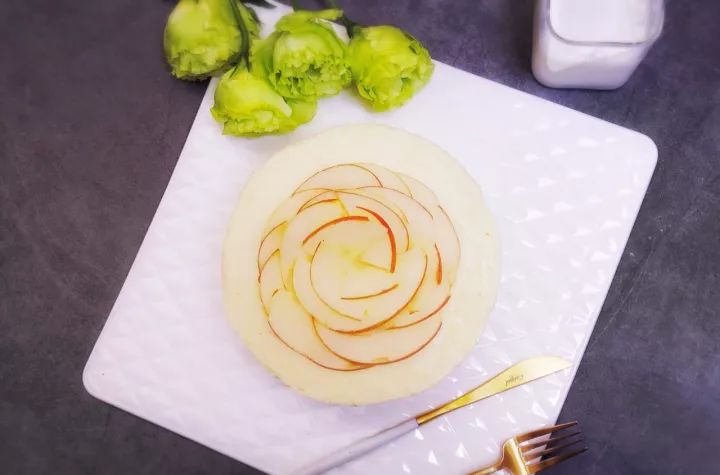
③苹果(配料表外)切薄片泡一下柠檬汁,装饰在蛋糕顶部即可
预览时标签不可点