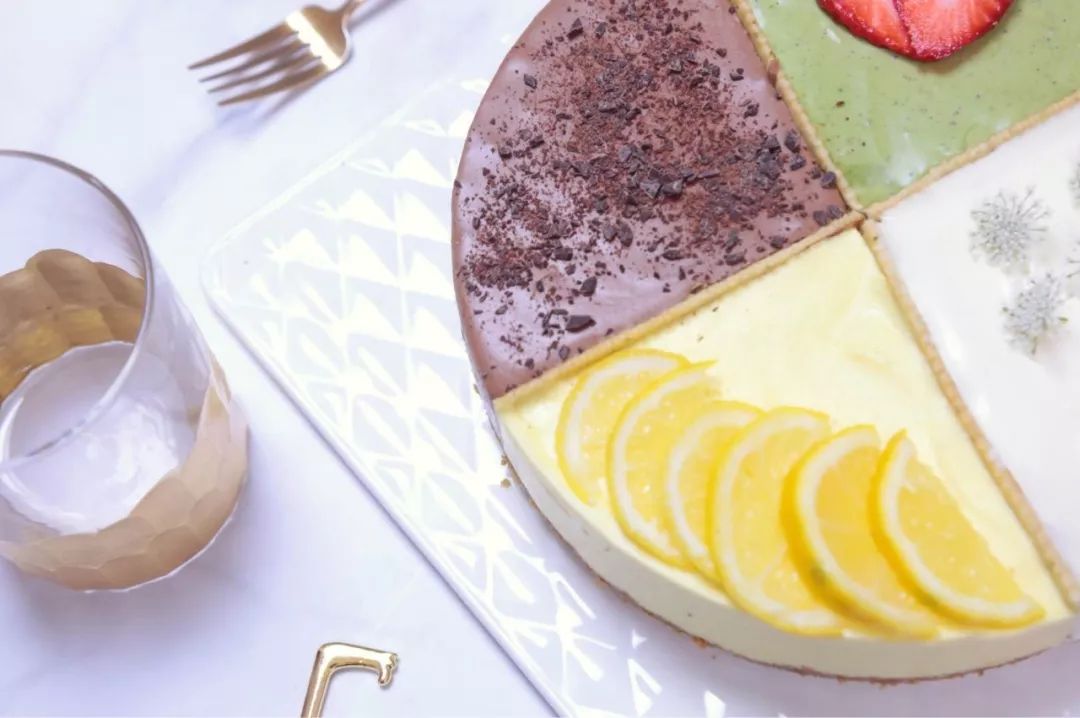
我,一个贪心(chi)鬼每次路过蛋糕店最心动的就拼盘蛋糕...颜色搭配好看到忍不住一直盯!还能一次吃到好几种口味!学会了今天这个超简单小技巧在家也能一次就做出多口味拼盘蛋糕!

拼盘冻芝士蛋糕
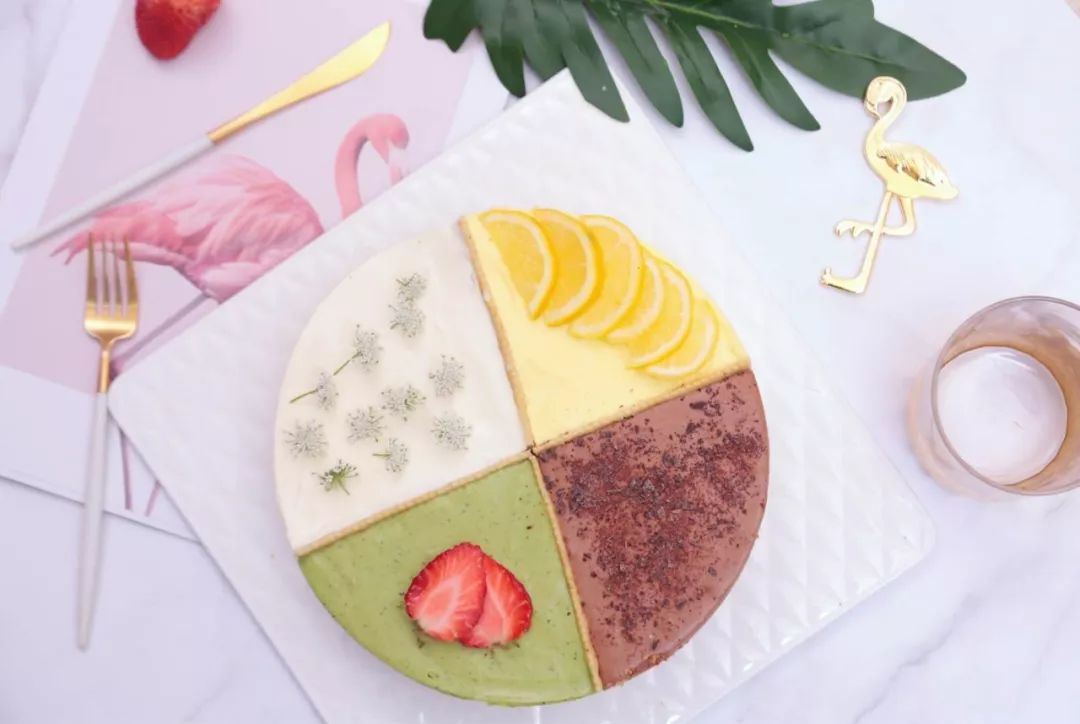
模具:8寸活底圆形不沾模参考量:可做1个8寸冻芝士饼干底:无盐黄油55g消化饼干125g长方形硬质饼干适量基础奶酪糊:奶油奶酪400g糖粉100g吉利丁片15g(3片)柠檬汁15g牛奶50g淡奶油300g摩卡味:可可粉10g速溶黑咖啡粉4g牛奶25g糖粉15g抹茶白巧味:抹茶粉7g牛奶25g白巧克力30g酸奶味:原味酸奶(含糖)80g菠萝味:菠萝果茸40g黄色食用色素适量材料与口味说明:1. 菠萝果茸可替换为任何自己喜欢的果酱~菠萝口味搭配芝士,意外地酸甜和谐,推荐大家试一试哦~2. 用于分隔奶酪糊的饼干要用比较硬质的饼干,超市常见的苏打饼干就可以,如果能找到质地较硬的长方形甜饼干会更好吃哦~

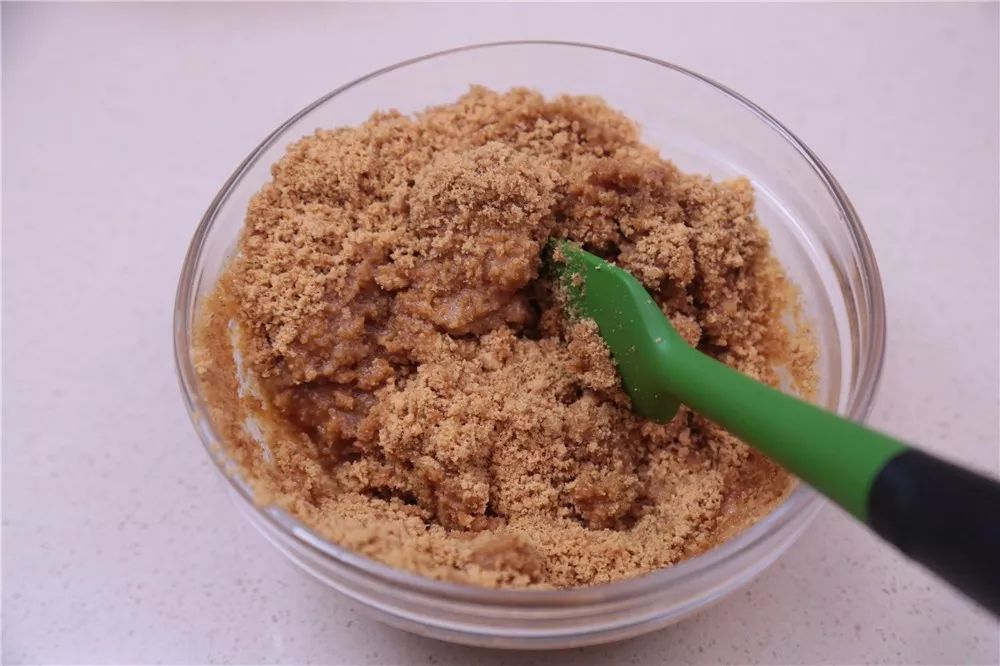
制作饼干底:①消化饼干用擀面杖完全擀碎成粉末,加入融化的黄油搅匀
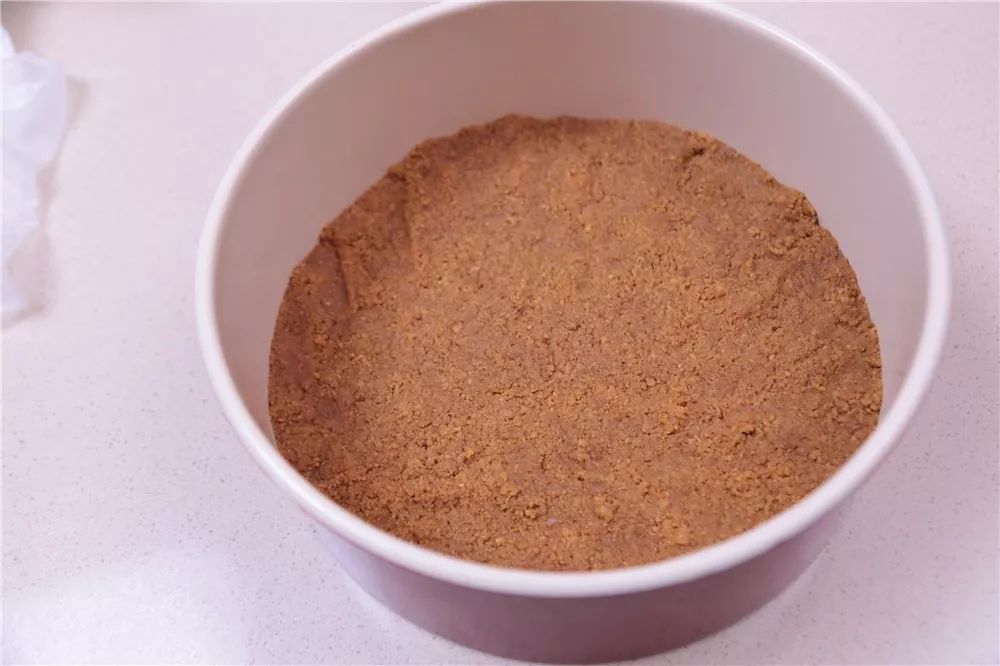
②然后倒入8寸不沾圆形模具底部,压实
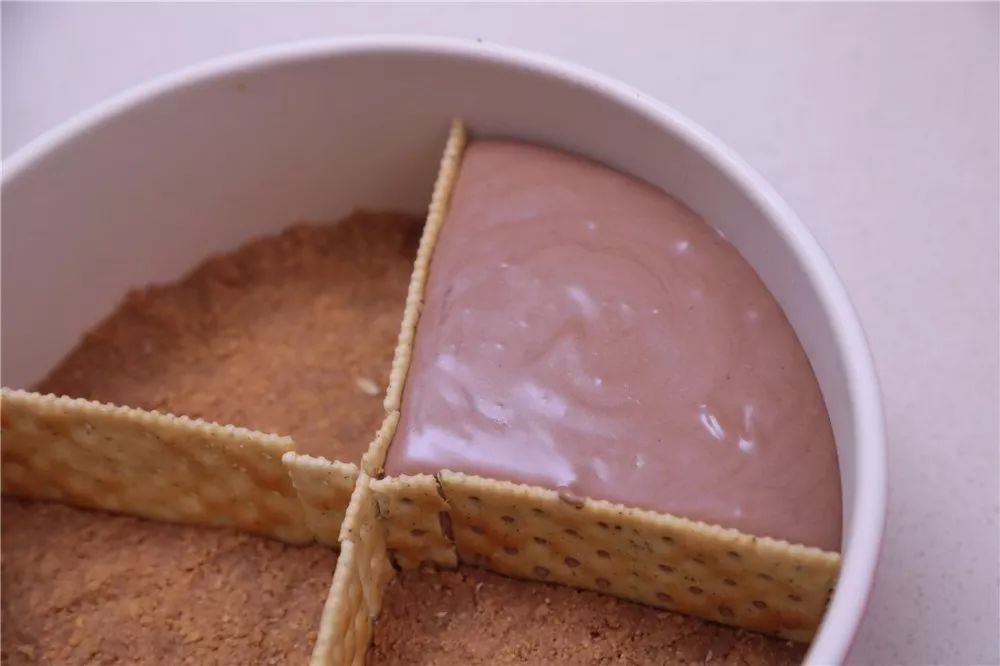
③插入立着的长方形饼干(类似于苏打饼干那种形状的饼干都可以),把模具平分成4等份
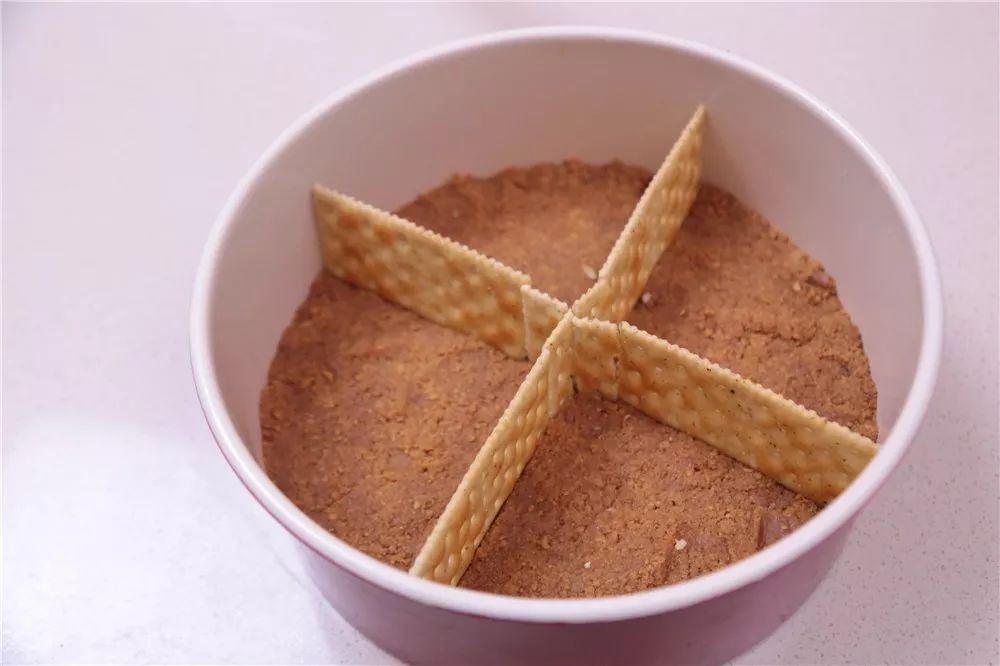
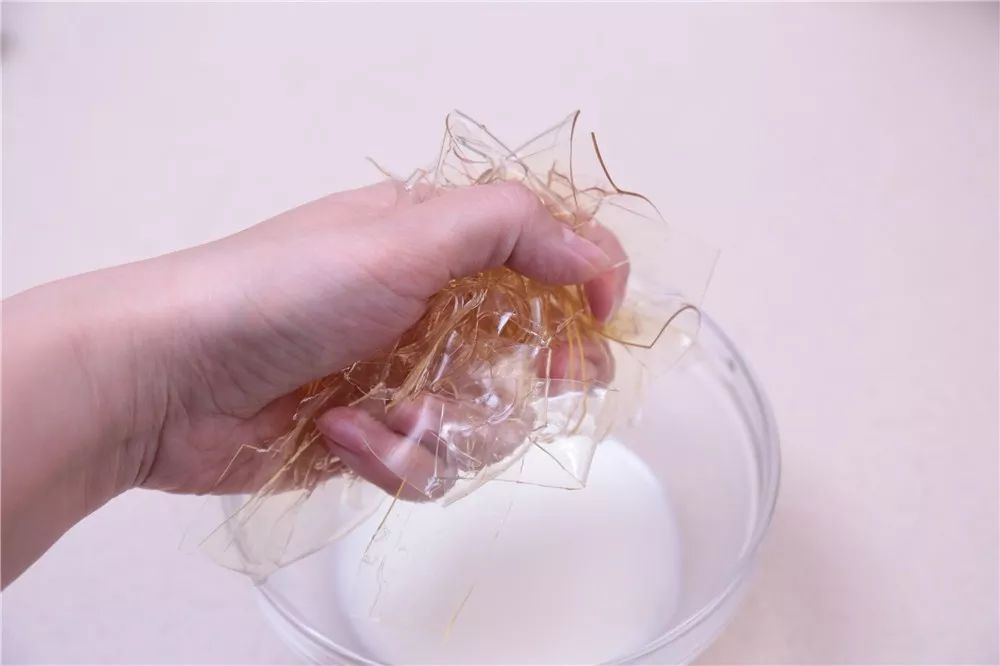
④放入冰箱冷冻备用制作基础奶酪糊:①准备工作:吉利丁片冰水泡软备用②奶油奶酪隔水软化至顺滑无颗粒状态
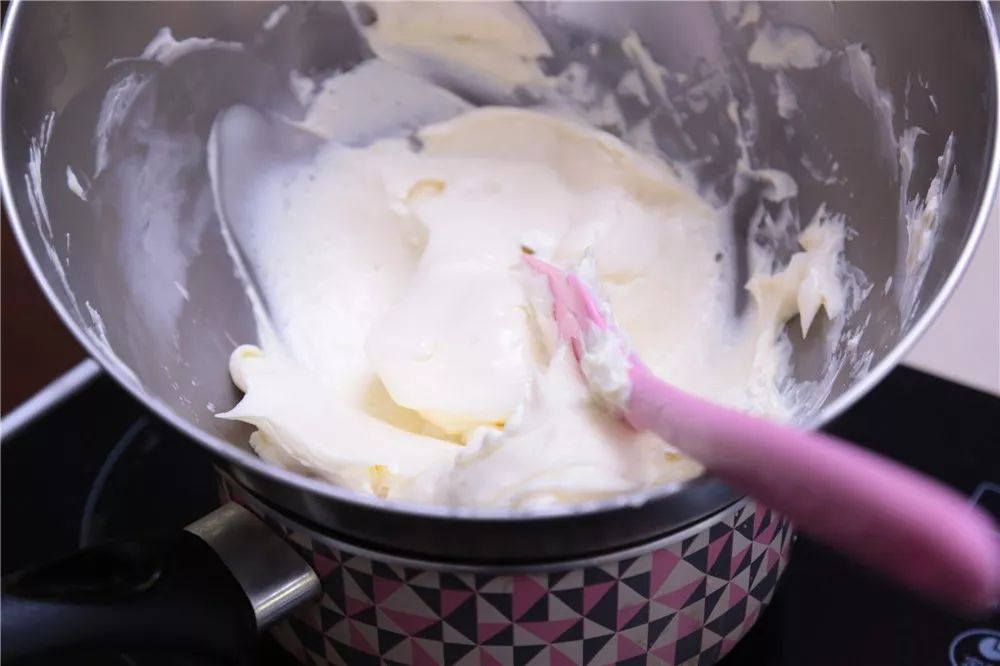
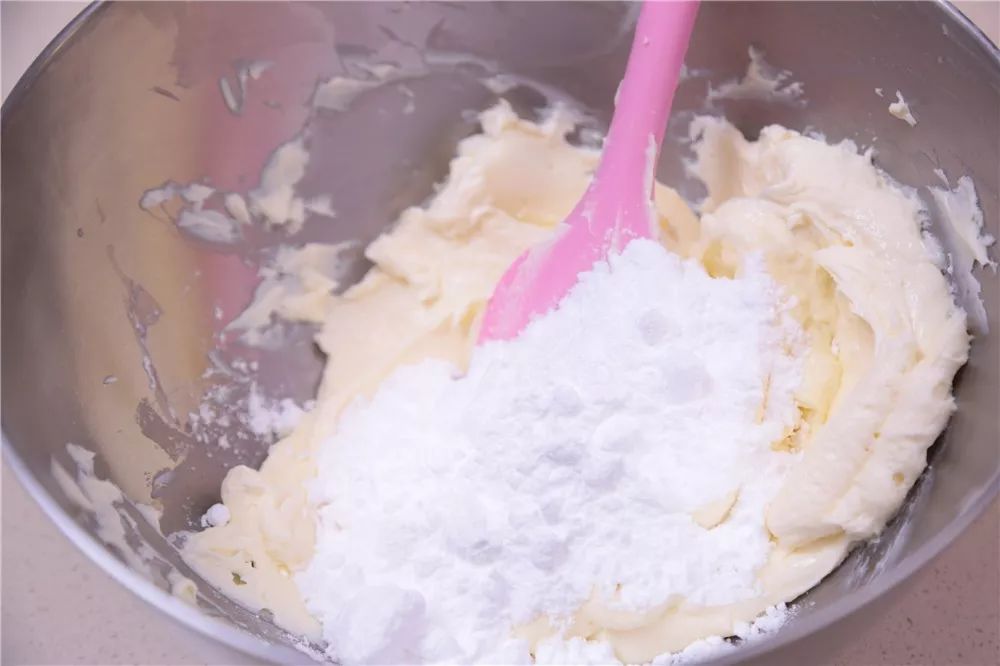
③加入糖粉,用刮刀拌匀至完全吸收
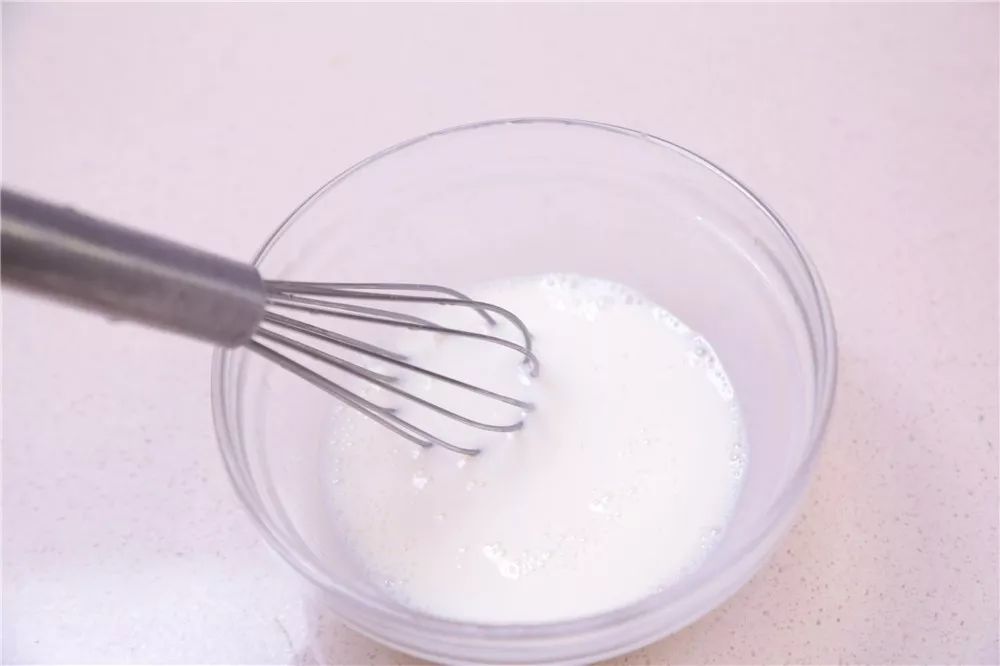
④牛奶加热到微沸后,放入挤干水分的吉利丁,搅匀至完全融化
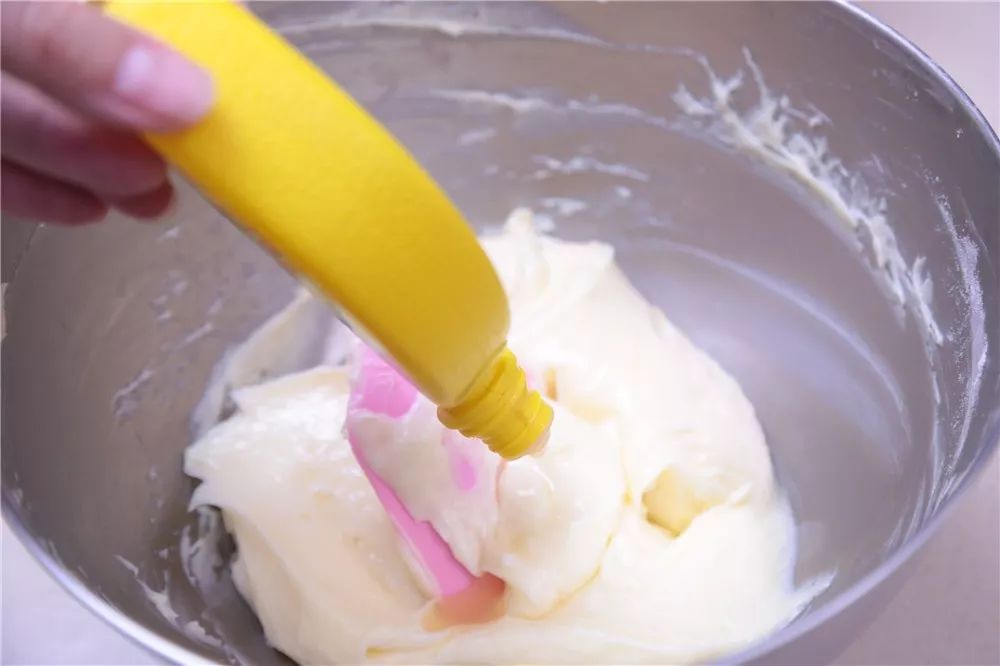
⑤奶酪加入柠檬汁搅匀
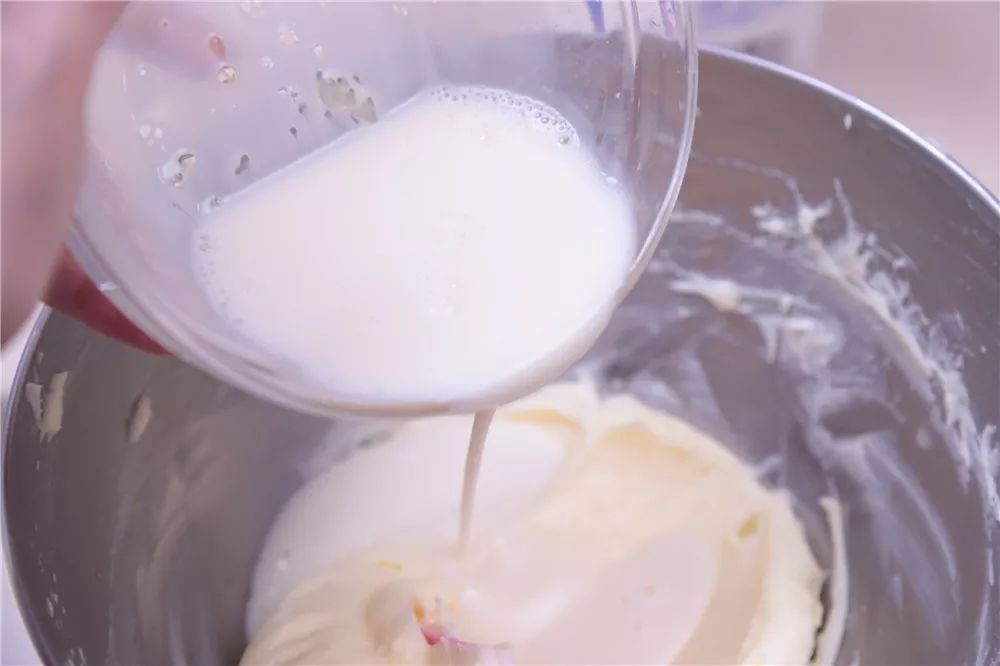
⑥再加入吉利丁牛奶溶液搅匀
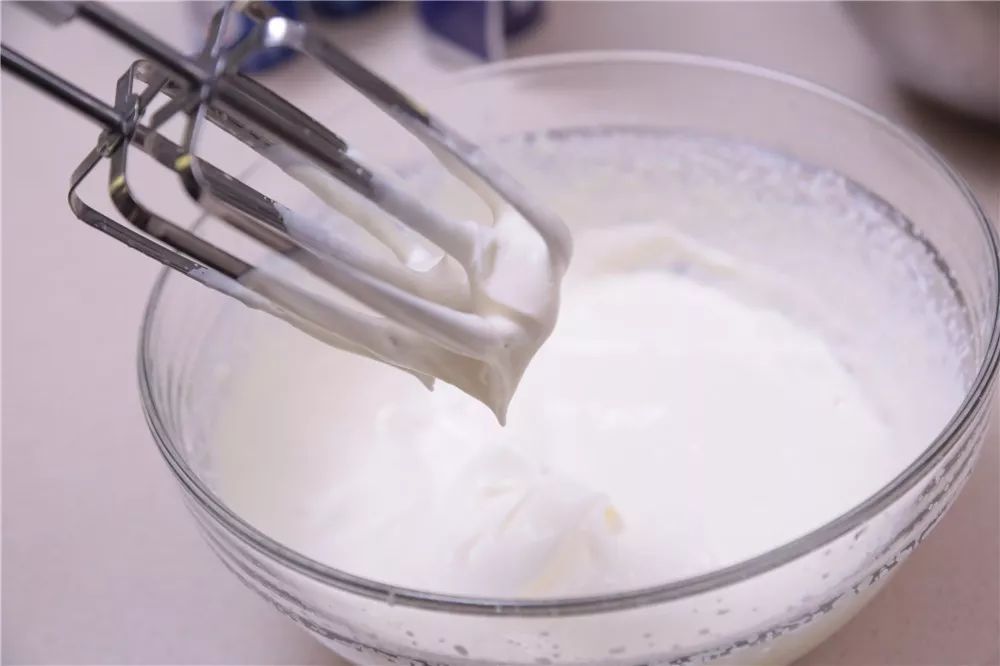
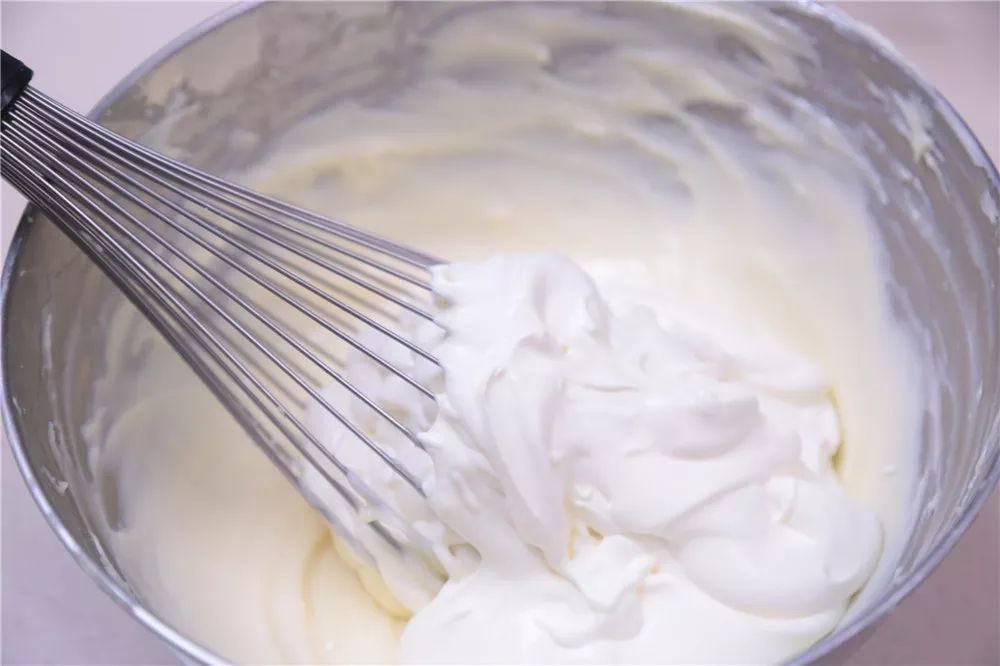
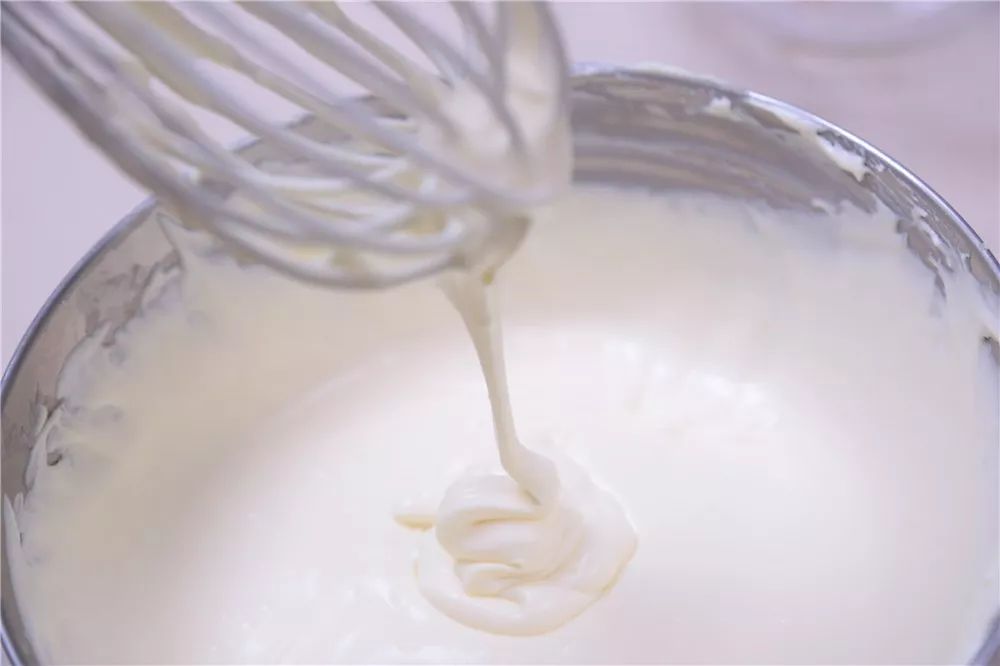
⑦淡奶油用电动打蛋器搅打至5分发,有稳定纹路但仍可缓慢流动的状态
⑧倒入奶酪糊中,用蛋抽搅匀
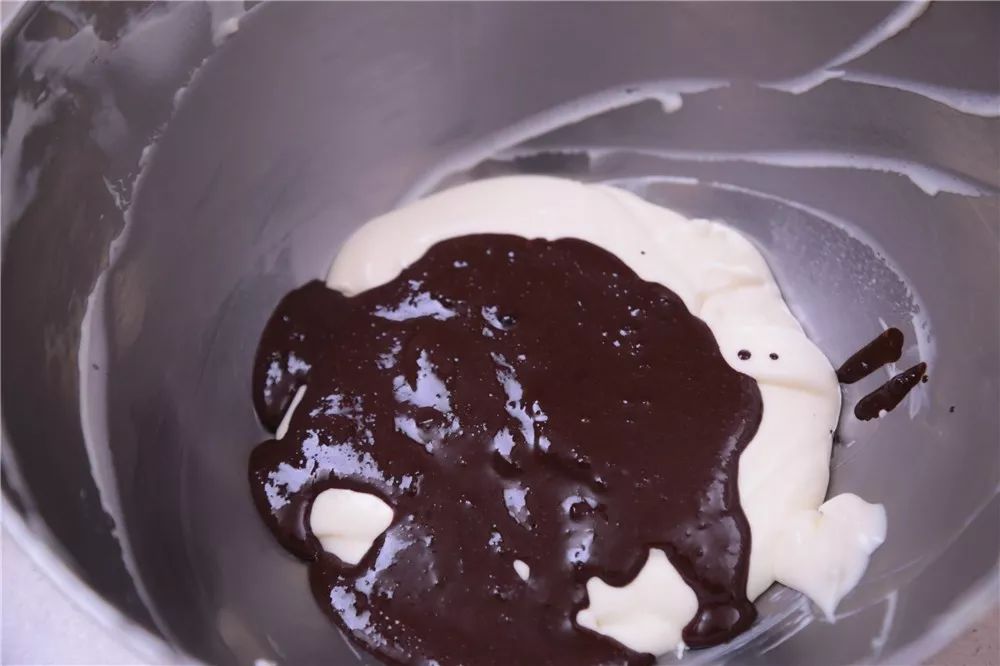
☕️ 制作摩卡味:①可可粉、咖啡粉混合后,加入加热过的牛奶,搅匀至酱状
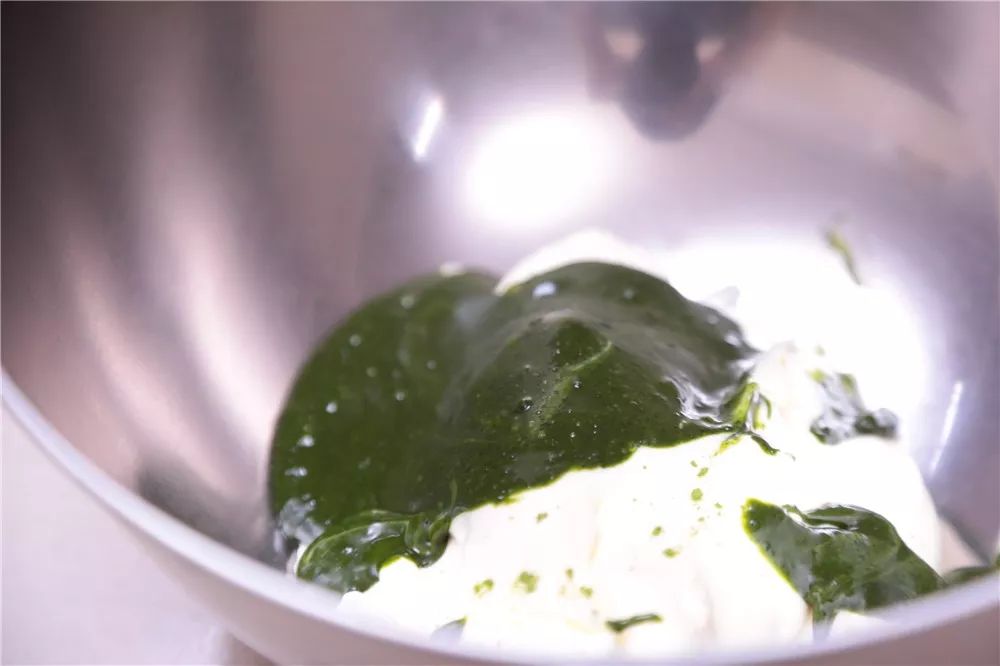
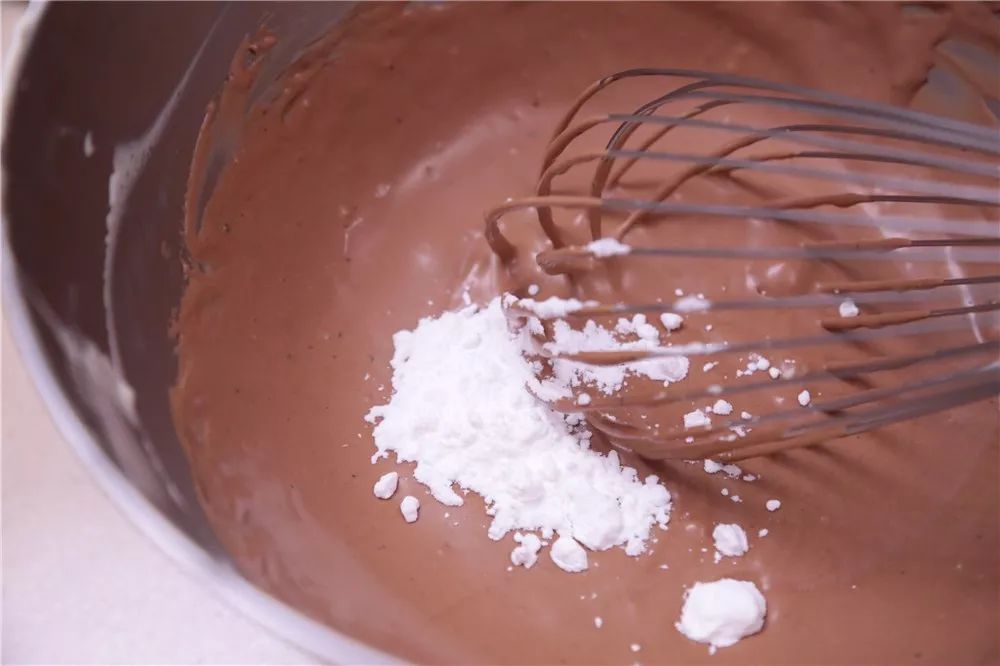
②取215g基础奶酪糊,倒入上一步的混合酱,搅匀
③再倒入糖粉,完全搅匀
④倒入模具的其中一块,抹平表面