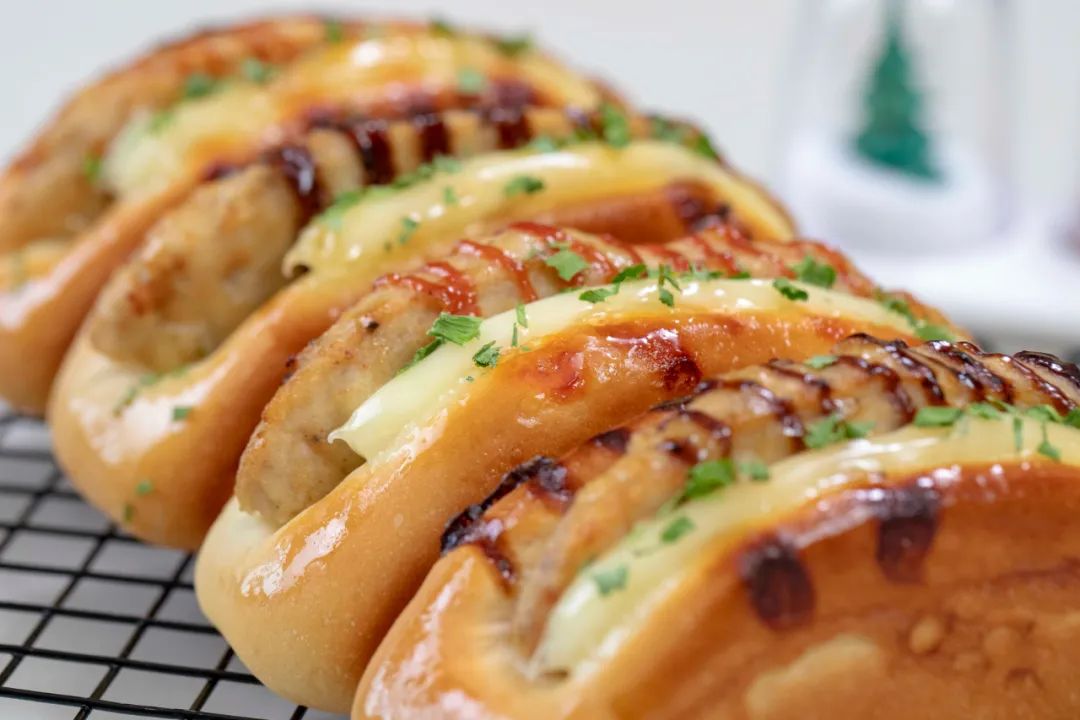
nceid="10864142867445240191" data-type="video" data-width="1080" data-height="1920">↑看视频更简单↑最近我迷上了猪扒包,要说猪扒包为什么火爆,大概是这种造型,能够最大程度的展现它的诱人。不过帮友们知道我的,喜欢什么就一定要在家复刻出来,做过之后我觉得其实也很简单,对于家庭爱好者来说,唯一的拦路虎,就是又得添一套模具。这不,地主家也没余粮,为了省钱我只买了4个模具,配方也是4个,如果你想多做一些,把配方翻倍就好啦!
![]()
cription-url="http://www.yinpinjie.com/file/upload/202303/11/163901951.png" data-fileid="100107654" data-ratio="0.02" src="http://www.yinpinjie.com/file/upload/202303/11/163901951.png" data-type="png" data-w="650" width="556" />
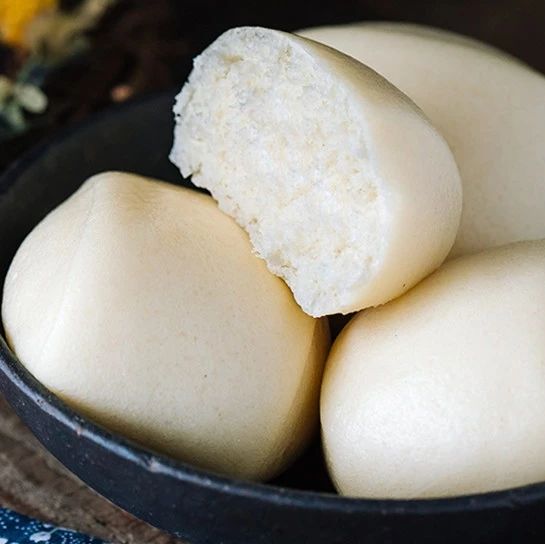
猪扒包
材料#中种#高筋面粉49g/ 低筋面粉12g细砂糖 5g / 干酵母 1.8g /牛奶 61g#主面团#中种全部/ 高筋面粉55g / 低筋面粉12g细砂糖15g / 盐1.5g全蛋液 23g / 黄油 15g#夹心装饰#猪扒2块/番茄酱或黑椒酱 适量沙拉酱适量/ 干葱碎适量
做法▼步骤1

先准备中种,把中种材料全部放入碗中。▼步骤2

搅拌成看不到干粉的面团。▼步骤3

中种有两种发酵方式,既可以室温发酵3小时,也可以先室温发酵1小时,然后冷藏发酵一晚。▼步骤4

不论哪种发酵方式,最终看状态,内部有丰富的网状气孔就OK了。▼步骤5

接着制作主面团,把主面团里除黄油外所有材料放入碗中,先搅拌成团。▼步骤6

转移到桌面,用掌根反复揉搓面团,如果手法正确,大约七八分钟,面团就会由粘手变得相对光滑。▼步骤7

先揉到可以撑开粗糙面筋的状态。▼步骤8

裹入提前软化的黄油。▼步骤9

继续揉搓,刚加入黄油,面团会再次变得粘手,直到黄油被完全吸收后,就不再粘手。▼步骤10

接着摔打面团,可以加快出膜速度,前提是你必须找到这种拉伸折叠的手感,这一阶段也是七八分钟,前后一共15分钟左右。▼步骤11

最终达到9.5成筋度,即可以撑开大片透明有韧性的面筋。▼步骤12

把面团放入保鲜盒,盖盖。烤箱选到发酵功能,设置28度,发酵40分钟。▼步骤13

手指粘粉戳小洞,洞口不会闭合即可,但如果洞口闭合,就还得延长发酵时间。▼步骤14

取出面团按压排气。▼步骤15

按60g一个,平均分为4份。▼步骤16

轻轻拍扁面团,将四周往底部内收。▼步骤17

然后扣住面团滚圆。▼步骤18

接着盖保鲜膜,送入冰箱冷冻松弛20分钟。▼步骤19

松弛时,取出两块猪扒,用150度烤12分钟。▼步骤20
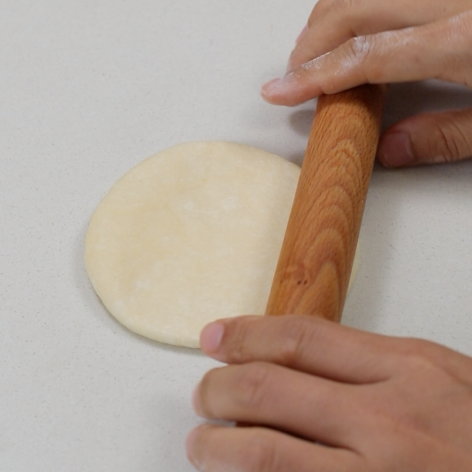
取出松弛好的面团,压扁,擀成圆形,直径约12厘米。▼步骤21
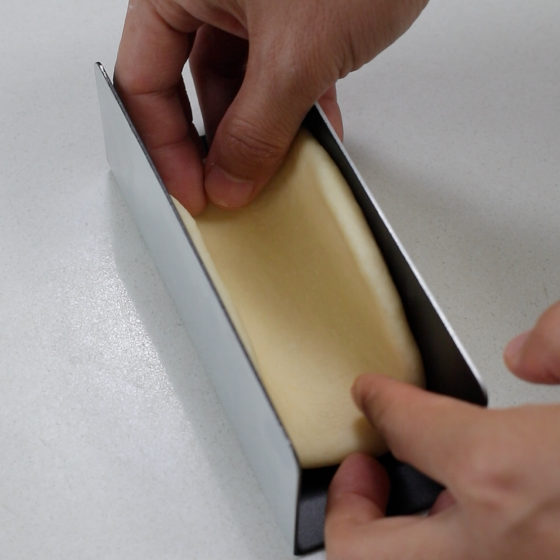
把面团放在GRT3580模具中间。▼步骤22

盖保鲜膜,送入烤箱35度发酵半小时。▼步骤23

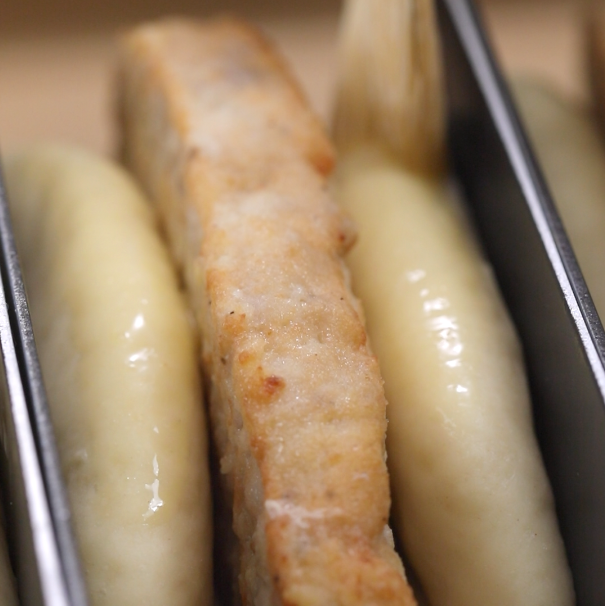
取出发酵好的面团,将猪扒对半切开,放在正中间。▼步骤24
表面刷上全蛋液。▼步骤25
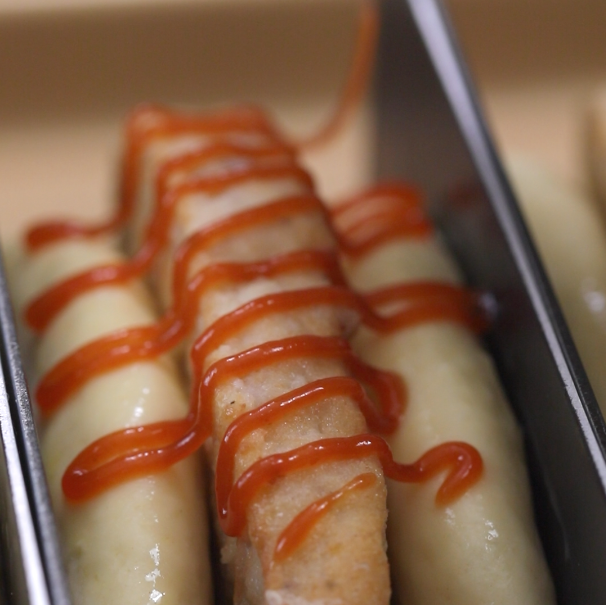
看个人喜好,可以挤番茄酱,也可以挤黑椒酱。▼步骤26
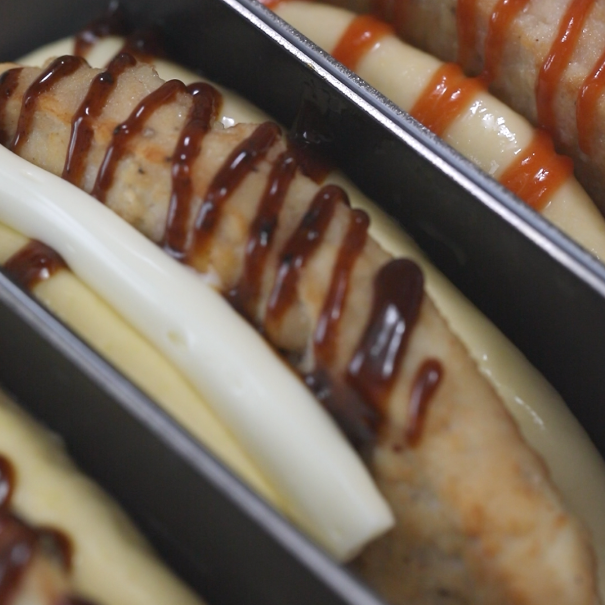
在一侧挤上粗一点的沙拉酱。▼步骤27
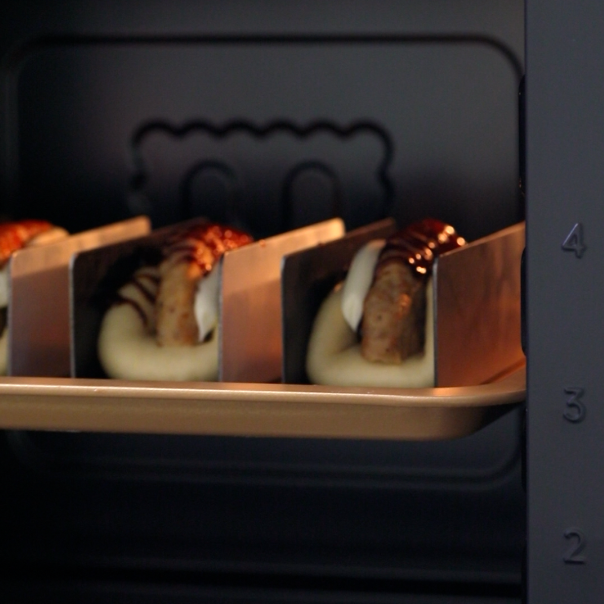
送入提前预热好的烤箱第三层,上火190,下火180,烤18分钟。▼步骤28

出炉后刷上黄油保湿,撒一些干葱碎装饰。▼成品
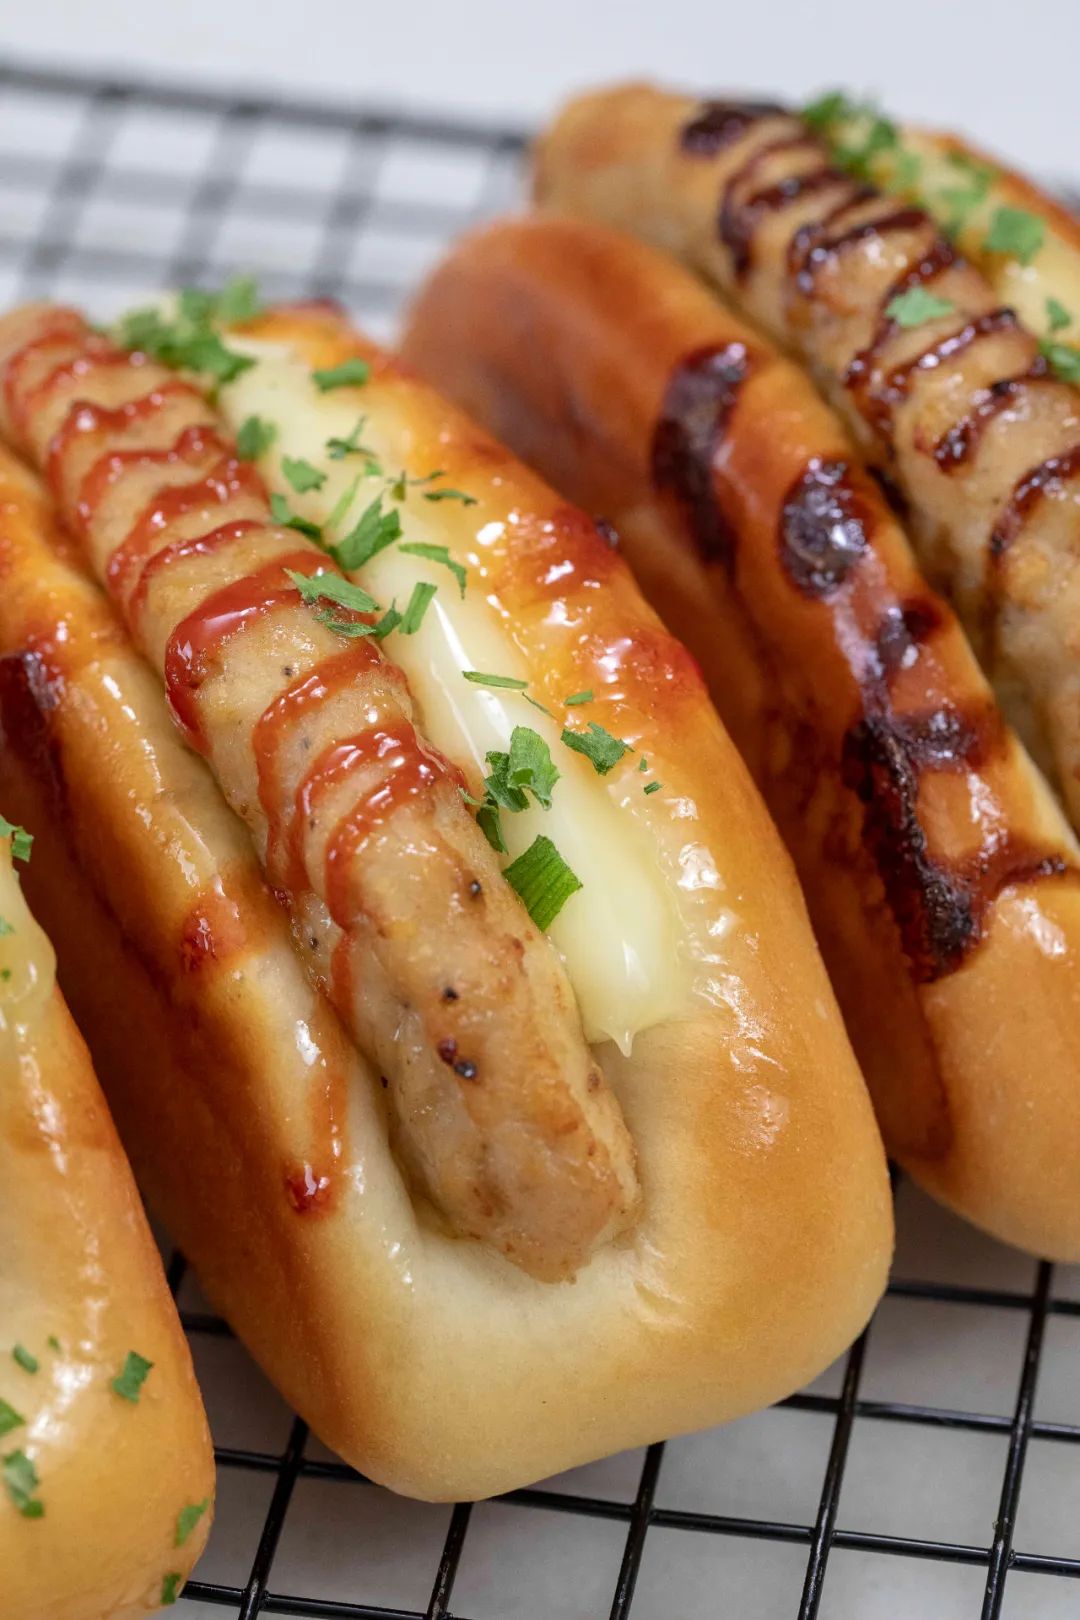
镇店之宝网红猪扒包就做好了!
小贴士Q:做面包不是用高筋面粉吗,为什么要加低筋面粉?A:调理面包不用出手套膜,不追求拉丝,加小比例低筋面粉,反而可以让面包更松软。Q:通常都是室温松弛,为什么这次是冷冻松弛?A:面团冻硬一点,擀圆整形就更好操作,不容易变形。Q:猪扒包为啥不教猪扒做法?A:面包店也没自己做猪扒,为了节约时间和成本,确保口味稳定,都是买的成品猪扒。


把我设为星标这样就能天天见啦~点击阅读原文查看更多原创食谱让烘焙更简单▼ ▼ ▼本文是烘焙帮第1517原创食谱「享、赞、看三连」▽▽▽ 预览时标签不可点